I almost know what I'm doing
 Seeley deBorn
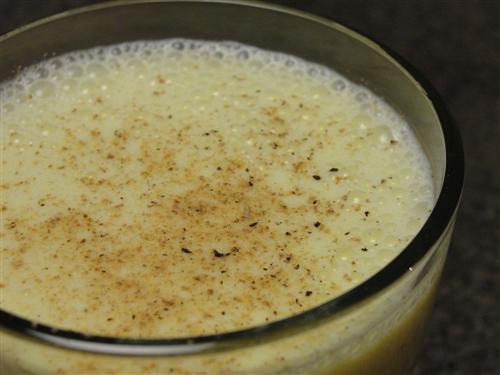
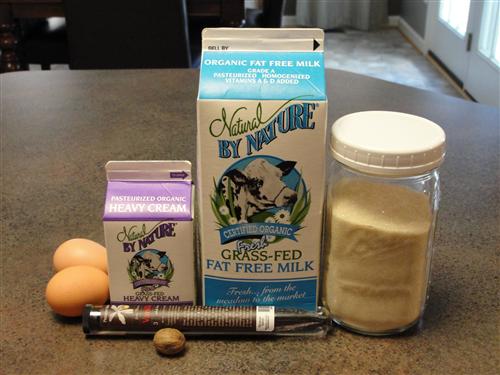
 What goes with eggnog?
Mincemeat pies. Um, sorta mincemeat. And kinda not really a pie.
Proper 'mincemeat' really does have meat in it. In fact, the picadillo I stuffed into poblano peppers is more like traditional mincemeat than this filling is, but I've never been one for tradition. I am firmly of the opinion that "it's always been done this way" is the best reason to do it another way.
And so I stuffed biscuit dough with fruit.
(first eggnog, now mincemeat... almost seems like we're actually on top of a holiday for once)
Minced Fruit Pasties (or Turnovers, if you prefer)
What you need:
- 1 recipe's worth of biscuit dough or biscuit dough
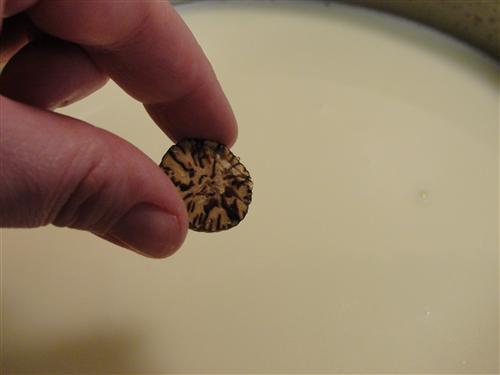
- 2.5 small wrinkly apples, or about that much apple
- a few dried pears (or apricots, or some other fruit)
- 1/2 c dates
- zest from one orange
- 1/2 inch ginger
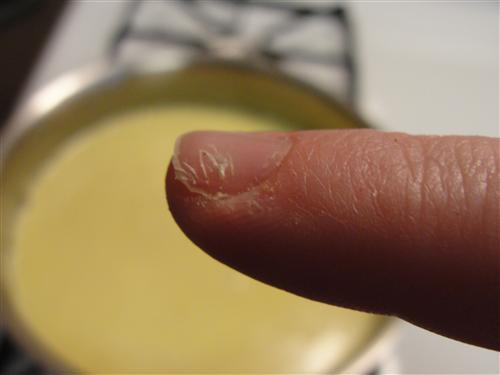
- 2 tbsp butter
- 2 tbsp cinnamon sugar (or cinnamon and sugar to make that amount)
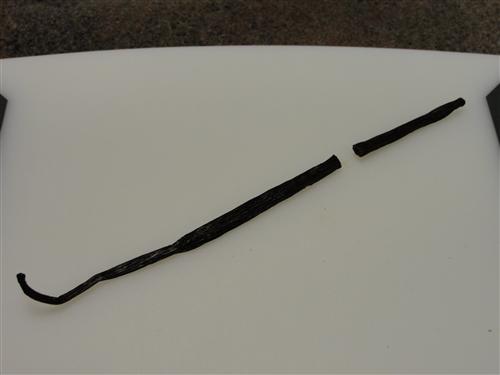
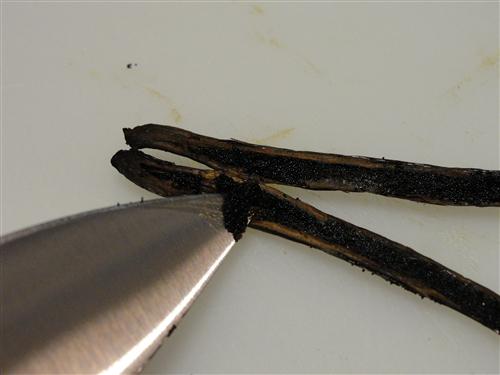
- 1 tsp vanilla (you can use some kind of booze here if you'd like)
- 1 egg
What you gotta do:
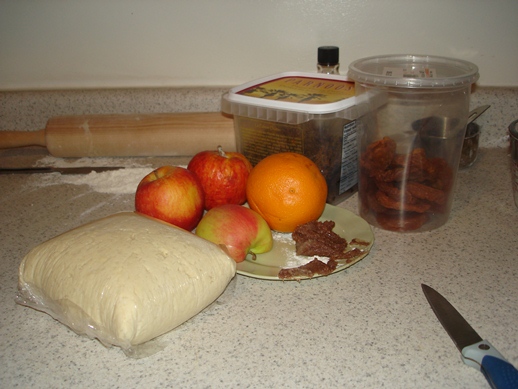
I had a few apples in the fruit basket that have been there for way too long. I once read "wisened" as a description for apples, and I think that's what these ones were. Fresh crisp ones would work fine too, but if you've got a couple old ones sitting around... (anyone seeing my inspiration for this recipe?)
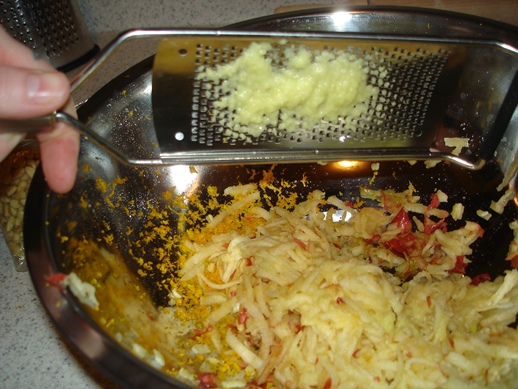
Put your grater into a medium sized bowl, and start grating apples. Peel them? What? Why? I rarely see any reason to peel apples. The peel is completely edible, doesn't taste bad, and will add colour to things if it's red. Plus, that's extra work.
Zest the orange on a microplane grater, and then use it for the ginger. Microplanes are great for ginger.
Chop whatever dried fruit you're using into small chunks. If you've got some candied orange peel, that would work too.
My butter and cinnamon sugar are already combined, leftover from the cinnamon buns, but yours should go in now, separately if that's how they are.
Vanilla too. Or booze, your call.
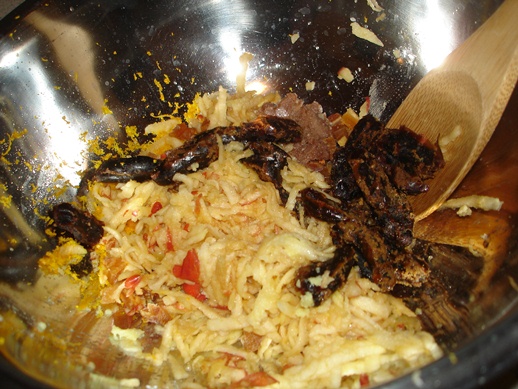
Now, the dates. You can pre-chop these if you want, but dates are pretty easy to mash, so I just dumped mine in whole and went at them with a wooden spoon.
If you don't happen to have a batch of biscuit dough in the fridge because you made a double when you did yesterday's cinnamon biscuit buns for brunch, you'll have to make some.
If you do: handy! Roll it out into a rectangle.
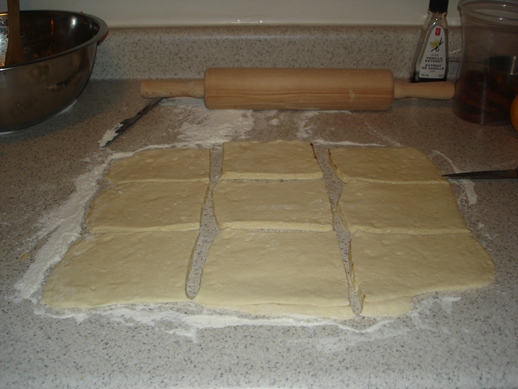
I cut mine into 9 pieces; the pieces were the right size (about 5x5 inches), but this only makes filling for 6. I'm sure you can find something to stuff into those biscuits. A bit of sausage would be nice... Sausage biscuit rolls!
Drop a couple or three tablespoons of the filling mixture on one side of a biscuit square, and spread it out into a triangle-ish shape. No meat, but it kinda looks like there is...
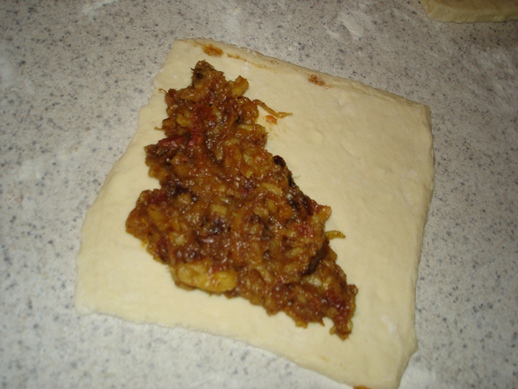
Don't get too close to the edge. Fold the other half of the dough over the filling to make a triangle.
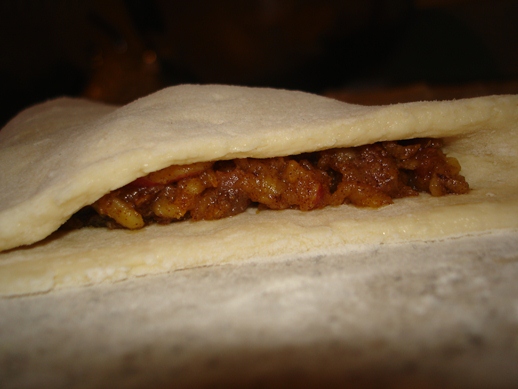
Starting at one of the corner points, lift the bottom dough and stretch-fold-roll it over the top dough. Biscuit dough is sticky enough that you shouldn't need any water or egg to make the edges stick, but if yours aren't sticking, water will help.
Stretch-fold-roll your way toward the point, then stretch-fold-roll along to the other corner.
Apparently I took no pictures of this process.
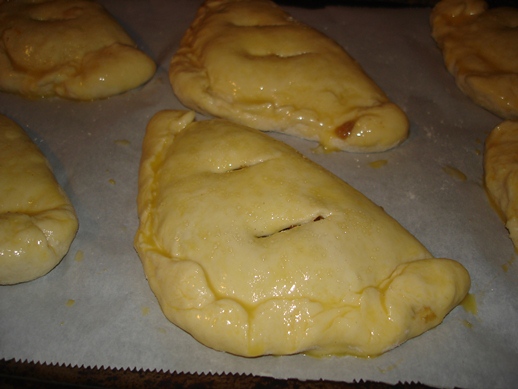
When you're done, they should look something like these:
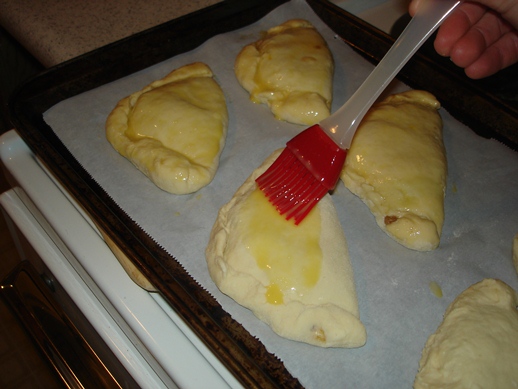
Brush them with an egg with a tsp of water beaten into it.
Cut a slit or two in the top so steam can escape. If you to this, you are less likely to have filling explode out of the side. You can dust the tops with sugar too if you'd like.
Bake them at 400 for about 20 minutes.
I'm still working the kinks out of my new oven, but I'm pretty sure I was around 400, and mine only took 18 minutes.
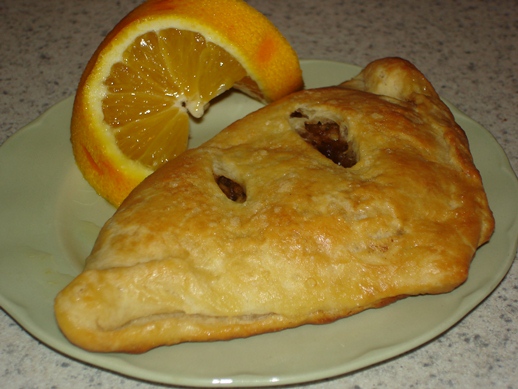
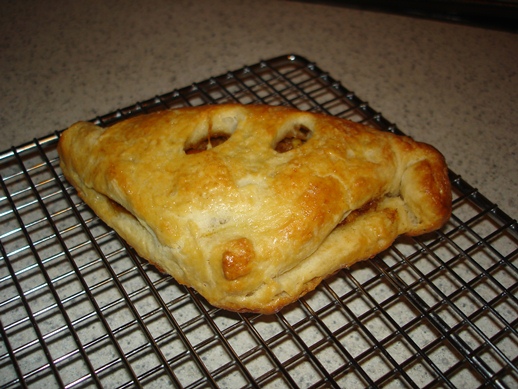
They'll be lovely and shiney and golden when they're done.
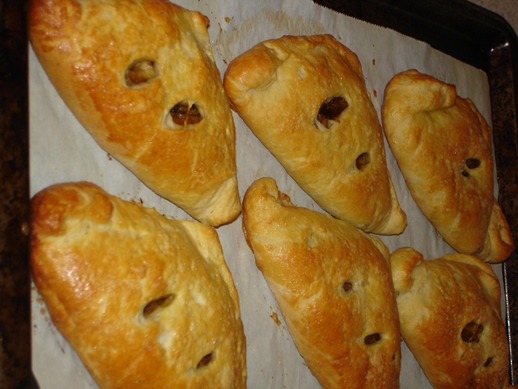
And some of them will have strangely face-like features.
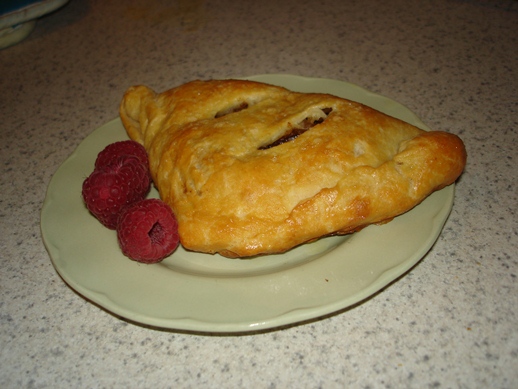
Tasty served with morning coffee, afternoon tea, or a glass of evening eggnog.
Stick around. We are actually going to pull off some holiday shit this year. Taneasha's thinking sweets, and I'll be making small things you can eat with one hand.
Maybe one day I'll get back to writing things you want to read with only one hand... ;)