Search
Categories
Have a request?
This form does not yet contain any fields.


    Entries in spicy (17)

    Friday
    Dec112015

    Eggnog Meltaway Cookies

    As you probably know from past posts, I love eggnog. I’ve made homemade eggnog, eggnog fudge, and eggnog cinnamon swirl scones that are to die for. Well, for this year’s second holiday cookie, I wanted to incorporated eggnog. I also wanted to try something I haven't made before. The answer… Eggnog Meltaway Cookies!

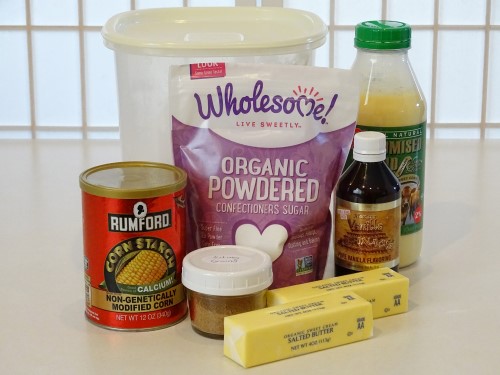
    Here’s what you’ll need: 

    • ¾ cup butter (1 ½ sticks)
    • 1 cup powdered sugar (divided)
    • 1 teaspoon nutmeg (divided)
    • 2 Tablespoons eggnog
    • 1 Tablespoon vanilla
    • 1 ¾ cups flour
    • 2 Tablespoons cornstarch
    • ¼ teaspoon salt 

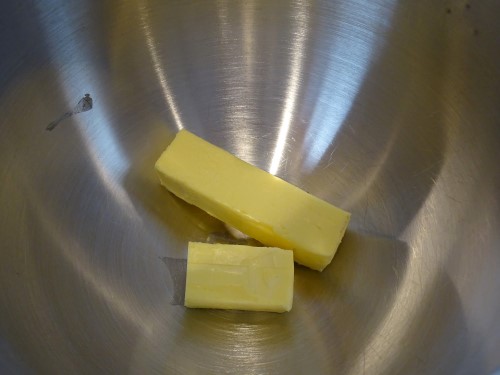
    Make sure your butter and eggnog are room temperature before you get started, and preheat your oven to 350°. Place the butter into your mixing bowl.
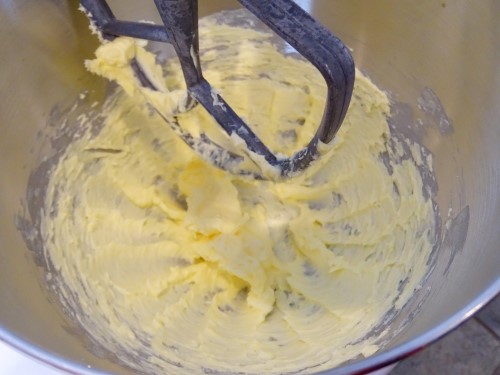
    Mix it for a minute or so until it’s nice and soft and creamy.
    While that’s going, sift your powdered sugar.
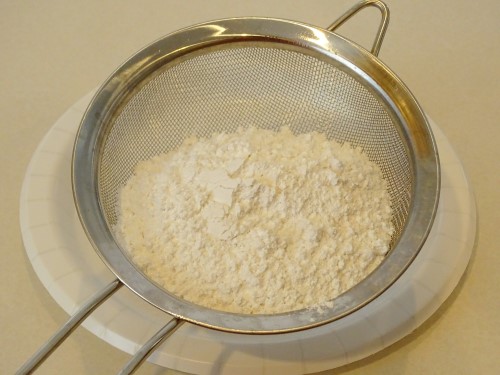
    Add ⅓ cup of the sifted sugar to your butter and set the rest aside for later.
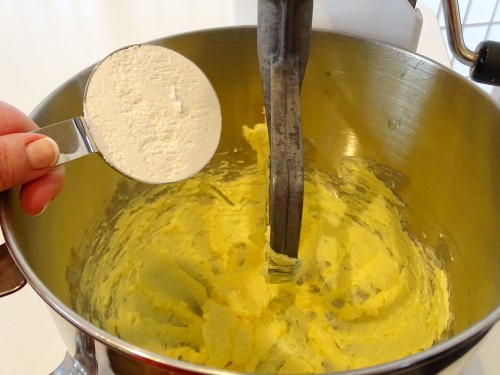
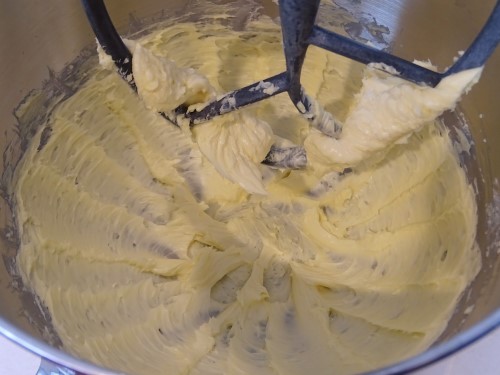
    Allow that to mix for a good two minutes. It should become a lovely pale color and look somewhat fluffy.
    Scrape everything down and add ½ teaspoon of the nutmeg. Now usually, I would insist that it needs to be freshly grated. I just bought a fresh bottle of already ground stuff from Penzeys, though, so that what I used this time. If you don’t want to grate your own, at least get some that’s fresh. Nutmeg loses its lovely flavor very quickly.
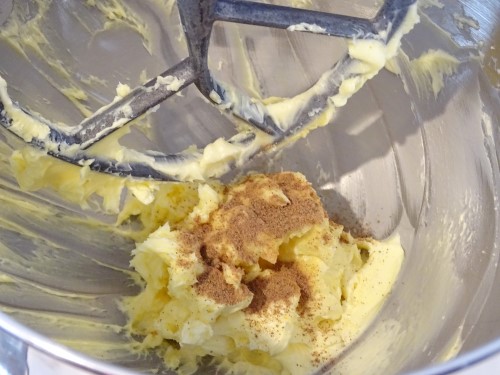
    Mix that in and add the eggnog.
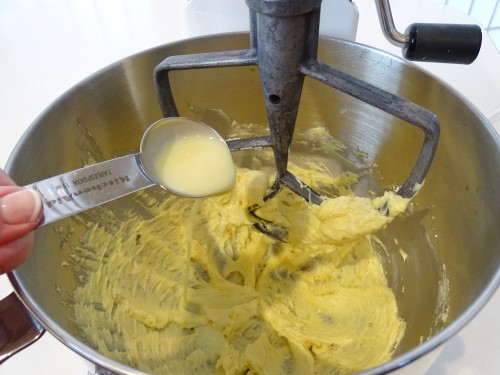
    And then the vanilla.
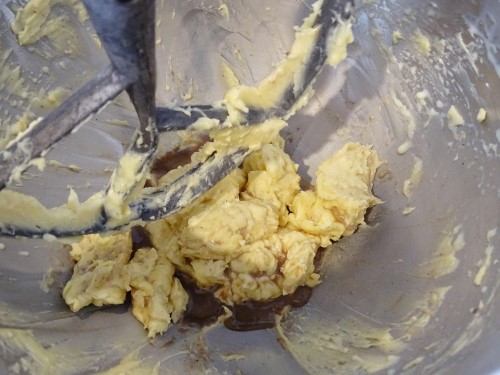
    This is where things got a little scary for me. Let’s be honest, this just doesn’t look promising. Having never made meltaways before, I wasn’t sure if this was a problem. Well, I can now assure you that it is not.
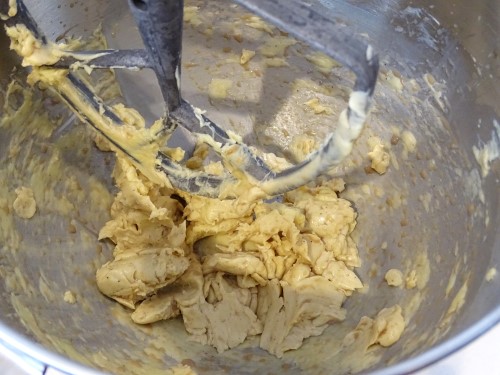
    Go ahead and add the flour, cornstarch, and salt, and mix just until everything is incorporated.
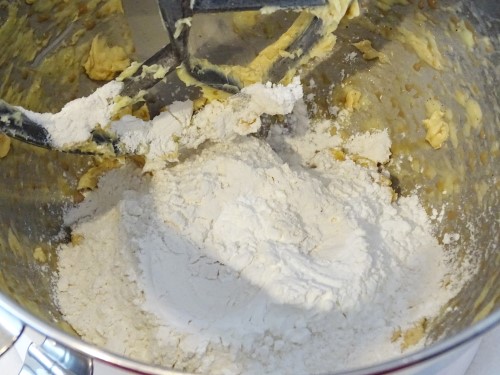
    The dough should be slightly firm, but have a smooth, velvety texture.
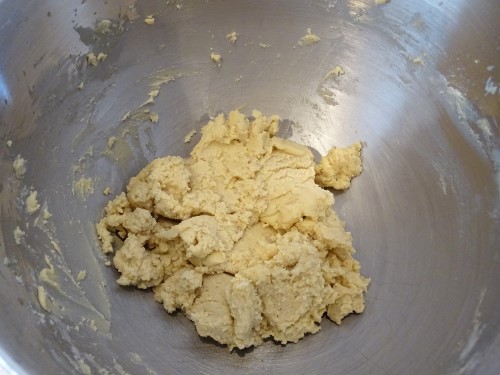
    I used my smallest scoop, which is about 1 ½ Tablespoons, to scoop the dough. (I love these scoops btw)
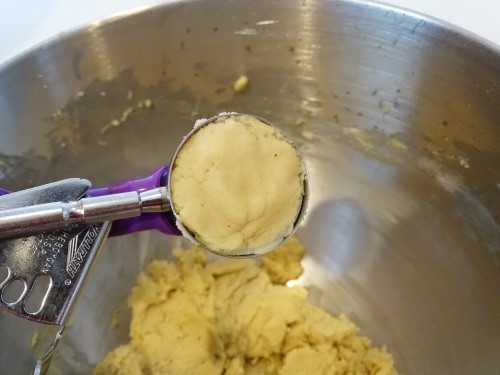
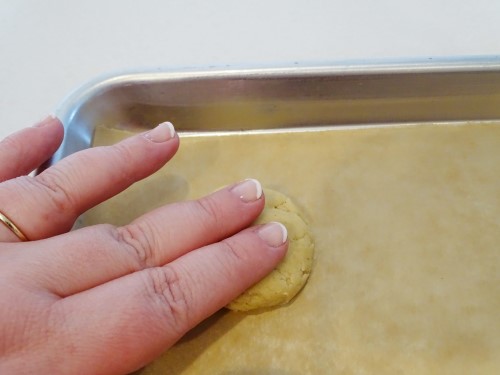
    Place the dough on a parchment lined sheet pan or cookie sheet and press it with your fingers or palm.
    You should end up with rounds that are something like 1 ½ inches in diameter and ½ inch thick. They don’t need a whole lot of space between them because these cookies won’t really spread.
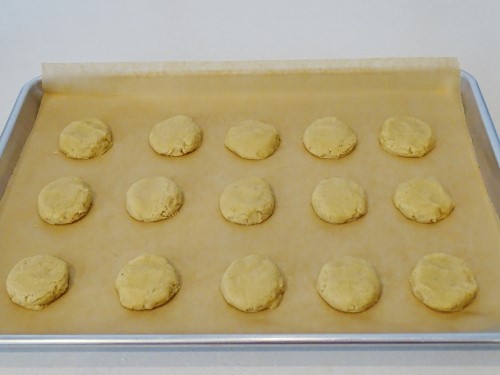
    Into the 350° oven for 15-16 minutes. They’ll look dry on top, but won’t be browned at all.
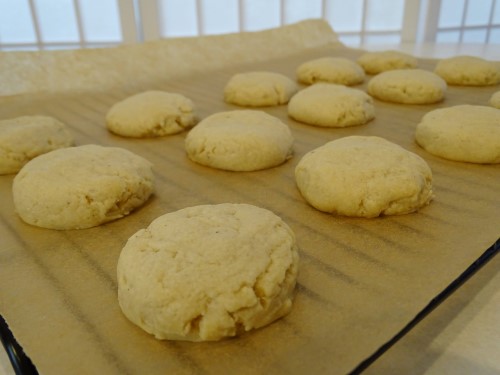
    Mine weren’t even browned on the bottom yet.
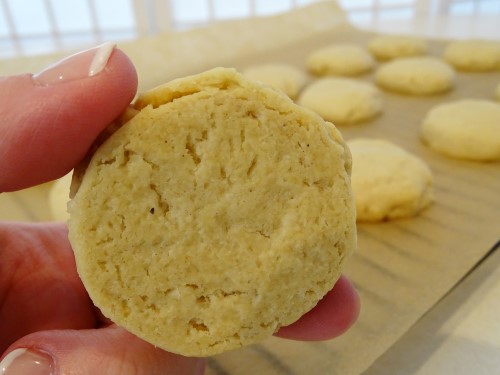
    Move them, parchment and all, to a rack to cool for 10 minutes. While they’re cooling, put the remaining powdered sugar and nutmeg into a large zip top bag.
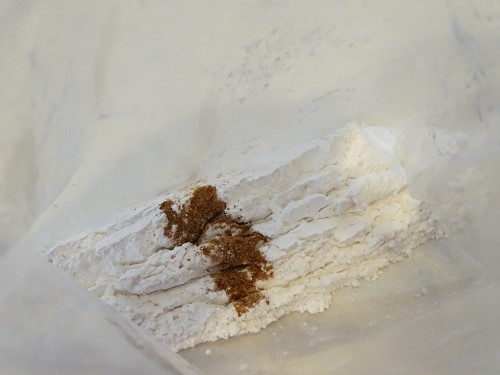
    Mix those together, and when the cookies have had 10 minutes or so to cool, go ahead and drop them into the bag a few at a time.
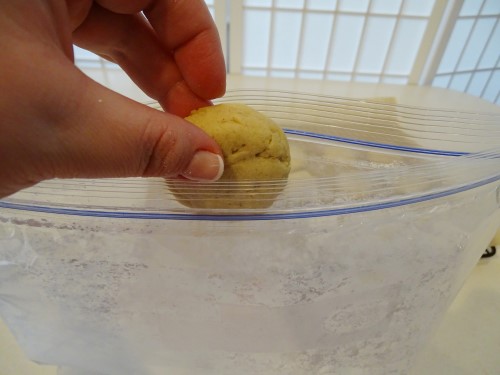
    Shake them gently until they’re completely coated.
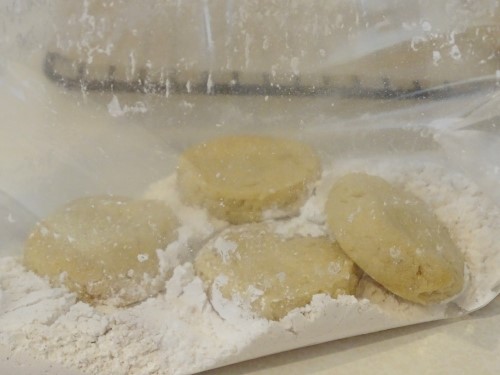
    Brush/shake off the excess and return them to the rack to finish cooling.  
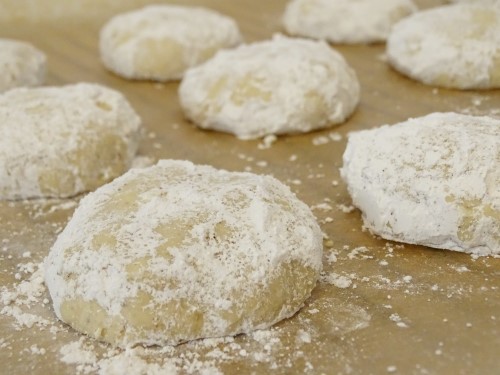
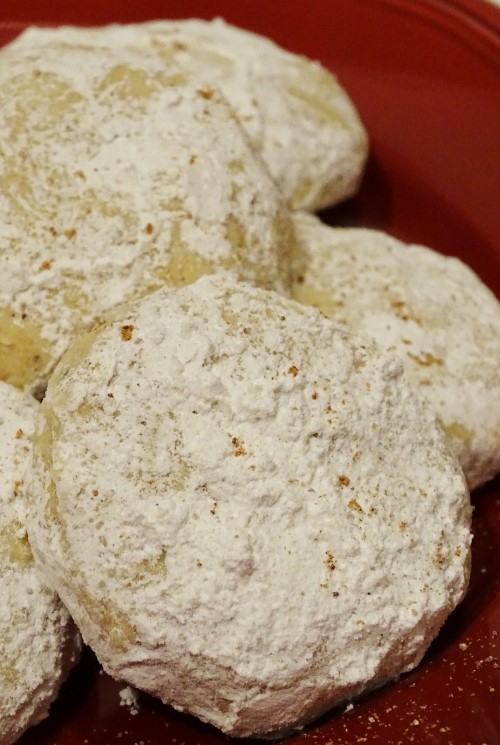
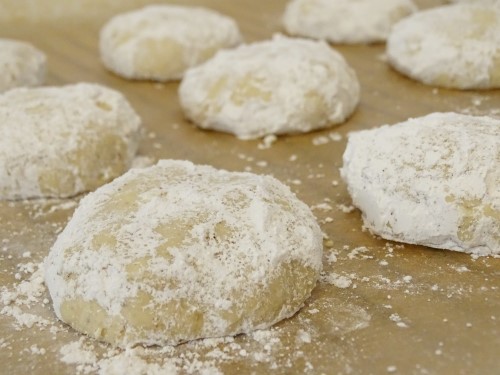
    Aren’t they pretty? I was very pleased with the result. True to their name, they melt in your mouth as you eat them. The eggnog flavor is there, but it is quite subtle, which I thought was perfect for these delicate, little cookies.
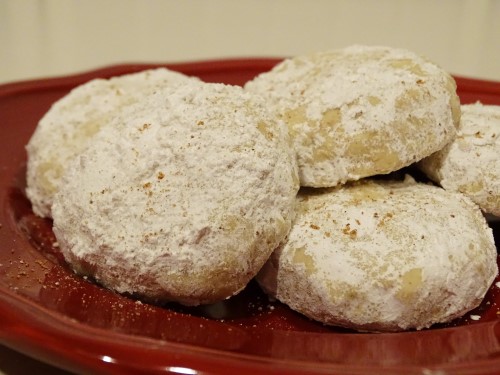
    I topped them with just barely a sprinkle of nutmeg, for a little contrast and a touch more spice.
    What is your favorite holiday flavor? Eggnog? Peppermint? Gingerbread

    Tuesday
    Oct272015

    Wicked Good Chili

    I had a hell of a time coming up with something to post for Halloween this year. The problem with Halloween is that the colors are pretty much, orange, black, green, and purple. Although I did make black and orange whoopie pies, and purple punch with icy eyeballs, for the most part, those colors are hard to do by natural means. After trolling Pinterest for hours and thinking on it for day to no avail, I finally consulted Hubby. He told me that they always had chili on that night when he was growing up, and it was one of his favorite things about the holiday. Yes! Finally something I can make, and Pumpkin Chili is perfect!

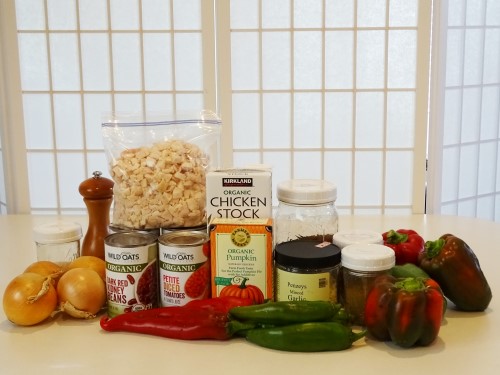
    Here’s what you’ll need: 

    • 3-4 onions
    • 6 medium bell peppers
    • 6 mild chiles
    • 4 cloves garlic
    • 1 Tablespoon sea salt
    • 1 teaspoon Mexican oregano
    • 1 Tablespoon cumin
    • ¼ cup chili powder
    • 1 teaspoon black pepper
    • 3 cans kidney beans
    • 1 can pumpkin
    • 1 can diced tomatoes
    • 1 quart chicken stock
    • 3 cups cooked chicken, diced 

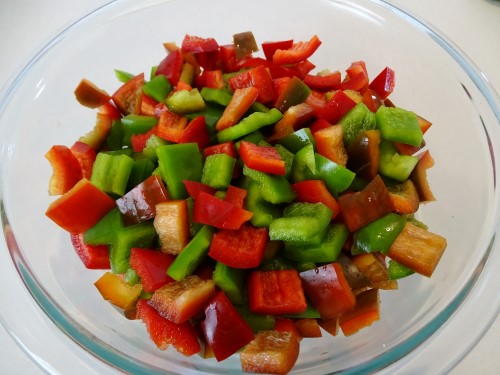
    The color of the bell peppers doesn’t really matter. Mine came from my mom’s garden, (along with the other chiles. Thanks Mom!) so they were just whatever needed to be picked, basically. Remove the seeds and cut the peppers into fairly large pieces. Think something like ¾ inch.

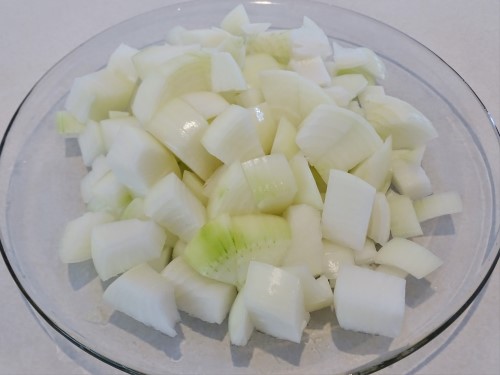
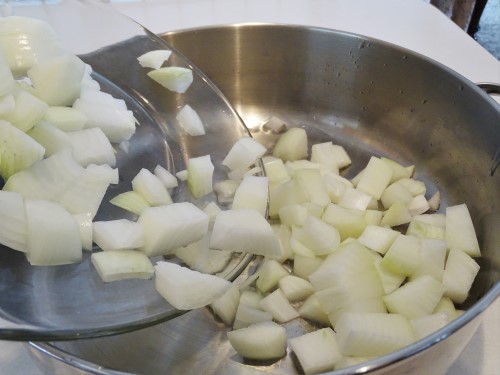
    Do the same with the onions. Mine were pretty little, so I used 4.

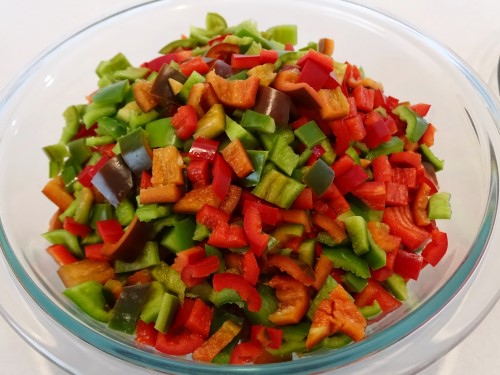
    With the chiles, I cut them into smaller pieces.

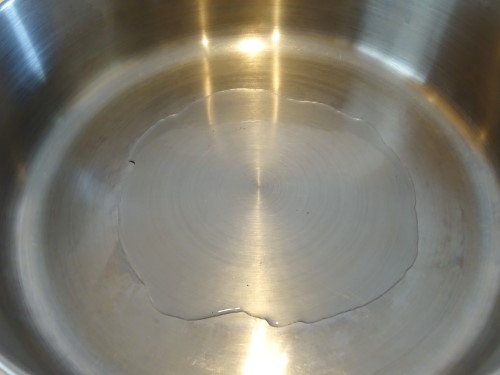
    Now, in a large pan, heat 2 Tablespoons of oil.

    When it’s hot, add the onion.

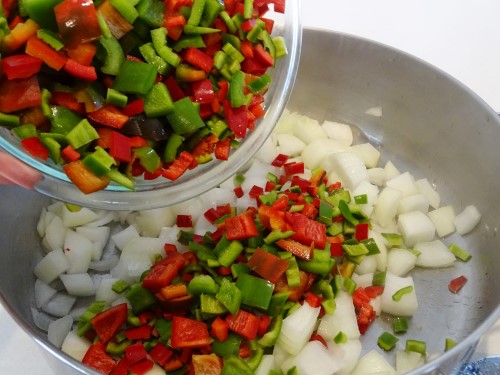
    And the peppers and chiles.

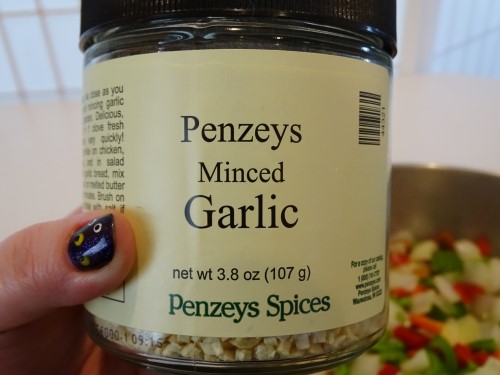
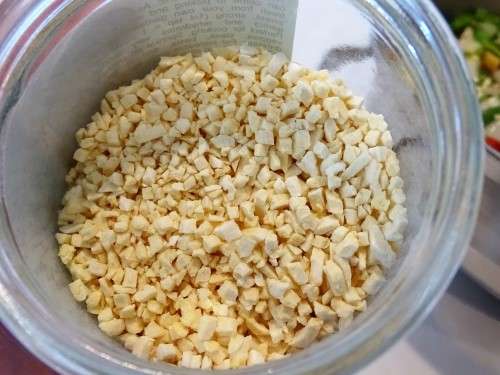
    Sprinkle 1 Tablespoon of sea salt over the top. That sounds like a lot, but this is going to be a big pot of chili. Now, for garlic, I have converted to Penzeys Minced Garlic. It is freeze dried and, quite simply, incredible. No more peeling and chopping for me, it smells and tastes just like fresh garlic. (See my cute little spooky eyes?)

    The jar says ¼ teaspoon = 1 clove, so I added a teaspoon.

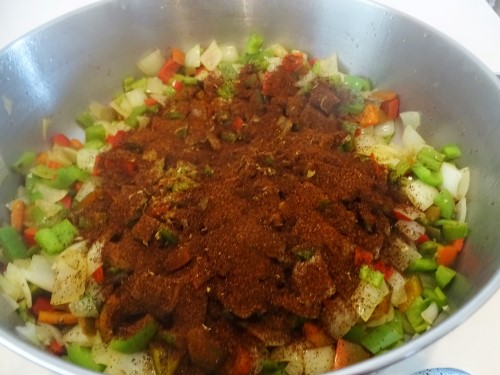
    Cook the vegetables, stirring them until the onions are translucent and they’ve given off most of their liquid. That will probably take 5-7 minutes. Then sprinkle over the chili powder. Now, for most of my spices I go with Penzeys, but when it comes to chili powder, my all-time favorite is Frontier Fiesta Chili Powder . It is just the perfect blend of spices for my taste buds, I guess. Also add the pepper, cumin, and oregano.

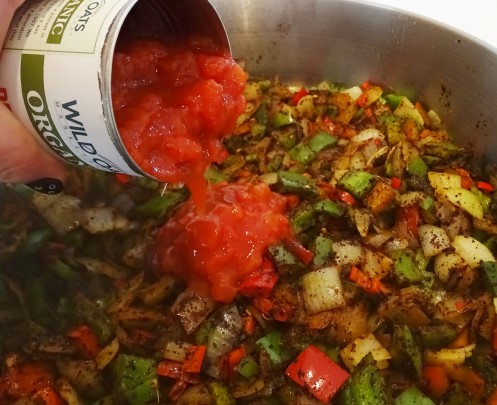
    Stir that in, then add the tomatoes.

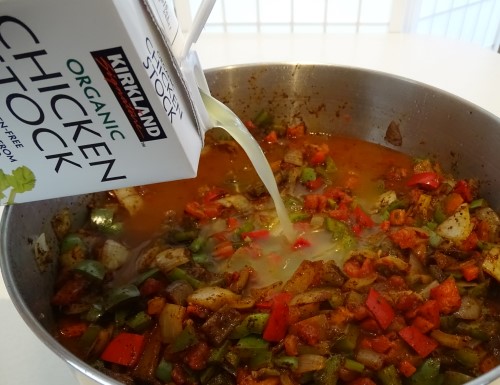
    Pour in the chicken stock. If I don’t have homemade, I like Kirkland organic chicken stock from Costco.

    Stir that together, then cover and reduce to a simmer.

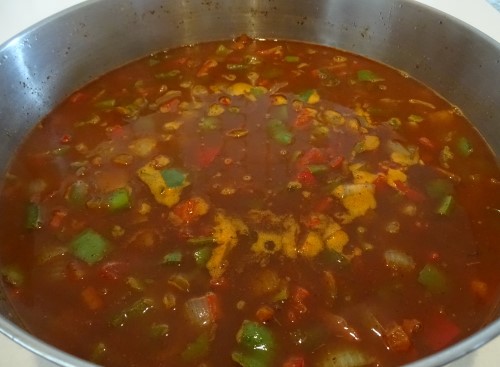
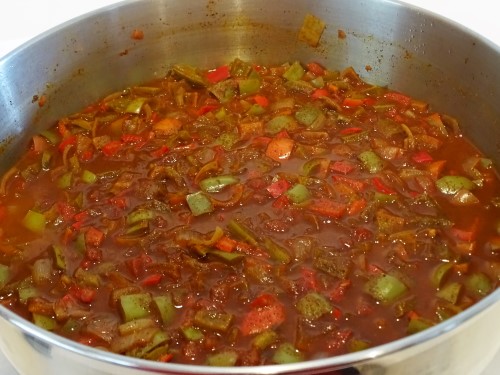
    Allow it to cook for an hour or so, stirring occasionally.  After that time, it should look something like this.

    Rinse your beans, and leave them in the sink to drain.

    Add your pumpkin. Yeah, I know, it looks gross. Brick shaped and a color that can only be described as baby shit. But trust me, it gets better.

    Slowly stir it in, and as it heats, it will just sort of melt and thicken the chili giving it a fabulous consistency. Add the beans.

    Stir in the chicken and turn the heat to low for another 30 minutes or so to get everything heated through and allow the flavors to mingle and get to know each other.

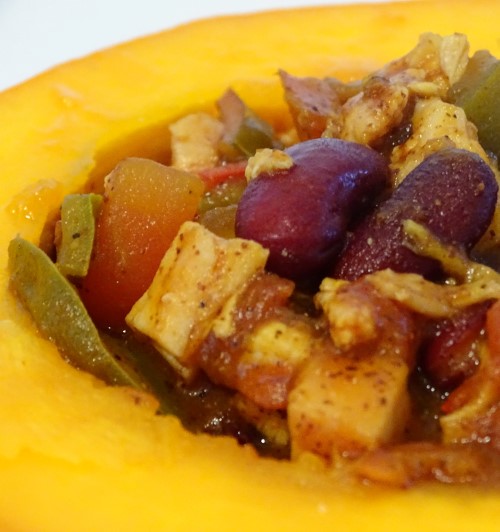
    The pumpkin adds just a touch of sweetness that balances perfectly with the smoky cumin and spicy chili powder.

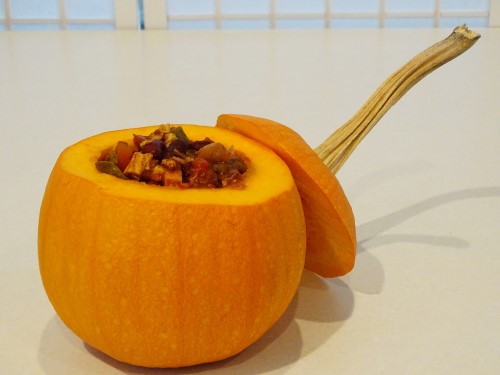
    Fill the little ones’ bellies before they go out trick-or-treating, or warm them up when they get home. For a fun presentation, try serving it from one large pumpkin, or individual servings in little pumpkins.

    What was your favorite thing about Halloween growing up?