Pizza Bender Mayhem!
 Taneasha
Although you could say we’re on a bit of a pizza bender with the number of them we’re posting this month, that’s not actually what I meant. Here in Salt Lake there’s a restaurant called Italian Village. It’s not a fancy schmancy place you take someone on a date and order an expensive bottle of wine. It’s a family friendly, community restaurant. The place you grew up eating, the high school hang out spot, or if you were lucky, it was your first job. One of their claims to fame is their pizza bender. It’s basically just a calzone, but it’s cheap, it’s made to order, and it’s fantastic! Pair it with one of their delicious tossed salads (seriously, why don’t all restaurants toss their salads?) and you have a fabulous meal for like ten bucks. Since we’re doing pizza this month, I decided to try my hand at creating my own.
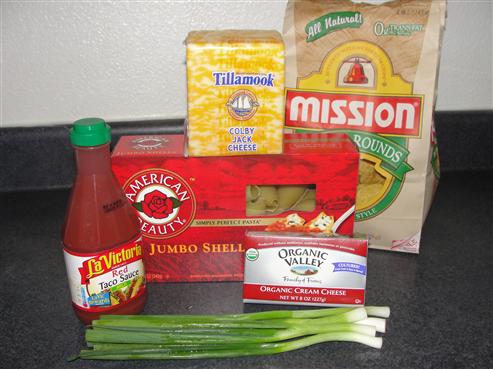
Here’s what you’ll need:
- 1 ½ cups warm water
- 3 Tablespoons olive oil
- 1 Tablespoon yeast (or a packet will work)
- 1 Tablespoon sugar
- 1 teaspoon salt
- 3 ¼ - 4 cups flour

If you’re using instant yeast you can follow this method, but if you’re using active dry yeast, you’ll need to proof it first, which I showed how to do here. For instant yeast, throw all of your dry ingredients into a bowl, starting with 3 ¼ cups flour.
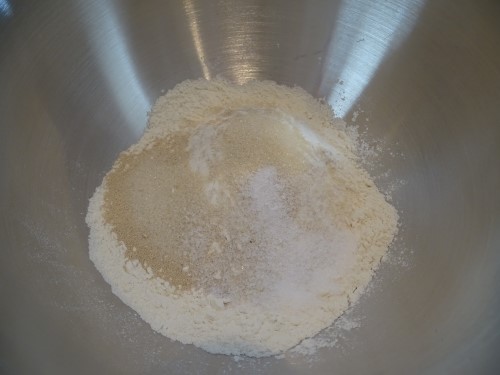
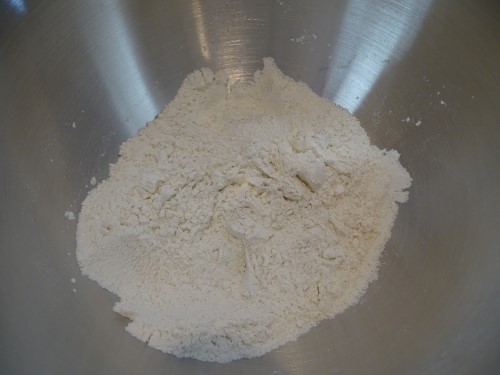
If you have bread flour or high gluten flour, use that. I just used all purpose. Either way, stir your dry ingredients together.
Add the water.
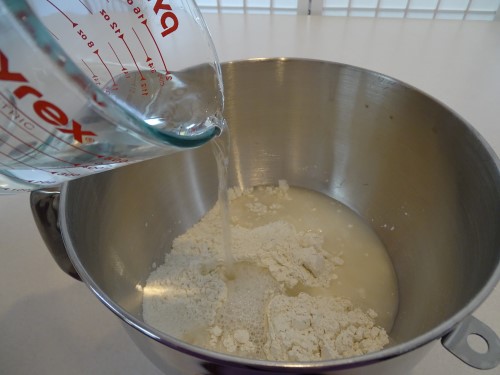
And the olive oil.
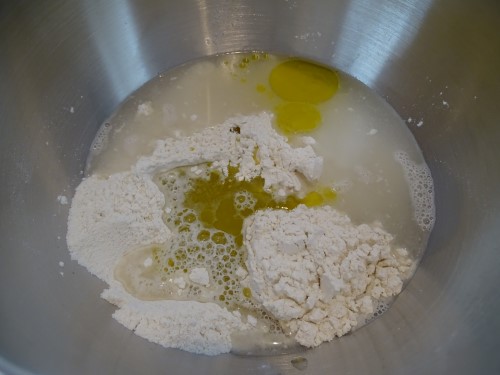
I like to just use a spoon to mix it just until it forms a sort of blob.
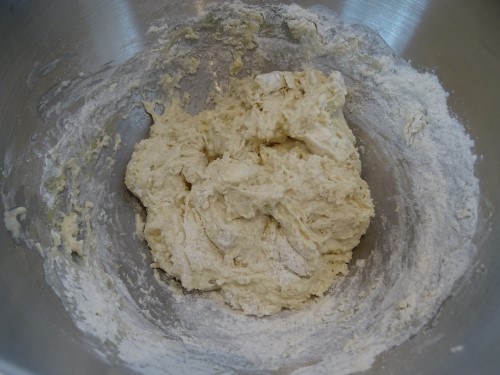
Then I hand it off to the Kitchen Aid. If it looks like this, you need to add more flour, ¼ cup at a time.
It’s ok if it still sticks to the bottom, but you want it to mostly clean itself from the sides. 3 ¼ cups was the magic number for mine on the day I made it.

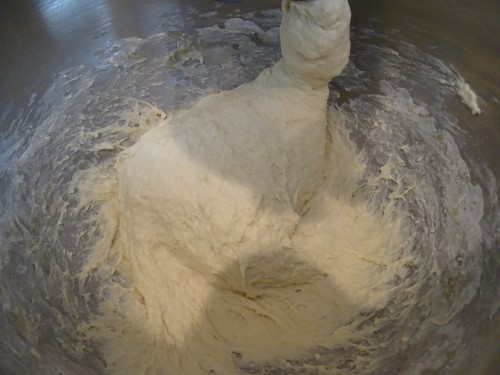
Allow the mixer to knead the dough for 5-6 minutes. The dough should be nice and smooth.

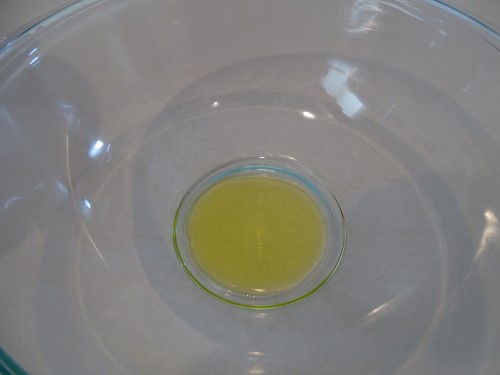
Pour about a Tablespoon of olive oil into a large bowl. Since you’re going to want oiled hands anyway, just rub it around with your fingers and coat the whole inside of the bowl.
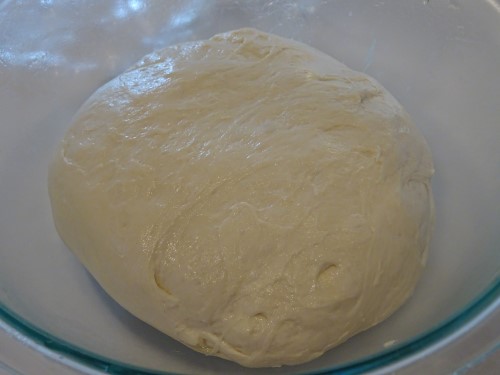
Then relocate the dough. It will be really soft and a bit sticky (hence the oiled fingers). Oil your dough scraper, as well. If you don’t have a dough scraper, you really need one.

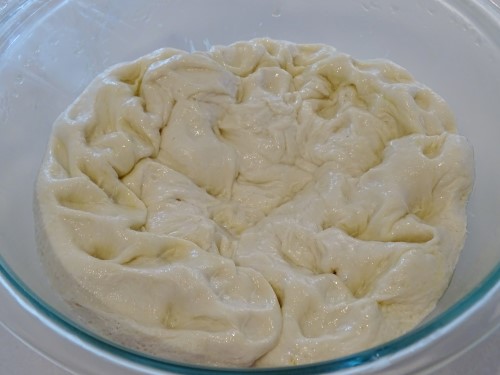
Place the dough blob into the oiled bowl, then turn it over so that it is coated on all sides with a little bit of oil.

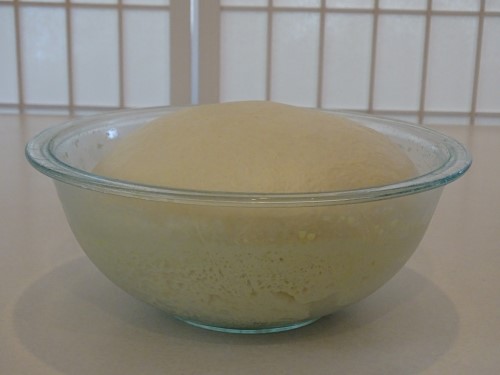
Cover that and place it in the fridge overnight. Now, there’s a good chance that your dough will grow like crazy when you first put it in there. If it starts to grow larger than the bowl, just punch it down.
Then form it back into a ball, cover it, and put it back in the fridge. I had to do that twice with mine.
The next day, pull it out of the fridge an hour or so before you plan to start on the pizza bender. During that time it will warm up and rise some more.
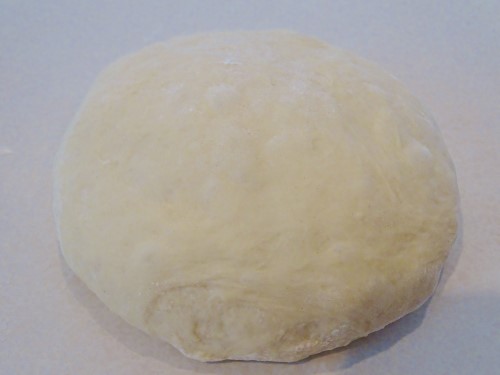
Preheat your oven to 425°. Punch the dough down and dump it onto a floured surface. Cut it into quarters and form each portion into a ball. Cover them with a damp towel and allow them to rest for 10 minutes. (If you want to freeze some for later, just dust them lightly with flour, drop them into a bag, and put them in the freezer.)
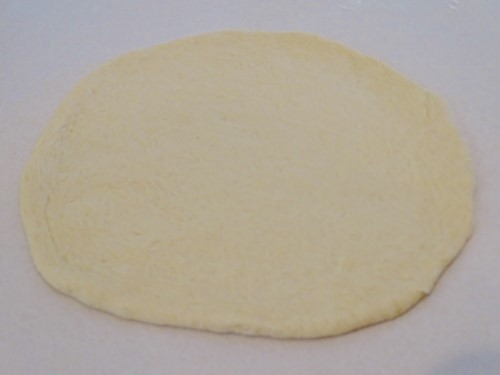
After its little nap, roll a piece of dough into a circle… something like 10 inches across. (I leave throwing to the professionals, but if you’re more coordinated than me, go for it!)
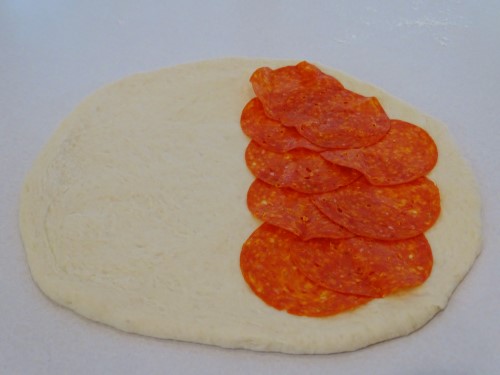
Since I went so outside of the box with my first pizza, I decided to go uber traditional this time. Feel free to stuff your bender with whatever you like. (just make sure any meat that goes in is cooked first) Here’s what I did. A layer of paper thin pepperoni.
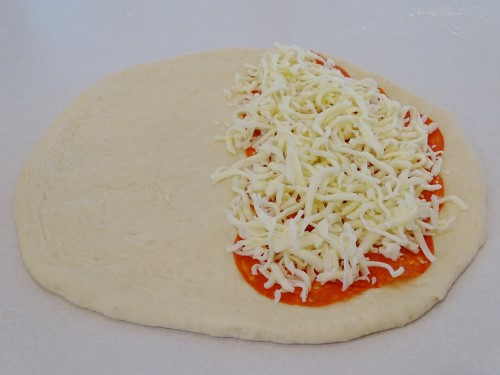
A handful of good mozzarella.
And another layer of pepperoni.
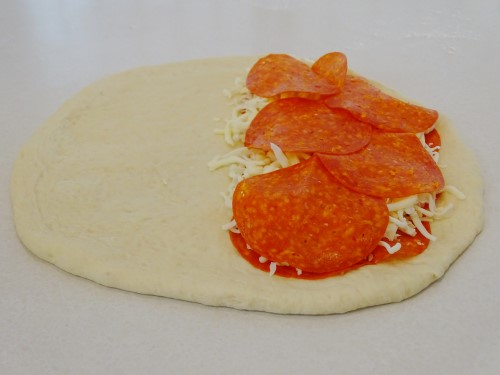
Regardless of what you put inside your bender, make sure you leave the edge clear. Then, with your finger, wet the edge of the dough all the way around.

Fold the dough over the filling ingredients, lining up the edges.
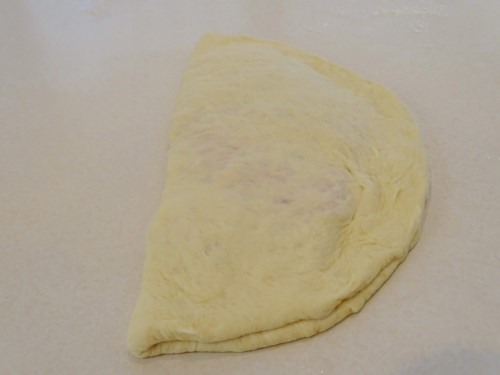
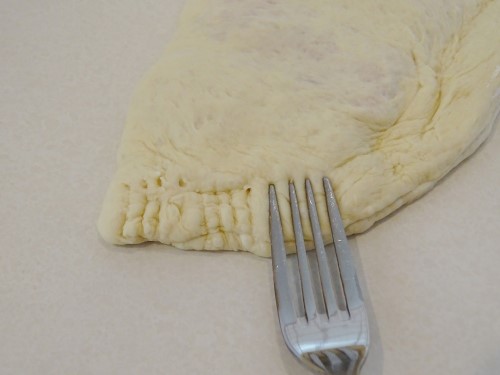
Using a fork, crimp the edge closed.
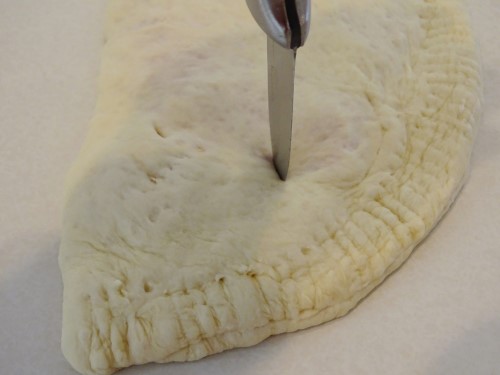
Poke several steam vents in the top.
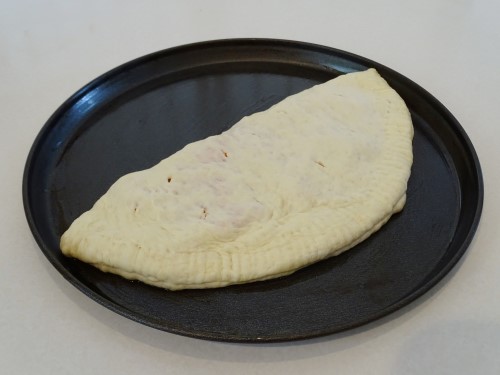
Now, moving the pizza bender once it’s put together is a bit tricky, so if you’d rather, place the dough on your pan first, and then fill it. Either way, make sure the pan has been brushed with a little bit of olive oil.
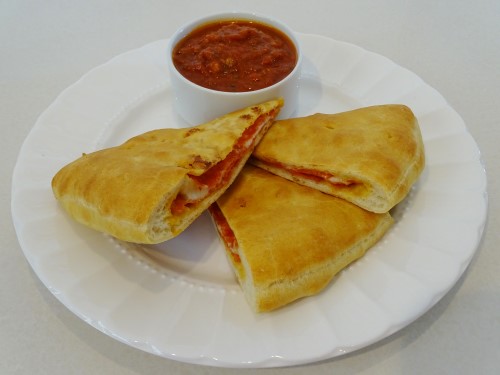
Into the 425° oven for 17-22 minutes. It should nice and golden brown when it’s done.

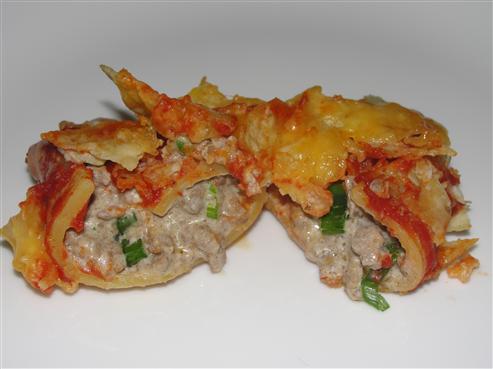
Allow it to cool for about 5 minutes and then cut it into wedges. Serve it with your favorite marinara sauce and enjoy!
I’m going to be honest here, for homemade pizza dough, this one’s pretty good, but next time I think I might just pick some up from a good pizzeria. It’s a lot of work to make your own, and even then, it’s unlikely you’re going to get the distinctive chew that a really good pizza crust should have. I love being able to control exactly what goes into the pizza bender, though, and it’s fun to build your own. What kind of pizza bender sounds good to you?