Toffee Popcorn... AKA Crack
 Taneasha
Yes, people have described this popcorn as being like crack. Not in the "it will ruin your life" kind of way, but in the "once you try it you’ll keep going back for more" kind of way. At least, I hope that's what they meant. I started making this popcorn a couple years before we left Utah. It quickly became an annual holiday tradition which people raved about and even eagerly anticipated. Last year we were in Massachusetts and I didn’t make it. I wasn’t really prepared, I guess. Well, we had just sold all of our belongings for our big move and had barely gotten started on replacing them all. To be honest, a popcorn popper wasn’t high on the list of things to buy for the kitchen at that point. Well, now that we’re mostly settled and know more than like two people here in Virginia, it was time to bring the popcorn back.
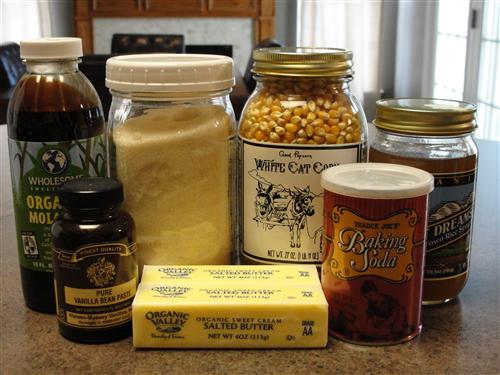
Here’s what you’ll need:
- ¾ cup butter (1 ½ sticks)
- 1 ½ cups sugar
- 1 Tablespoon molasses
- ½ cup brown rice syrup (or corn syrup)
- 1 teaspoon salt
- 1 teaspoon vanilla
- ¼ teaspoon baking soda
- 1 cup unpopped popcorn
As I mentioned, there are a couple pieces of special equipment needed for this project. One is a popcorn popper (I think an air popper works best) and the other is a very large pan. Personally, I like a big, cheap, nonstick roasting pan.
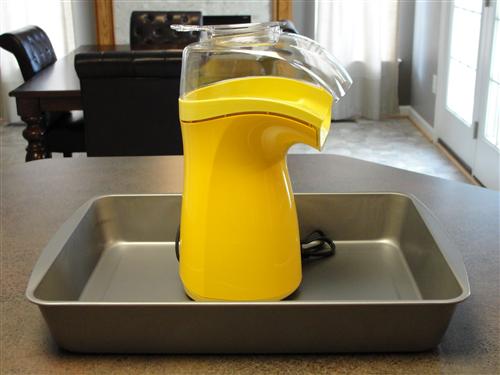
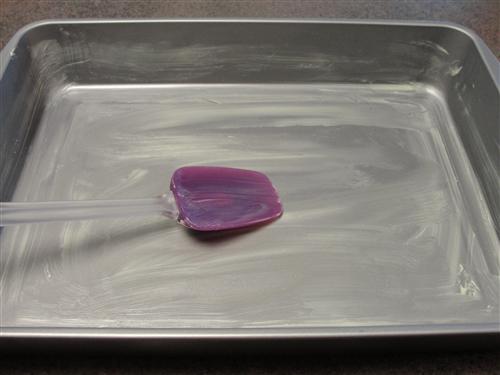
A pan like that can be surprisingly hard to find, so I’ll make it easy on you and just post a link to the one I got from Amazon. It’s really handy to have a pair of them, btw. Now, take said pan, and butter it along with a long handled, silicone spatula.
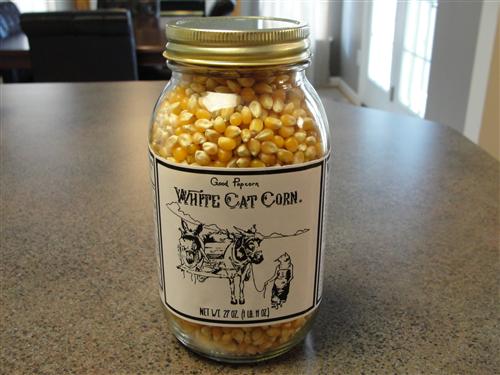
Now let’s talk popcorn for a minute. I’ve tried lots of different brands and varieties of popcorn. Hands down, the best option for this particular use is White Cat Corn. It pops up big and fluffy and really, it’s just popcorn perfection. You can get it from Sur La Table. I ordered mine off of their website. Or, if you happen to have a Home Goods nearby, you can sometimes get it there for half the price. I’ll pay the extra money to not have to fight Christmas crowds, though.
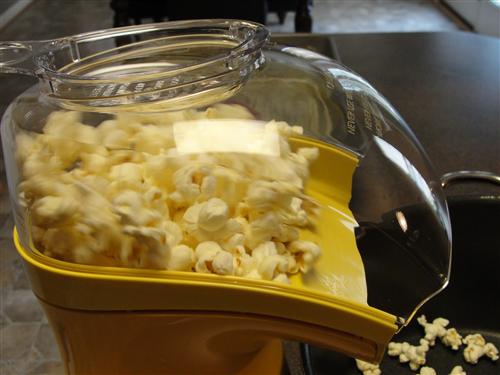
Ok, now that I’ve totally pimped a bunch of stuff I get absolutely no kickback for, why don’t we start on the actual food making part. Preheat your oven to 250°, then start on popping the corn. This was my first time using the new popper, so I was kind of excited. Not that it’s anything special. An air popper is basically just a glorified hair dryer with a chute, but so much more fun.
They can create a bit of a mess as you near the end of the kernels. Popcorn kind of starts flying everywhere.
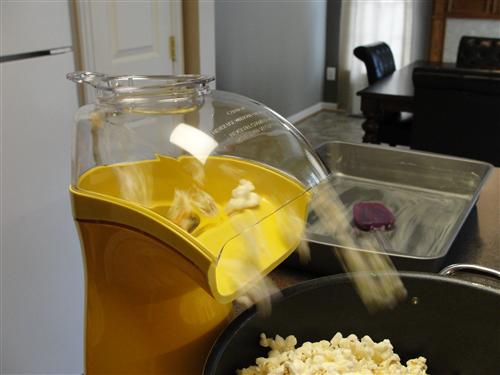
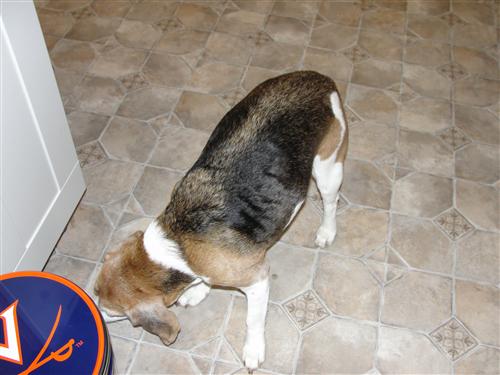
In my opinion, that’s just part of charm of an air popper. Besides, Otto was more than happy to take care of any that landed on the floor for me.
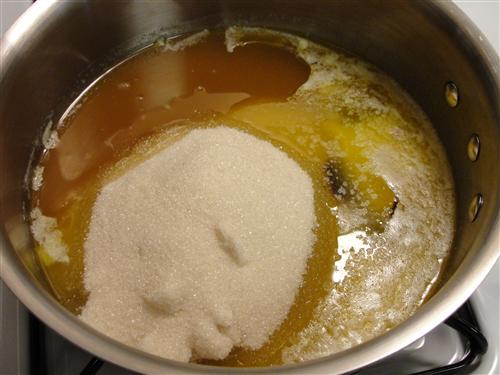
By the way, most machines have a limit of ½ cup of kernels, so you’ll probably have to do it in 2 batches with a few minutes of cool down time in the middle. When the popcorn has cooled, go ahead and pour it into the buttered roasting pan. Now it’s time for the toffee part. Place your butter in a pan over medium-ish heat and allow it to melt.
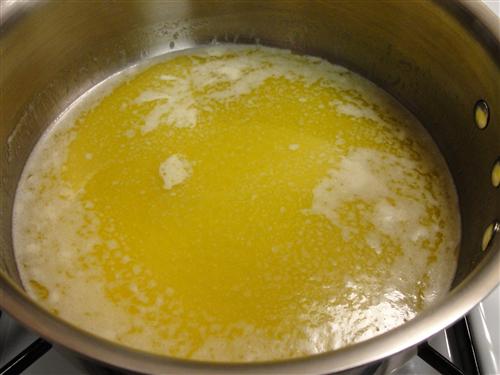
When it’s completely melted, add the sugar, molasses, syrup, and salt. (If you prefer, you can use 1 ½ cups brown sugar in lieu of the sugar and molasses.)
Stir all that together and continue to stir constantly as the mixture heats. You’ll have a bit of an oil slick on top, but don’t worry about that.
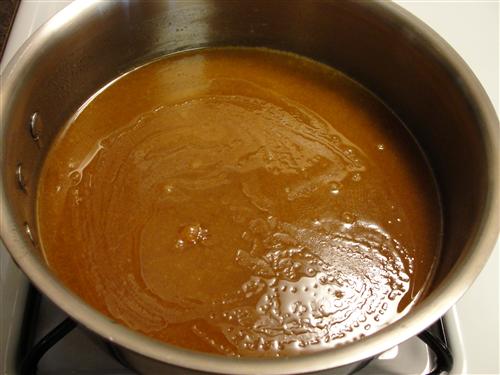
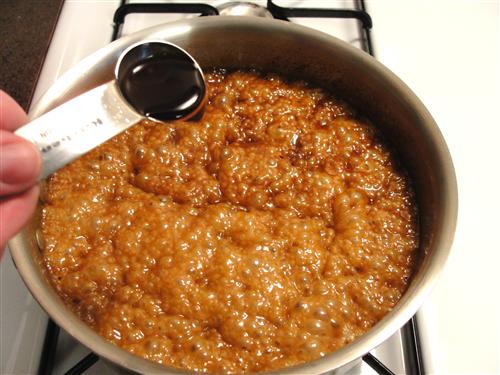
Once the mixture reaches a boil, that will sort itself out. At this point, pop on a lid for 2 minutes.
During that time, wash your spoon or get a clean one out. When you remove the lid the mixture will look something like this.
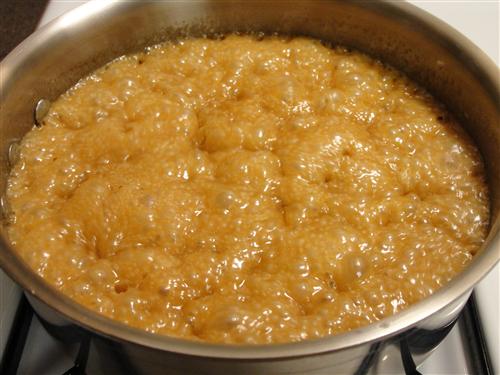
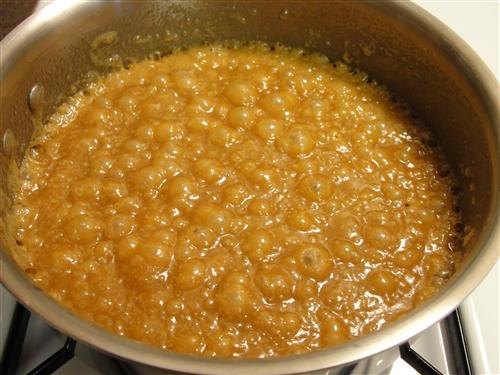
Allow it to cook, undisturbed, for 2 – 3 more minutes. When you start to see the color change, remove it from the heat and add the vanilla and baking soda. It’ll get mad and sputter at you, but just stir them in quickly.
Immediately pour the mixture over the popcorn. Don’t scrape the pan clean, just set it aside.
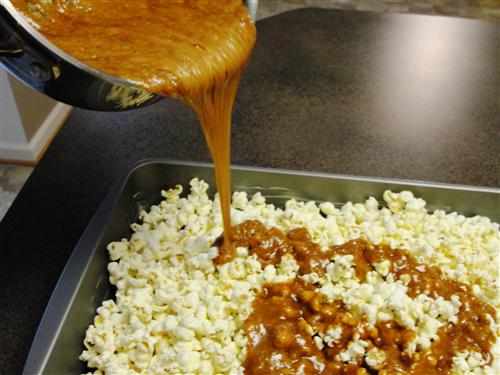
With your long handled spatula, gently stir the popcorn around so that the syrup is somewhat spread about. Be very careful, you are dealing with molten sugar, basically, so it’s extremely hot.
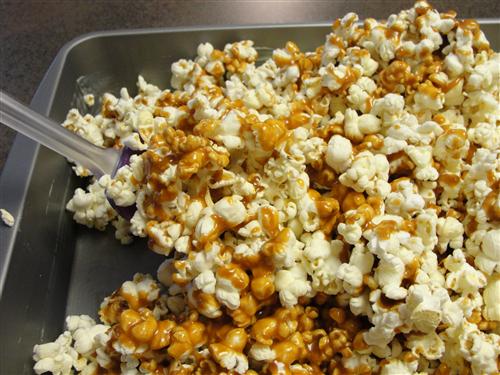
Don’t worry about it being perfect at this point. You’ll think there’s no way that’s enough toffee for the whole pan, and how on earth are you supposed to get them all coated.
Don’t fret, just pop the pan into the oven. Now, go back to your saucepan and scrape any remaining toffee into a puddle on a piece of foil. It’ll be a bonus treat for later. After the popcorn has been in the oven for 20 minutes, pull it out for another stir. There will be little puddles of toffee mixture that have dripped down onto the pan. You want to get as much of that as you can up onto the popcorn.
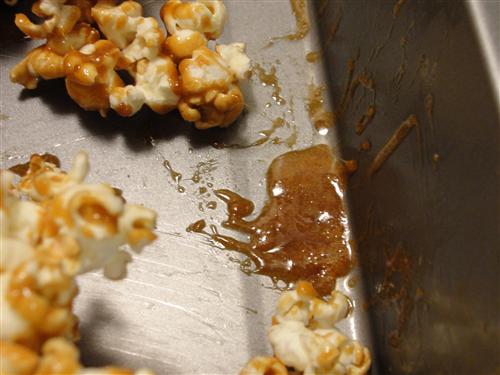
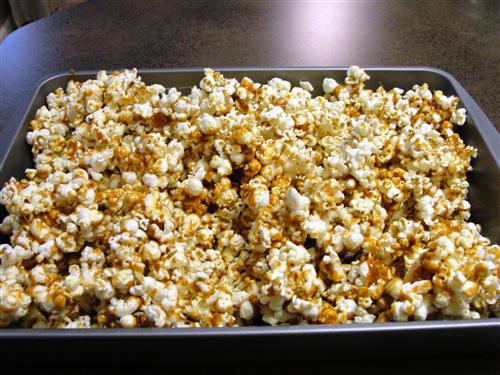
Repeat this process twice more, for a total of 1 hour of oven time and 4 stirs. During that time, it will morph from messy popcorn with globs of toffee, to gorgeous toffee popcorn goodness.
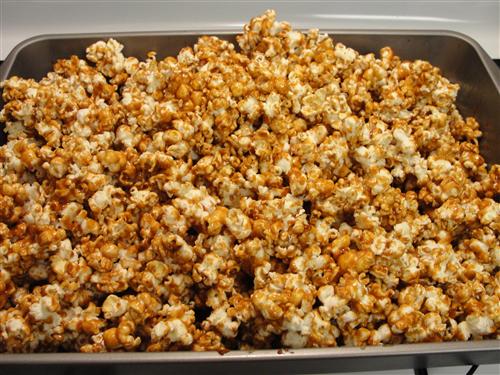
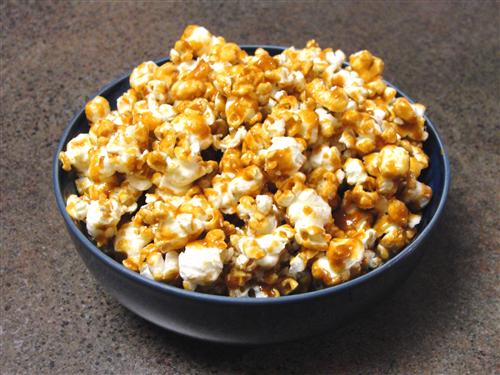
Oh, and be prepared for your entire house to smell absolutely amazing. Split the hot popcorn into two pans so that it can cool. Try not to burn yourself while snitching a sample. Seriously, resistance is futile, so just remember it’s hot and use caution.
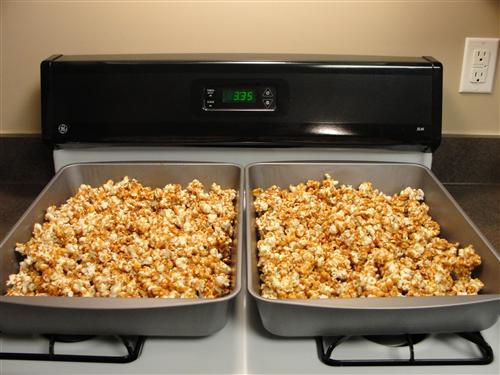
Now start on a second batch, because this one will be gone before you know it, and you’ll just have a pile of cellophane bags that still need filling. Seriously though, give your friends bags of this popcorn for Christmas this year, and they’ll never want anything else again.
Hubby took a bunch of it into work for his coworkers to munch on. Happy holidays, guys! I hope you enjoyed it!
What homemade gift do you like to give to your friends?