Search
Categories
Have a request?
This form does not yet contain any fields.


    Friday
    Jul202012

    I Want My Baby Back Baby Back Baby Back

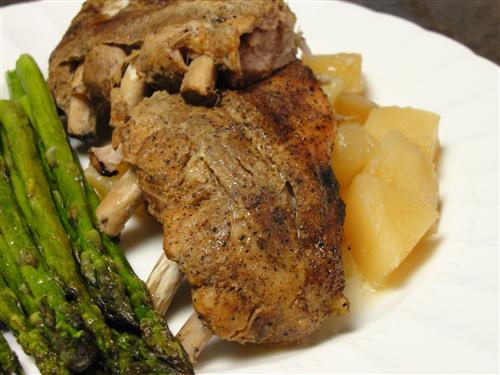
    Living in Utah my whole life, I always thought 100° was 100° and those people whining about humidity making it worse were just a bunch of pansies.  Well… I was wrong.  I get it now.  In Utah when it gets over 100 the sun literally feels like it’s baking you.  Here, it feels like you’ve just walked into the sauna from hell, even in the middle of the night.  You can’t breathe, and the sweat… seriously?  I never used to sweat, but here it’s just the default way of being.  All that in mind, you’ll understand why I not only don’t want to use my oven or boil anything on the stove, but I don’t even want to use my electric skillet because it creates too much steam.  I was tired of sandwiches, salads, and eating out.  I wanted a proper, home cooked meal, so I did the only thing I could think of.  I bought a slow cooker.  What could be a better way to break it in than baby back ribs and potatoes?  As a bonus, it was the easiest meal I’ve made in a long time, and amazingly delicious.  Hubby gave it two thumbs up. 

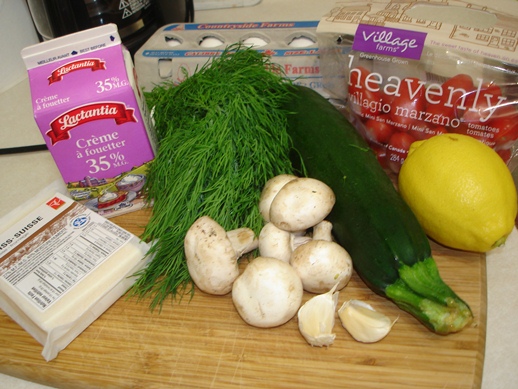
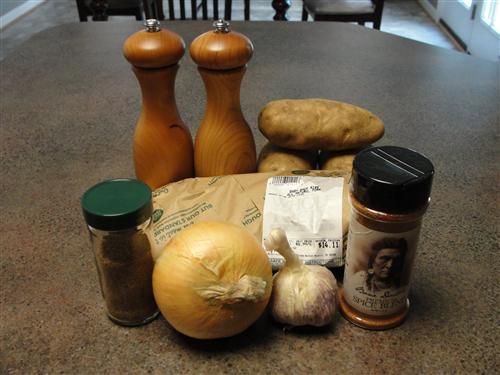
    Here’s what you’ll need:

    • 1 rack of baby backs
    • 1 onion
    • 3 good sized potatoes
    • 5 cloves of garlic
    • Celery salt
    • Salt & Pepper
    • Your favorite spice mix
    • 1 lemon

    Peel your onion, cut it in half, and slice it about ½ inch thick.

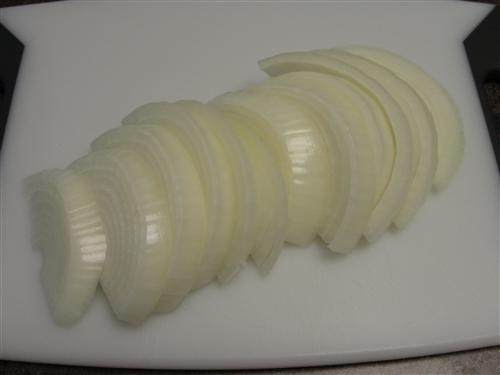
    Line the bottom of your crock pot with onion slices.

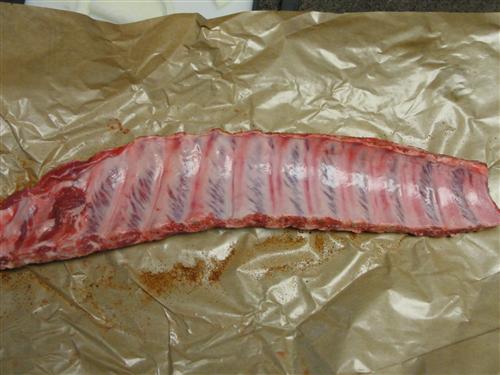
    Lay out your ribs.  Well, not your ribs.  You'll be needing them.     

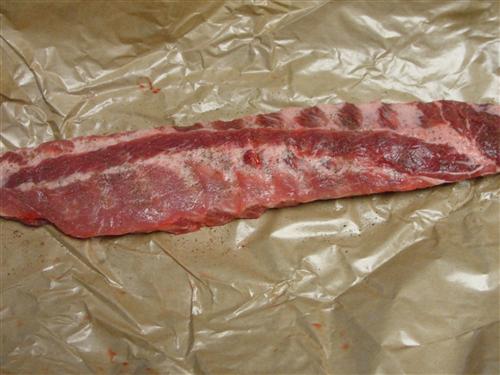
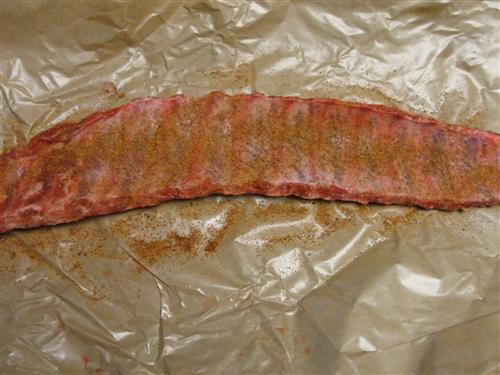
    Sprinkle with liberal amounts of all the spices. 

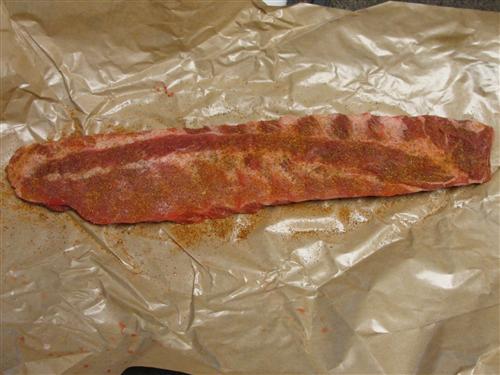
    Turn the rack over and repeat. 

    I know a lot of people only season the one side, but seasoning the underside serves multiple purposes here.  Not only will it add flavor to the meat, but everything else in the pot as well. 

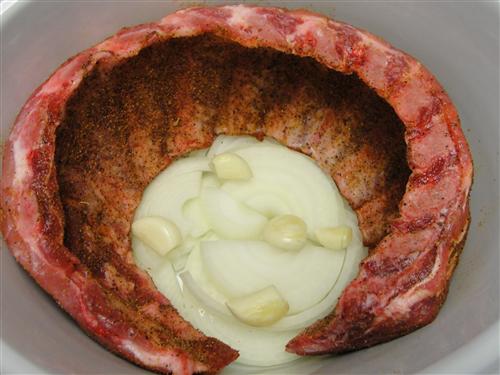
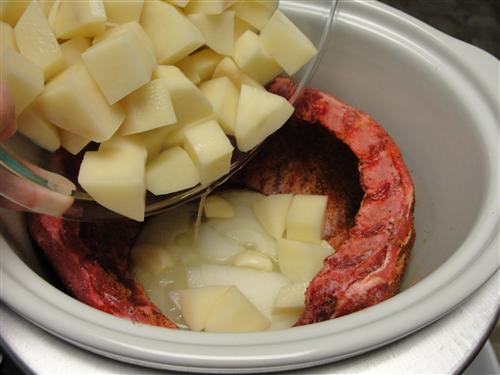
    Lay the ribs around the edges of the pot with the curved side facing in to form a little bowl.  (I know, sometimes I even surprise myself with my genius.)

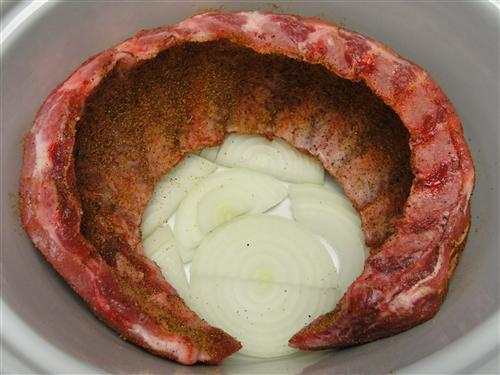
    Drop in any remaining slices of onion, along with whole, peeled garlic cloves. 

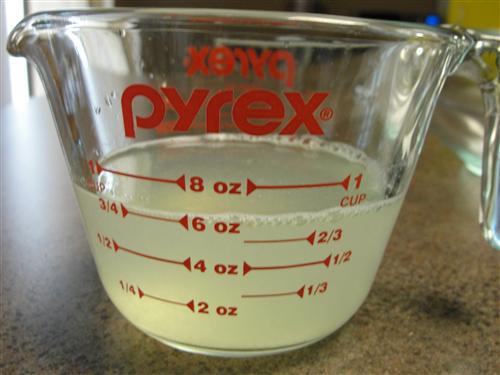
    Now, onto the potatoes.  Since they’re not going to be submerged, they need something to keep them from oxidizing.  Juice a lemon and add enough water to total ¾ cup liquid. 

    As you dice the potatoes, pour the liquid over the top and sprinkle on 1 teaspoon salt. 

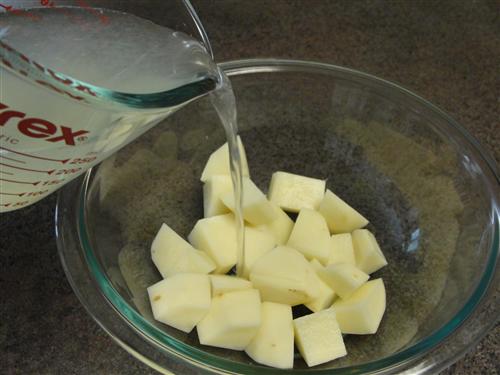
    Continue to toss the potatoes in the lemon water as you chop.  If you have any cuts on your fingers, I don’t recommend doing this with your hands.  I learned the hard way.  If you have any cuts or scrapes on your hands you aren’t aware of, you will be the moment you plunge them into lemon and salt water.  When you’ve recovered, pour the potatoes, along with the liquid into the bowl-o-ribs. 

    Now, just pop the lid on and cook on low for 6 hours.  Seriously, that’s all you have to do.  When you come back 6 hours later, your house will smell like you’ve slaved all day. 

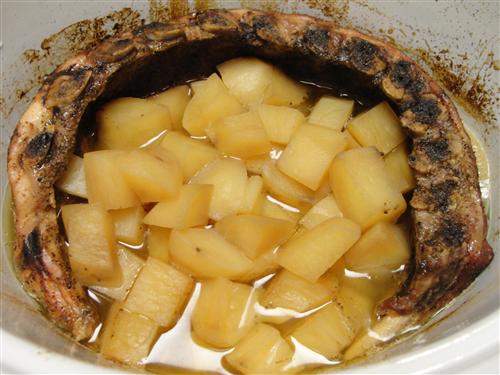
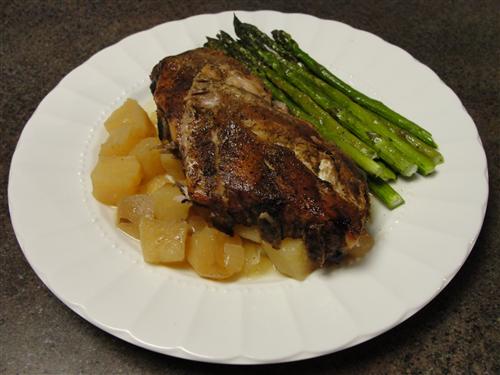
    You probably won’t be able to get the whole rack out in one piece, because it’s literally fall apart tender.  Saves the hassle of having to cut it, right?  Just put down a bed of potato, onion mixture and lay the ribs on top.  You aren’t going to believe how good these are. 


    What else should I make in my new slow cooker? 


    *Any leftover potatoes and onions can be blended into the remaining liquid making a fabulous potato soup bonus.   


    Tuesday
    Jul172012

    look ma, no crust!

    I've been feeling lately that working full time affords me less time to get shit done than full time school and part time work combined do.

    I think this is mostly because I'm out of the house for at least 10 hours every day. During the school year, I have to spend a good chunk of time studying and doing homework, most of which I do at home. Homework. At home. Who knew.

    Granted school and work together are a lot of work, and I think in total I put in more hours each week, but at least some of them are at home. In my pajamas. And I can take half an hour here and there to do things like... cook...

    But, I managed to get a bit of time in this week to make something and though this recipe really is quite fast to put together, I ended up spending more time washing the dishes afterward than I did cooking. (Don't worry, this isn't a dishes-intensive recipe or anything, I'm just dumb sometimes)

    Mini Quiches

    What you need:

    • 1 zucchini
    • 5 mushrooms
    • 2 cloves garlic
    • 3 tbsp chopped fresh dill
    • 1 tsp lemon zest
    • 1 to 2 cups grated swiss cheese
    • 3 eggs
    • 1 c whipping cream
    • salt and pepper
    • small tomatoes

    What you gotta do:

    Grate your zucchini. Mine was extremely juicy (srsly, like a cucumber) so I rolled it up in paper towel and gave it a squeeze to get some of the water out.

    Chop the mushrooms and garlic nice and small.

    Warm a bit of butter in a pan over medium high heat. It should be just starting to brown.

    You want the high heat here to get rid of the water in the veggies so you don't end up with soggy quiches. Once you've had them in the pan for about 5 minutes, they'll be as waterless as they're likely to get, so remove them from the heat and set them aside for a minute.

    While that's cooling, combine the eggs and cream.

    Add some salt and pepper and the lemon zest to the eggy stuff.

    Now, we're doing quiches, yes, but we haven't made a crust yet, no.

    That's because there isn't one.

    The idea here is that the eggs and cheese will brown and crisp nicely in the hot oven so that they form a bit of a crust on their own.

    Now, I kinda (on purpose) missed a step when I made mine. I didn't grease the muffin cups. It's a non-stick pan, and I've had disastrous results in the past when I greased non-stick pans. Disastrous. Like, nothing was coming out of that fucker, disastrous; entire thing went into the bin, disastrous.

    I had a bitch of a time getting mine out. I'm not sure if greasing would have made the removal process better or worse though. All I know is, I'm pretty sure you're not supposed to clean a non-stick pan with a Mr.Clean Magic Eraser.

    Dude, I let the freaking thing soak for days in both hot and cold water, with and without soap and nothing was getting that shit off.

    I highly recommend you either grease your pan, or try foil muffin cup liners.

    Anyway.

    Once you've greased your muffin cups, start filling them. 

    Cheese on the bottom to form part of the crust.

    Dill and veggies for the filling.

    Covered with savoury custard.

    Topped with more cheese.

    I still had some of those awesome tiny tomatoes, so I sliced them and decorated the tops with them.

    Bake... um, preheat your oven to 400... then bake at 400 for about 15 to 20 minutes. They should be lovely and golden on top. They'll be kinda puffy when you take them out, but like most eggy things, they'll deflate as they cool. 

    That's okay, they still look pretty.

    With the help of a paring knife and a large spoon, I was able to detach them from the sides and bottom of the muffing cups, but a few edges did end up a little ragged.

    Pretty sure the only way I'm going to be able to bake in that pan again is if I line it with paper cups. Fine for cupcakes, but I like my muffins naked.

    What have you stuck to a pan??