First, I must apologize for my recent blog neglect. It isn’t for lack of trying, really. It’s just that… well… see what you probably don’t realize is that between all the beautiful stuff that gets posted here, there are plenty of failures. Unfortunately, I’ve had more than my share of those lately, hence the lack of posts. I’m back, though, with a fabulous holiday treat!
Here’s what you’ll need:
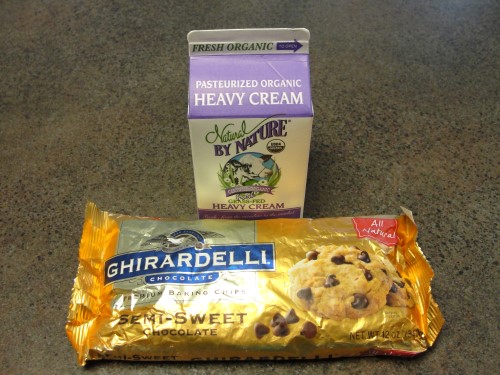
- 1 cup heavy cream
- 2 cups chocolate chips
- Cocoa and various other things for rolling in, which I will explain later
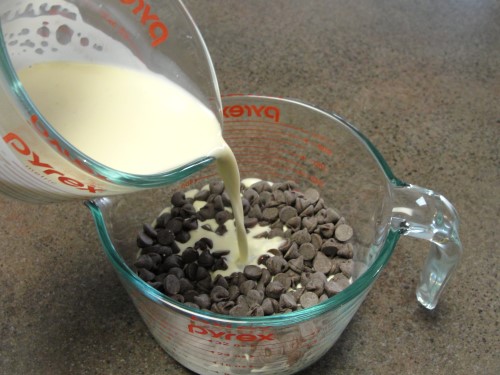
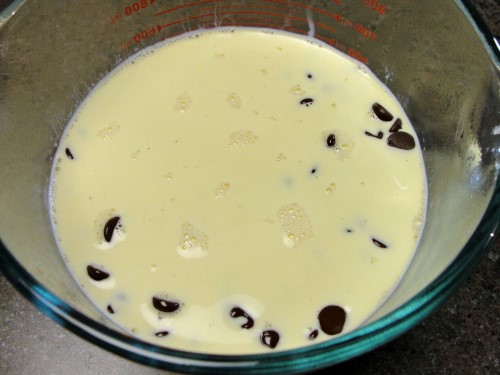
First up, pour your chocolate chips into a bowl and set it aside. Next, heat your cream just barely to a simmer. I actually did it in the microwave this time, but if you do that, be careful, and be sure to stir every 30 seconds or so. You don’t want it to boil. Pour the hot cream over the chocolate.
Cover and let it sit for 3 minutes.
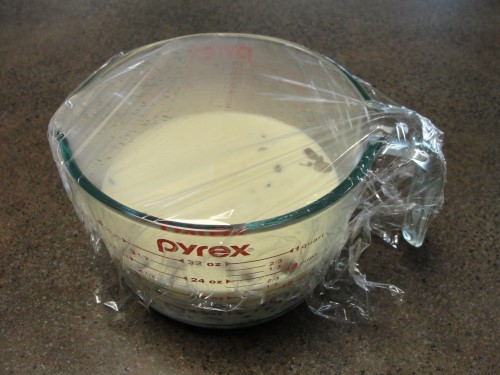
When you uncover it, it won’t look much different, but trust me, it’s ready.
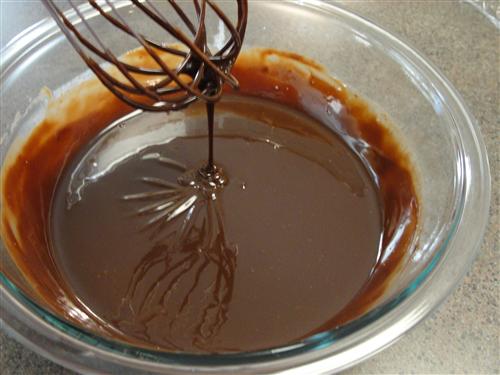
Gently whisk until it becomes shiny and perfectly smooth. (Unfortunately I didn’t get a picture of that this time around so I’m borrowing this one from when I made actual truffles.)
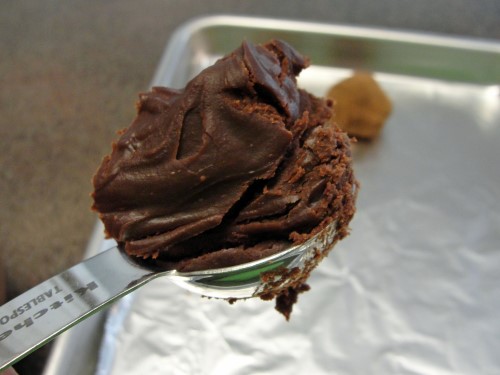
Put that into the fridge until its nice and firm, which will probably take an hour or two. When it’s ready, begin scooping out lumps that are roughly 2 Tablespoons in volume. (If you have a little ice cream style scoop, it would be perfect for this job. Unfortunately, I don’t have one. Why don’t I have one? I might just have to pop on over to Amazon and remedy that.)
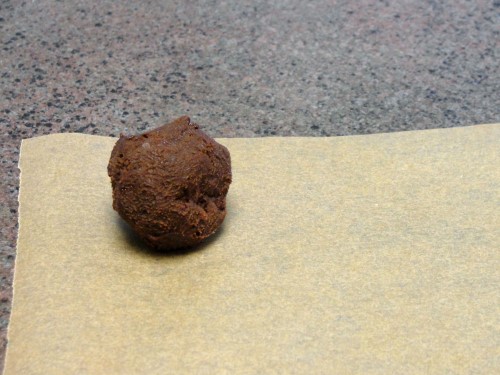
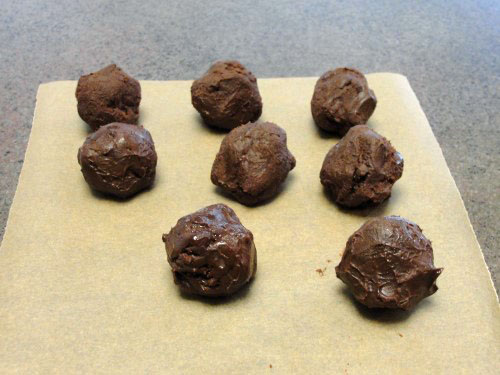
Shape it into something resembling a ball and place it onto a piece of parchment.
Repeat until you’ve gotten through all the ganache. (That’s what the chocolate/cream mixture is called.) You should be able to get about 12 of them. I know, there are only 10 in my picture. One is missing because it was used as a sample. I figure there is probably another one because my balls were getting bigger and bigger as I went. If you’re more consistent than me, you should be able to get 12.
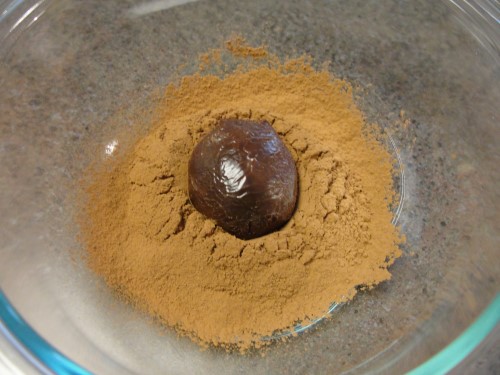
Now comes the fun part. This is where you can flavor them with all different kinds of stuff. Let’s just start with cocoa, and then I’ll give you a list of other things to try. Sift some cocoa into a small bowl.

Then drop one of your balls into it.
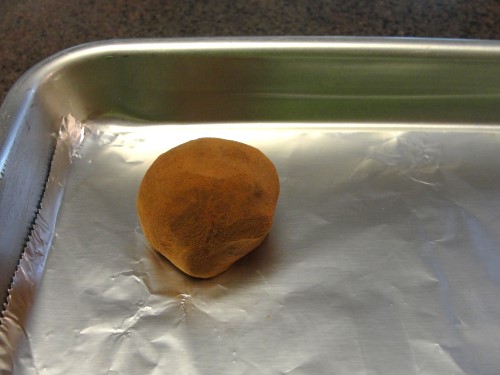
Roll it around until it’s completely coated. Shake of the excess and place it onto a foil lined sheet pan. (Parchment would also be fine, but you don’t need the nonstick for this purpose and foil is usually cheaper.)
Ok, so now for the ideas I promised. I coated some of mine in cocoa, some in vanilla sugar, and some in crushed peppermint candies, because that’s how I roll. (Ha! See what I did there? It’s funny because I was rolling the… oh never mind.)
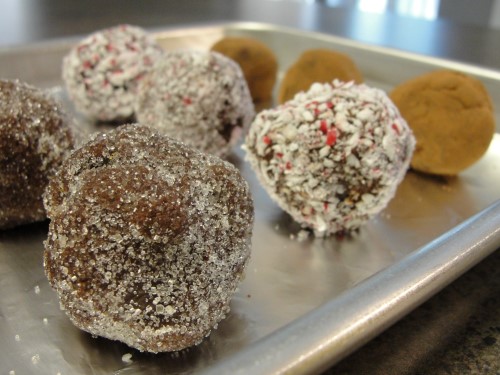
Anyway, those are just a few ideas. You could use orange sugar or you could even mix a little salt with the sugar (chocolate and salt are so yummy together!) For a Mexican style hot chocolate, you could mix cinnamon with the cocoa powder, or if you want a little kick, stir in a pinch of cayenne. The possibilities are endless, and the cool part is, they can all be different. If you’re having guests over, they’ll have their pick of flavors to choose from, and everyone will be happy.
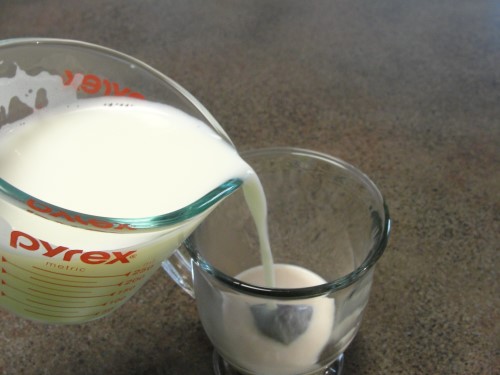
So far, all we have are truffles, but when you’re ready, you can transform them into fabulous, gourmet hot chocolate in a trice. Each truffle will be good for about ¾ cup of milk. Just drop one of them into the bottom of your mug.

Then heat the milk until it’s nice and steamy and pour it over the top.
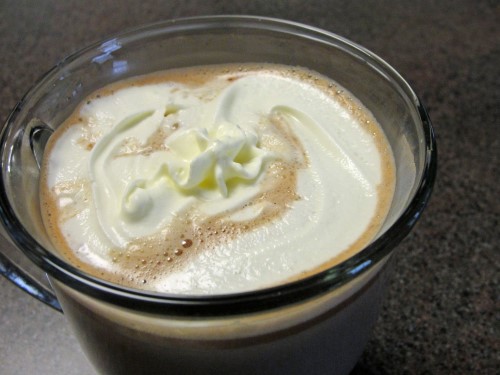
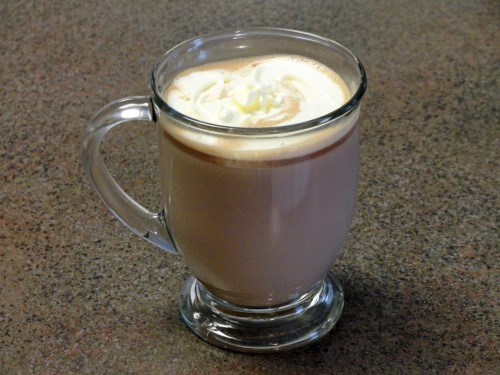
Allow it to sit for 2 minutes or so, then just stir. If you have any trouble with little bits of ganache settling on the bottom, just grab a little whisk. And there you have it. Serious hot chocolate goodness. I topped mine with whipped cream because duh, it’s hot chocolate.
What is your favorite flavor of hot chocolate?
 Taneasha