Amaretti
 Seeley deBorn
 Not to be confused with amore.

Amaro means bitter. So unless you're planning on some kind of bittersweet romance (bitter almonds contain hydrogen cyanide) I recommend not confusing love and poison.
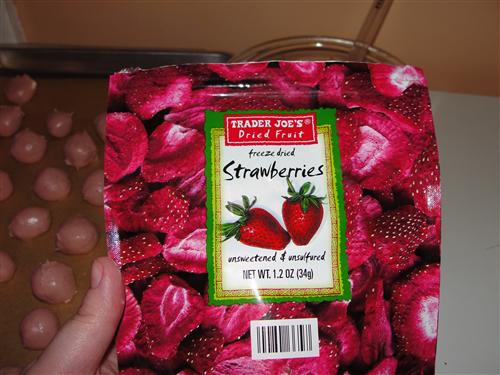
Amaretti cookies are named for the almond flavouring in them. Amaretto liqueur works well for this, but if you don't have any around you can easily replace it with a bit of almond extract. Amaretto is made from almonds and the pits of apricots (if you've never tasted them, I recommend it, the flavour is very reminiscent of an almond but has a very bitter note to it) and has a slight amount of bitterness under all that sugar, hence the name. But for the most part, it's a sticky sweet liqueur that works very well as a cough supressant.
Pardon me while I deal with the lingering cough I've had for the last few weeks:

It even tastes like most cherry flavoured cough syrups because "cherry" seems to have been conflated with "maraschino" which is a liqueur made from cherry pits and has same bitter sweet flavour that the apricot pits and almonds do.
I will now stop geeking on food research and start telling you how to make cookies.
Amaretti Cookies
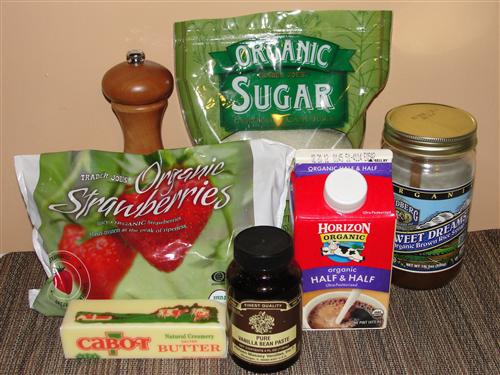
What you need:
- 1 c almond butter
- 1 c sugar
- 1 tsp amaretto liqueur or almond extract
- another 1 c sugar
- 2 egg whites

What you gotta do:
Most amaretti recipes call for something called "almond paste". It's basically ground almonds with sugar added to it. Yes, they're usually blanched almonds and so the colour is quite pale, but if you don't have almond paste, and couldn't be bothered to blanch almonds, a good quality almond butter works just fine.
You will have to stir it though.

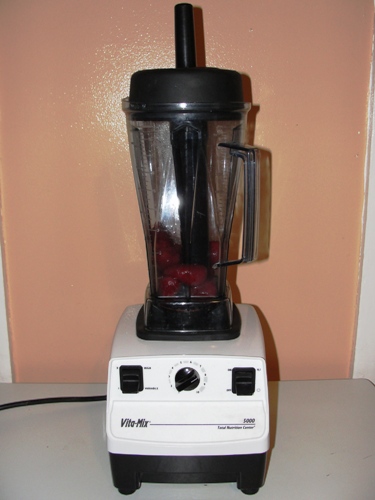
The first thing we're going to do is make our version of an almond paste. Put the almond butter and 1 cup of sugar into the food processor.

I can't really think of any other way to do this than in a food processor. Besides, everything else just gets added to it. This is all the dishes you'll have to wash.
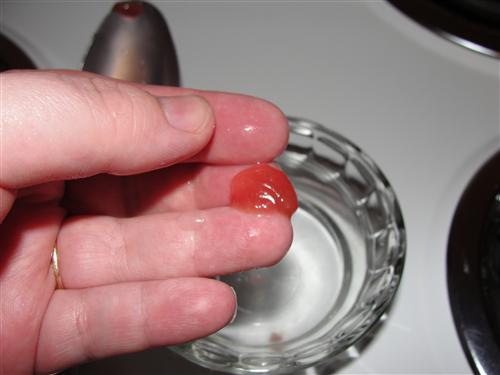
You will end up with something crumbly and pasty and lush with beautiful almond oil. I love almond oil and use it on my skin and hair in the shower when I need extra moisturizing.

You should end up with just over a cup of almond paste.

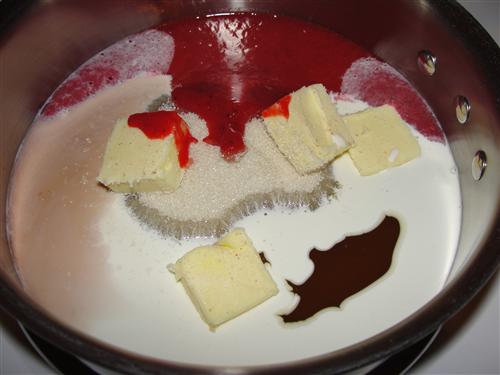
Back into the food processor it goes, along with the amaretto, the rest of the sugar and the egg whites.

If you've never separated eggs before, you can check out my three-way method to separate eggs. It's pretty foolproof. Even I can manage it.
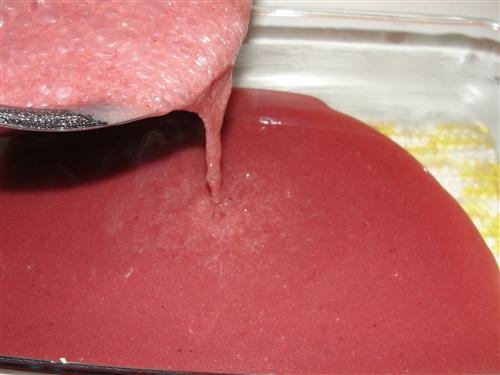
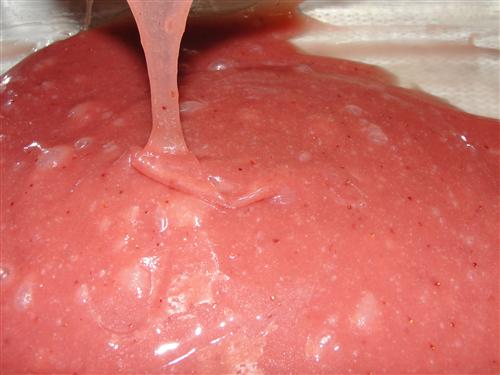
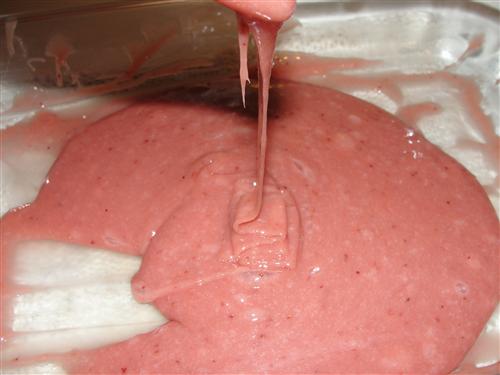
And the food processor goes back on high until you have a lovely smooth goo. Give it at least 3 minutes, but as many as 5.

Now, those of you who are familiar with beating egg whites are thinking I'm insane. Yes, oil of any kind will kill the beating of egg whites and they won't get all nice and fluffy.
Nice and fluffy is not what we're going for here. This is a bittersweet romance, remember?
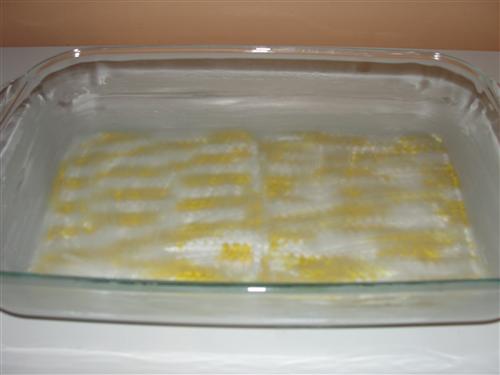
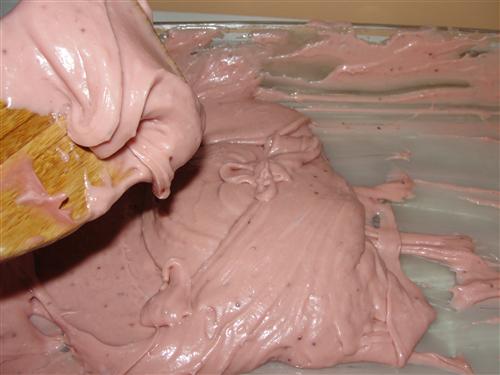
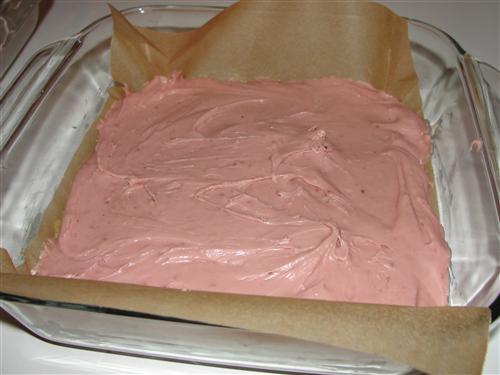
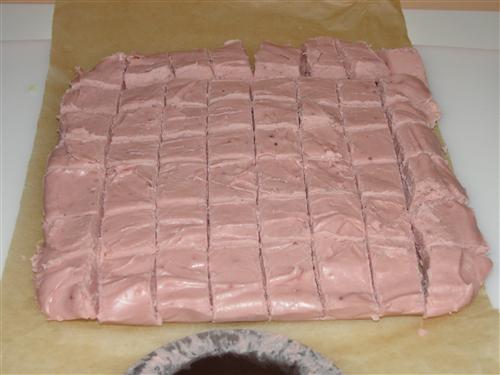
And so when you spoon your cookie batter (about a teaspoon at a time) onto a parchment lined cookie sheet...

Fuck. Preheat the oven. 375 degrees. (one of these days I'll learn)

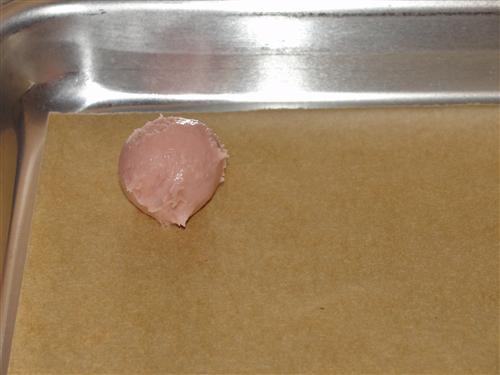
...The blobs will spread quite a bit, but they will reach their maximum and you'll have a sheet full of flat, glossy puddles.

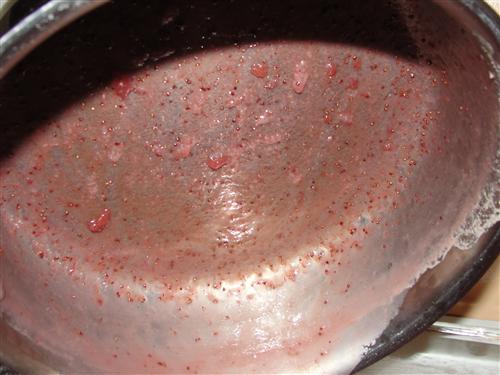
But after about 15 minutes in the oven....
poof!

The puddles rise and crack and lose their glossy sheen.
Give them some time to rest on the cookie sheet before you try removing them, or you'll lose the bottoms. I'm impatient; cookies laff at me.

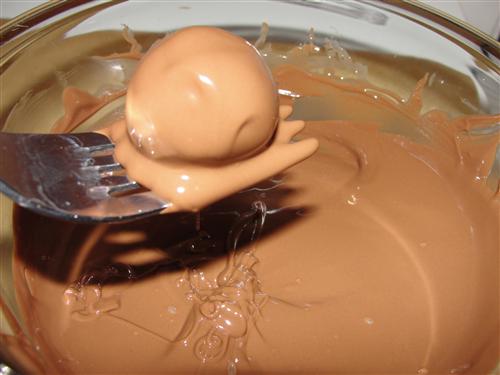
These have a lovely bit of crunch on the outside and a gooey, chewy, marshmallowy inside. They're a nice light snacky cookie, but they also lend themselves well to being served on the side of other desserts (like grilled or roasted fruits) or as ingredients in other things (cheesecake crust, or a chocolate terrine).

What's your favourite bittersweet romance story?