Search
Categories
Have a request?
This form does not yet contain any fields.


    Entries by Taneasha (200)

    Friday
    Feb252011

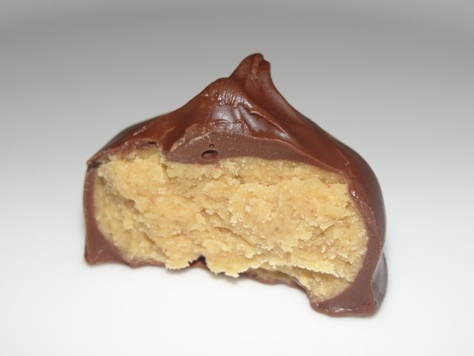
    Peanut Butter Umm... Things

    OK, so I wasn’t sure how to title this post.  I’ve always called these Peanut Butter Balls, but to be honest, that doesn’t sound terribly appetizing, so I thought I’d rechristen them.  Peanut Butter Treasures?  Peanut Butter Bites?  Peanut Butter Nuggets?  Peanut Butter Delights?  Oh, forget it.  To quote William Shakespeare (sort of):  "What's in a name? That which we call a Peanut Butter Ball, by any other name, would taste as sweet."  Right?     


    When I told my husband I was going to make these for my blog this week, he said, "Woohoo!"  Or he may have used something equivalent, but not quite as demure.  He was excited, to say the least.  They just might be his very favorite treat, and that’s saying something. 
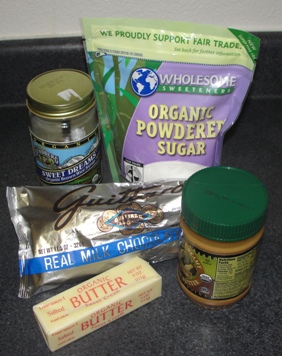
     

     What you’ll need:


    1 ½ cups Peanut Butter *

    1 ¼ cups Powdered Sugar**

    3 Tablespoons Butter (softened)

    1 Tablespoon Brown Rice Syrup (or honey)

    1 teaspoon Vanilla

    ½ teaspoon Sea Salt

    1 cup Chocolate chips


    *Use good peanut butter.  Something natural with no palm oil.

    ** Please, please use organic powdered sugar.  You won’t believe the flavor difference.  In fact, you may never go back to the conventional stuff again. 


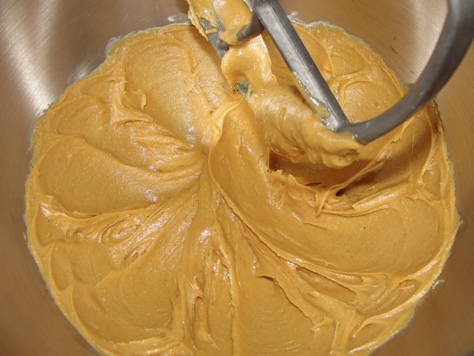
    In your mixing bowl, stir together the peanut butter, butter, syrup, salt, and vanilla, until it looks like this:
     

    Sift in the powdered sugar. 
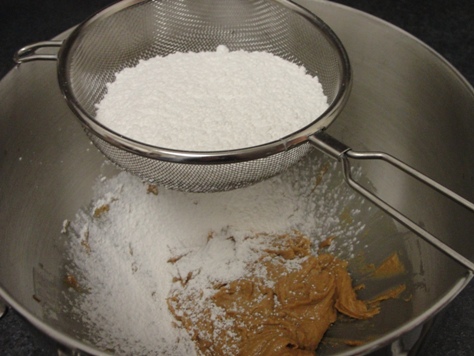
     

    This is why it is so important to sift it. 
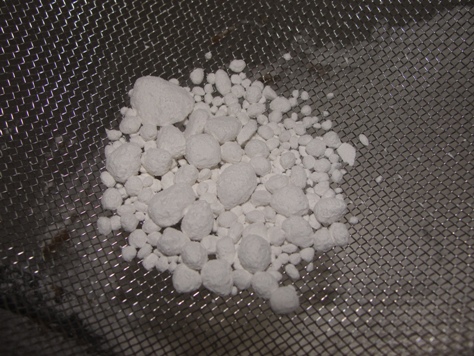
     

    Press the lumps through with your fingers or the back of a spoon.


    Mix until the powdered sugar is completely incorporated and the mixture comes together like a dough.  At this point, it should have the texture of soft fudge and look like this: 
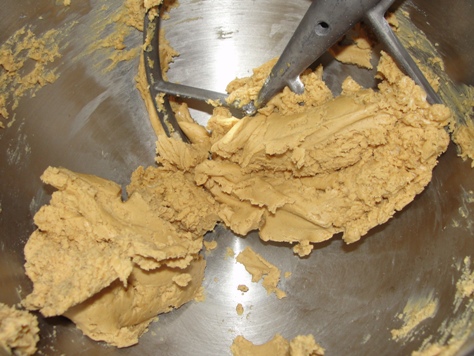
     

    Weather and humidity can play a big roll here, so if it's too dry, add more peanut butter.  If it’s too soft, add more powdered sugar. 


    Pinch off a small piece of the mixture.  You want the finished treats to be no more than two bites, so I really do mean small. 
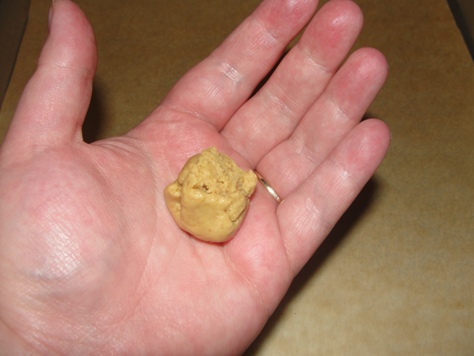
     

    Roll it around in your hands and place it on a parchment lined baking sheet. 
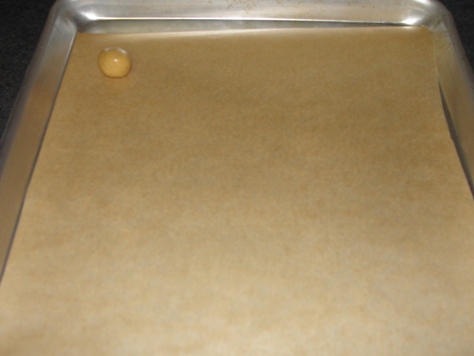
     

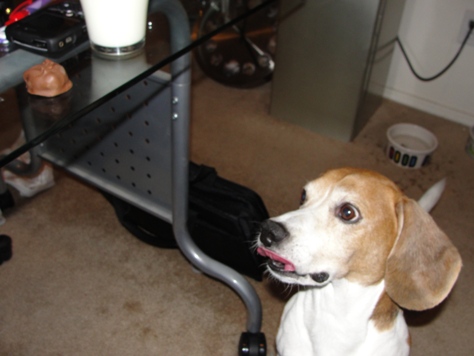
    Alas, I have finally found a situation where it doesn’t benefit me to have a dog in lieu of children.  He can’t help me roll, and there are a lot of these darn things.  Well, if you don’t have any helpers, at least turn Oprah on in the background.  Just be sure it’s not an episode about weight loss.
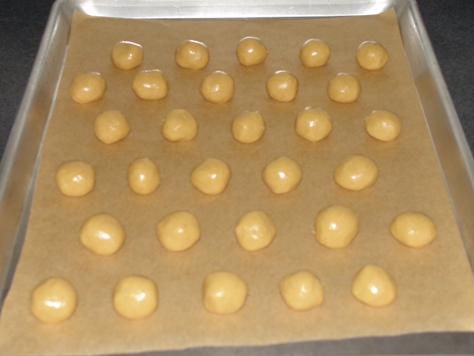
     

    So, when you finally have them all rolled into balls, place the pan (or pans, mine didn't all fit on one) in the refrigerator for about 30 minutes.   

    When they’re nice and firm, pour your chocolate chips into a glass bowl.  I used milk chocolate, but feel free to use whatever you like. 
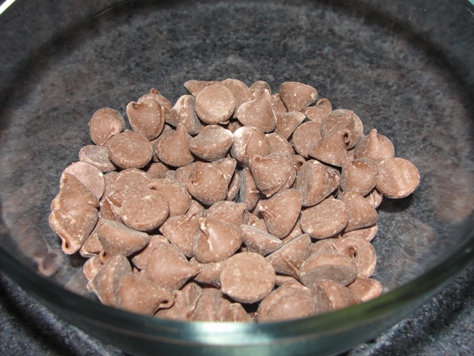
     

    Microwave, stirring after 30 seconds, and every 15 seconds thereafter, until it sort of falls in ribbons when you lift it. 


    Now for the dipping:

    Throw a ball into the chocolate and turn it over with a fork until it's completely coated. 

    Let the excess drip off for just a second, and then place it back on the parchment.  Touch the fork tines lightly on the top and let the little chocolate peaks fall to form a cute little pattern. 


    While you’re dipping, you’re going to have to reheat your chocolate if it gets too thick.  Also, you’ll want to stop 2 or 3 times and put the undipped balls back in the fridge if they start to get soft.  When they’ve all been dipped, place the whole sheet back in the refrigerator and chill until the chocolate has set. 


    I like to store them in a container in the fridge so the chocolate has a nice snap when you bite into it. 


    So, what would you call these fabulous little treats? 


    Friday
    Feb182011

    Not your Grandma's Macaroni and Cheese.

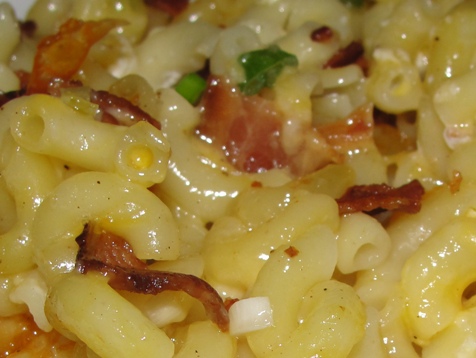
    Or perhaps it is.  The inspiration for my version of Mac n’ Cheese does, in fact, originate with my grandmother.  Although she never actually made it for me, my dad improved upon her recipe and fed it to us over the years.  I have since made changes of my own, until getting to where it is now.  Perfection.  That’s right, I said perfection, and I’m standing by that.  This isn’t made with a cheese sauce or topped with bread crumbs, it’s not the mushy gloop you might find at the deli or on a buffet, and it certainly isn’t that neon orange Krap from a box.  It’s hot, bubbly, cheesy, bacony goodness, like you’ve never experienced before. 


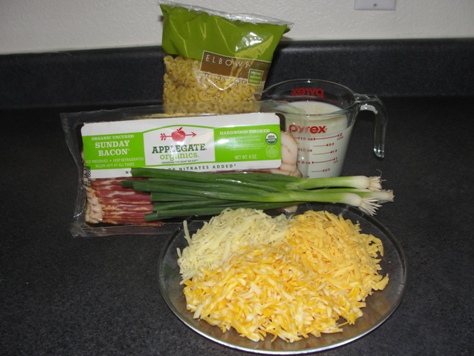
    What you’ll need:

    1 ¼ cups each, of 3 different kinds of cheese*

    ½ pound bacon*

    1 pound macaroni

    4 or 5 green onions

    1 ½ cups milk

    Liberal amounts of salt and pepper


    *Ingredient notes:  Use good quality cheese.  Don’t buy the pre-grated stuff.  Grate your own.  For a commercial brand, I like Tillamook, but I also like to buy local and imported cheese from the cheese monger.  You can get pretty good stuff from the cheese counter at most grocery stores these days.    

    As for the bacon, use one that’s just a regular slice.  The thickly sliced stuff isn’t the best in this dish.  Also, I am very passionate about the treatment (or mistreatment) of pigs, so please buy bacon that comes from humanely raised pigs if you can.  Niman Ranch and Beelers are a couple of good examples. 


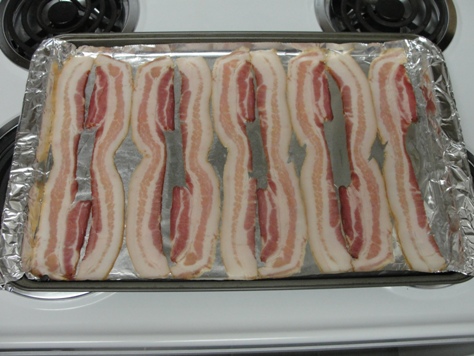
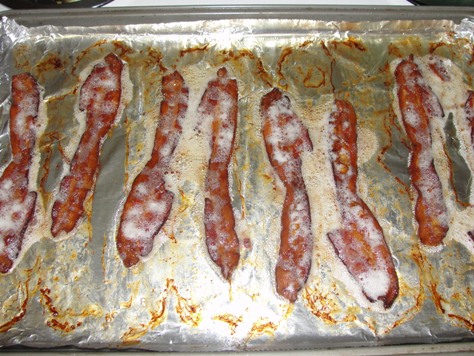
    Onto the actual cooking.  I like to cook bacon in the oven.  It’s easy to make, and easy cleanup.  Line a sheet pan with aluminum foil and lay out your bacon slices.  That way, when it’s all done, and the bacon grease solidifies, you can just take the foil off and throw the whole thing away.  Slide the pan into a cold oven and then turn it to 350°.  If your husband is around, you might want to make two pans so that you'll still have enough after he's finished snitching.   

    Now is a good time to chop your green onions and grate the cheese.  The combination of cheeses I used was Colby Jack, Extra Sharp Cheddar, and an Apple Walnut Smoked Cheddar. 


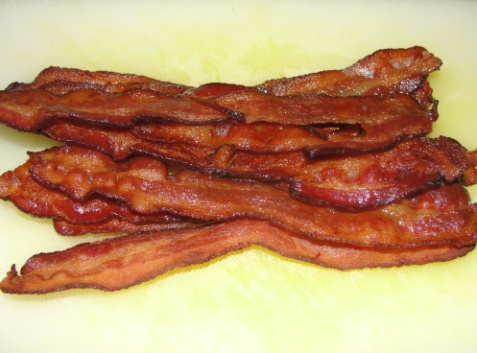
    Ok, back to the bacon.  The thickness of the slices can really affect the time it will take to cook.  After it’s been in for about 12 to 15 minutes, start to check on it.  You might even want to flip the slices over.  To me, bacon is not cooked until it’s crisp, so it should look about like this:


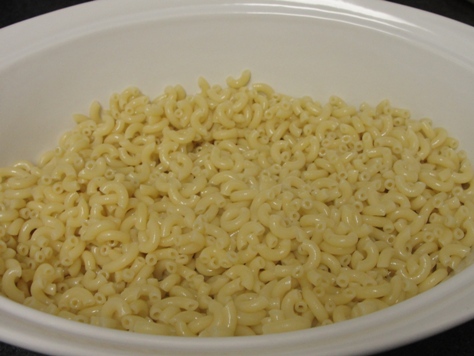
    Move it to some paper towels to drain.  For the pasta, fill a pan with plenty of salted water, and bring it to a boil.  Follow the package directions, but make sure the pasta is al dente.  It’s going to cook some more in the oven, so you don’t want it too soft now.  Drain the macaroni and rinse it with cold water.  After allowing the excess water to drain off, pour the noodles into your casserole dish, drizzle with about 2 tablespoons of olive oil, and stir to coat.

    Now, let’s chop our bacon.


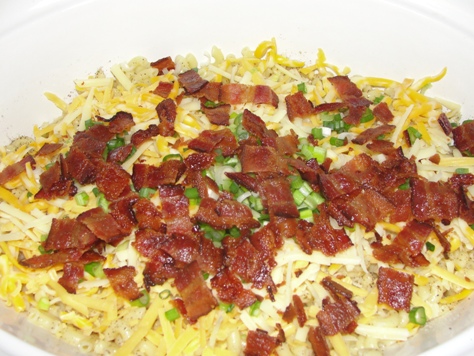
    If your oven is not already preheated to 350° from cooking the bacon, do so now.  On top of the macaroni, sprinkle salt and freshly cracked pepper.  Reserving about ¼ cup of each of the cheeses, spread the rest on top, mixing them together as you do so.  Set aside a couple tablespoons each of the bacon and green onions, and throw the rest into the pot. 


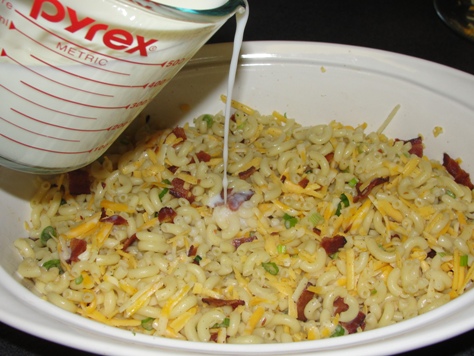
    Now stir it all together until everything is evenly distributed.  Drizzle the milk over the top, covering as much area as you can. 


    Top with the remaining cheese and press the mixture softly into the pan with your hand. 


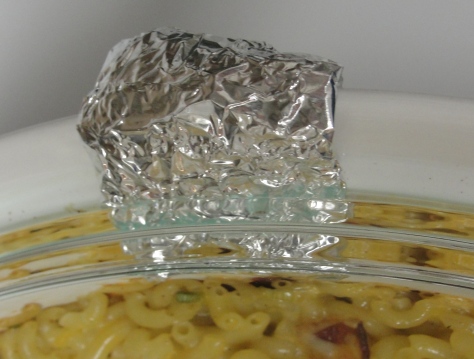
    At this point, you want to cover the pan, but some steam needs to escape as well.  My dish has a lid, so I like to fold up a piece of foil to place under it, which creates a bit of a crack. 


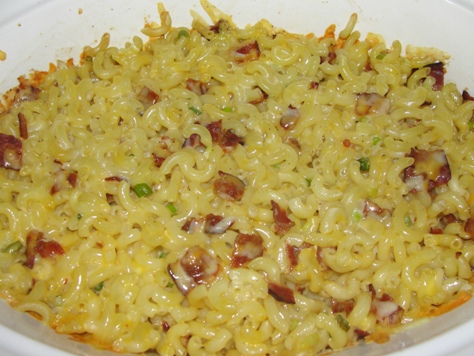
    If you’re covering your dish with foil, just poke a few little holes in it after you’ve got it in place.  Bake for about 45 minutes, or until it looks like this:


    When you put a spoon down the inside of the pan to the bottom, there should be very little or no liquid down there.  That’s how you’ll know it’s done.  If there is still liquid down there, simply remove the cover and bake for a few more minutes. 


    Allow to rest for a good ten minutes before serving.  It’ll be the hardest thing you’ve ever had to do, but it really is worth it. 


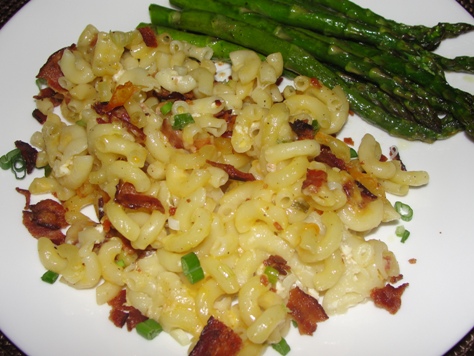
    Garnish each portion with a sprinkling of the remaining bacon and green onions and serve with your favorite vegetable.  You’ve got to have something nutritious on the plate, right?  I went for roasted asparagus. 


    If you have leftovers, freeze them in individual servings, and you’ll never have to feed your kids (or yourself) that artificially flavored and colored stuff again. 


    Have a macaroni and cheese recipe you think can outdo mine?  Without posting the whole recipe, tell me what's special about yours and why I should try it.  The one that interests me most, I'll make and feature here on our blog.