Search
Categories
Have a request?
This form does not yet contain any fields.


    Entries by Seeley deBorn (124)

    Monday
    Dec192011

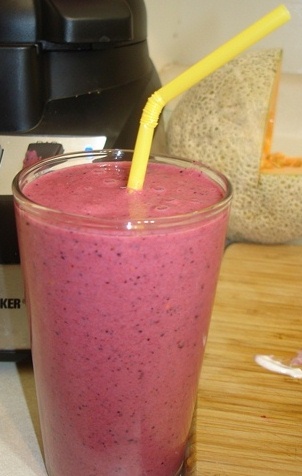
    perfect little snack

    Roasted garlic is freaking awesome.

    And on a holiday cheese platter, it looks really fancy.

    Even if that's a little snack platter you make for yourself late at night while doing laundry in preparation for packing for your much needed winter break now that exams are over. (I don't want to talk about it)

    The usual cheese and cracker plate looks fabulously impressive with a bulb or two in the middle, and it can also dress up a sausage and pickle tray too.

    Unbelievably easy to make as well. And despite what some kitchenware stores would have you think, you don't need any fancy tools or single purpose gadgets to make it. (seriously, who the hell has the cupboard space for this shit?)

    In a pure minimalist fashion, all you need is tinfoil.
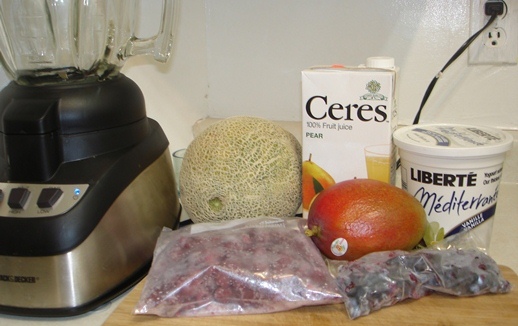
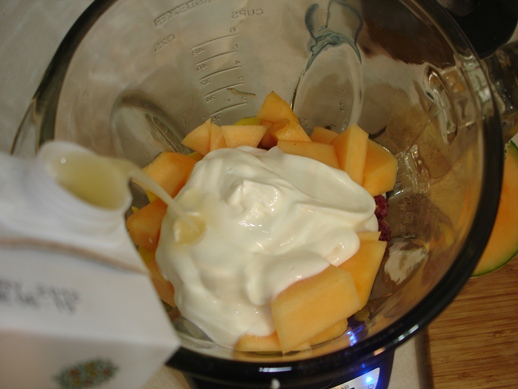
    What you need:

    • garlic
    • olive oil

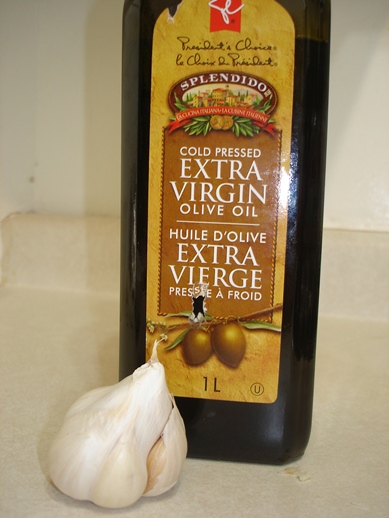
    believe it or not, this ingredient pic is not missing anything

    if you want, you can add salt and/or pepper and/or oregano and/or rosemary and/or crushed dried red chili peppers depending on what flavours are on the rest of your platter, but absolutely none of these things are necessary (I do like a bit of rosemary on mine sometimes though)

    What you gotta do:

    Rub the bulb with your hands until most of the loose, dry, papery skin is gone. You should be able to see each of the outer cloves individually, but they should still have their skins on them.

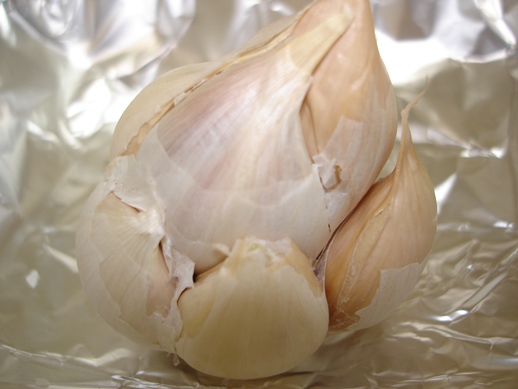
    Newer bulbs seem to hold on to the skin a bit better. Don't worry about getting it all off; you'll just have to work a bit more to get the yumminess inside. And don't worry if you accidentally bare a clove of garlic, it'll cook just the same without it. You could even actually peel them all and roast them bare, but that doesn't look as nice on the appy platter, and it's way too much work.

    Set the bulb on some foil and turn up the edges to make a little bowl.

    Drizzle a little bit of olive oil over the top.

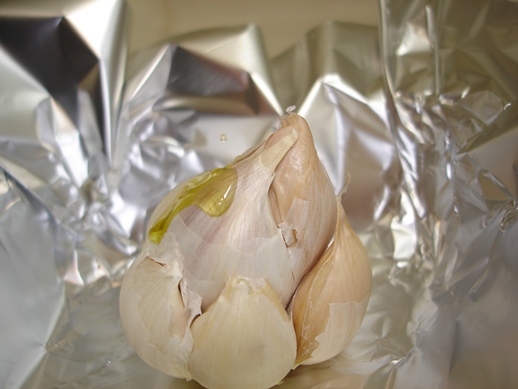
    More oil than that. I just wanted to post this pic because it's an action shot and I actually caught a tiny perfectly round drop of oil.

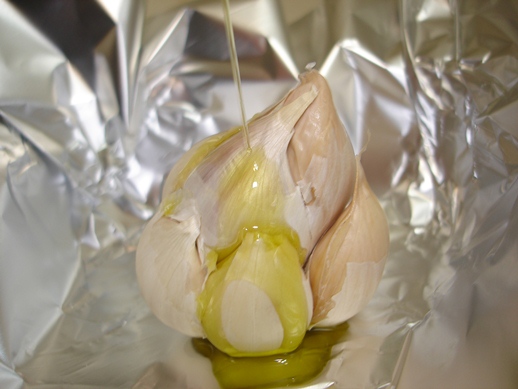
    Yeah, more like that.

    Fold the foil around the bulb.

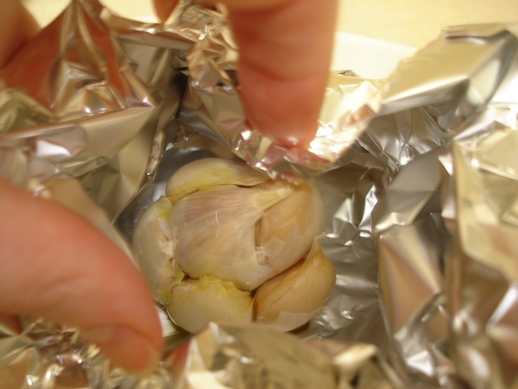
    Leave an opening in the top, and put this into a 400F oven. Dammit. Got all the ingredients in the pic but forgot the oven preheating step.

    This will need about 45 minutes.

    It isn't as long as you think. And if you've got 3 or 4 in there, you may need up to an hour. Your goal here is to caramelize the garlic a bit, much the same way you would with onions, but at a bit higher heat.

    After about half an hour, your mouth will water at the smell. Sharp and garlicky, but slightly sweet as the delicious sugars start to ooze out of the papers (that's the popping sputtering sound you hear). Give it another 10 or 15 minutes and the sugars will do this:

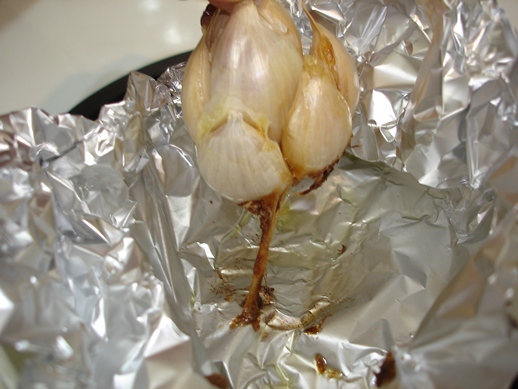
    Oh man, this is going to be fucking tasty.

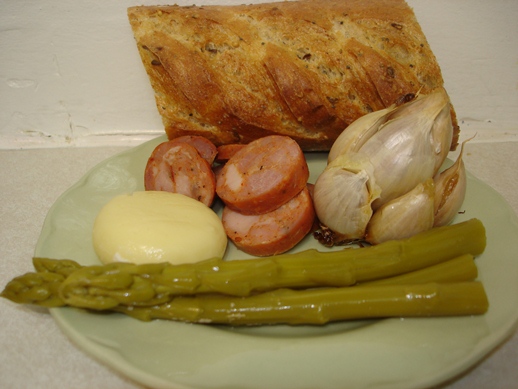
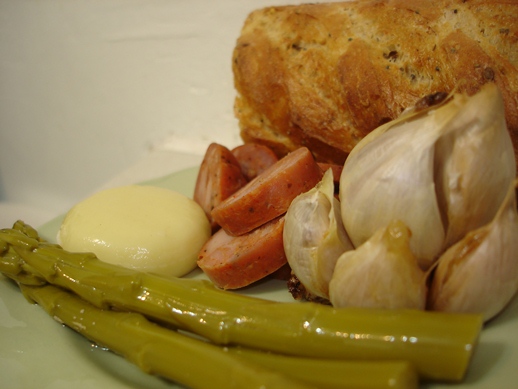
    With a bit of crusty french bread, some spicy sausage, a mild cheese, and omg you have to try pickled asparagus, this is a perfect miniature version of a nibbly tray.

    What do you like to put on your nibbly trays?

    Tuesday
    Dec132011

    liquid lunch

    It's exam time. Finals. Two down and two to go. Really not looking forward to three hours of calculus on Saturday night.

    I need energy here. Lots of it, in a fast, easy to make, and quick to consume form.

    And for that, we break out the blender.

    No, it's not margarita time yet. Though, wow, I could totally do with a tall frosty glass of slushy booze.

    Gah! Exams! Must. Study. Must. Eat.

    Berry Berry Smoothie

    What you need:

    • 1/4 cantaloupe
    • 1 mango
    • 1 c frozen blueberries
    • 1 1/2 c frozen raspberries
    • 1 c vanilla yogurt
    • 1/2 c pear juice

    What you gotta do:

    If you've got one of those little single serving blenders, I totally suggest it. You won't have to wash an extra cup.

    My berries were picked over the summer by a coworker and frozen on a cookie sheet before bagging. I really think frozen fruit is the way to go with smoothies. It removes all temptation to use ice cubes in them. The smoothie will be perfectly chilled, and not watered down at all. It also won't separate if it sits for a few minutes.

    Chopping a mango is something most people need to learn how to do. It's not an intuitive process, and it does take a bit of practice to maximize the mango recovery, but it's fairly simple once you know what to do. 

    The pit is wide and flat and runs lengthwise down the middle of the fruit. Stand the mango up and align it so that it's long side is pointing away from you.

    Don't slice down the middle of a mango. Ever. Offset the knife by about 3/4 of an inch.

    Slice straight down. Do the same to the other side.

    You can trim the last little bits off the middle, but what you have here is the bulk of the flesh.

    Score it just to the skin, lengthwise and then crosswise.

    Then, with your thumbs on the edges and your fingers on the bottom, flip it inside out.

    Perfect bite-sized chunks just waiting to be bitten.

    Or sliced off and put in a smoothie.

    You can do something similar with the canteloupe. My dad always did this when I was a kid; they're called canteloupe caterpillars.

    Both the mangos and the canteloupe go into the blender on top of the berries.

    You can use any flavour of yogurt that you want in your smoothie, but I had a good quality, high fat (8.5%, which is insanely high for yogurt, but really not bad compared to most dairy products) vanilla. 

    Pour in your pear juice. Again, the kind of juice is flexible. More what you need here is some lubricant to keep the mixture moving in the blender. Yes, vodka would work just fine.

    This starts looking smooth so fast I barely had time for a picture. I did have to poke at it once to get everyone moving around (I'm not going to warn you to turn the blender off before you stick a spoon in it. If you can't figure out not to stick metal objects into fast moving and sharp blades, I expect to see you on the Darwin Awards).

    It will look totally done after only a few seconds on high, but this is deceiving. There are still chunks.

    Once you've got it whizzing around on high speed, give the smoothie a full minute in there. You'll need it, but you'll still likely end up with the odd blueberry that manages to escape unscathed.

    Pour your delicious dinner into a tall glass and add a bendy straw!

    That's your average 10-12 ounce glass. I was able to fill it up twice. 

    And while I was slurping down the first one, the stuff in the blender didn't separate at all.

    Smoothies store in the fridge just fine for a couple days and are totally portable. They make great grab-and-go breakfasts if you make them the night before and keep them in the fridge, or awesome afternoon snacks if you need a boost at work.

    And if you get yourself some bags of prechopped frozen fruit, they take less than 3 minutes to make.

    What's your favourite blender drink?