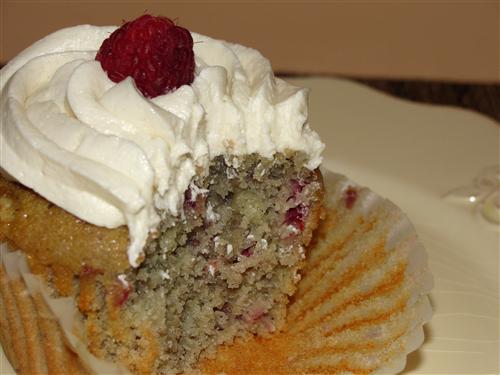
Welcome to May (hem!!!) - Pizza Edition!
 Taneasha
Well, the traditional Mayhem hasn’t managed to find Seeley and me this year. I’m not moving across the country and she’s not completely lost in math. Well, here at Authors Kitchen, May just isn’t May without the hem, so we’ve decided to create a bit of our own. Not only is Seeley sure to stir things up with her impending return (Yay!!), but we’ve decided to have a pizza off! Ok, so it’s not exactly your typical competition, but you know how we feel about rules. Basically, you're just going to get some recipes for some fantastic pizzas!
First up, a thin crust, honey mustard pizza. Somewhere in New York right now, someone is yelling at their screen about how honey mustard and chicken don’t go on pizza. Just wait until they hear about the crust. I would say this falls into the category of what I call “cracker pizzas”. You know those crispy, thin ones with a crust that almost resembles the consistency of a cracker? The ones in the freezer section of your grocery store for like a buck? The ones you occasionally enjoy in private but would never actually admit to? Yeah, those. Did you know you can make your own, in less than 30 minutes, with no preservatives and other scary ingredients, and that tastes amazing?
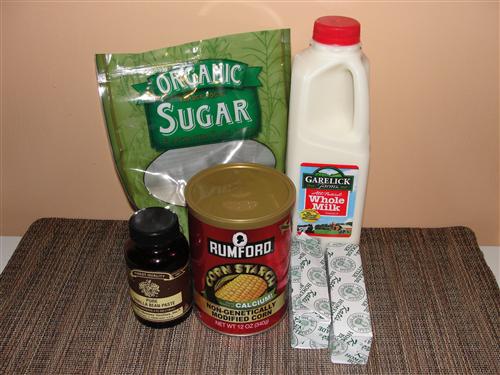
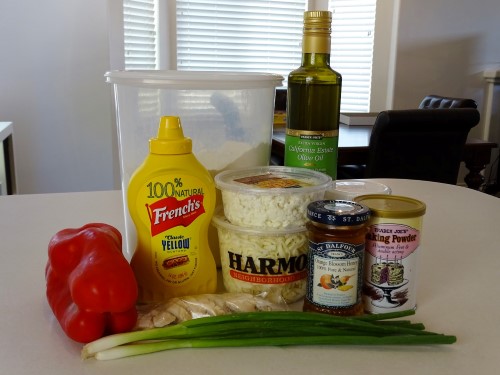
Here’s what you’ll need:
- 1 cup flour
- ¼ teaspoon salt
- ½ teaspoon baking powder
- 2 Tablespoons olive oil
- 3 – 5 Tablespoons warm water
Toppings I used:
- Cooked chicken
- Red bell pepper
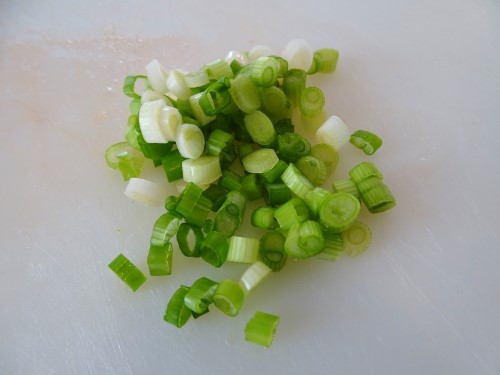
- Green onion
- Feta cheese
- Mozzarella Cheese
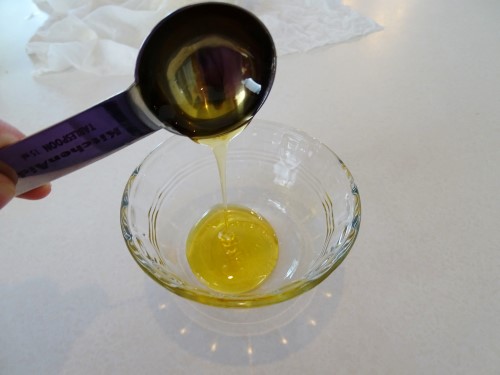
- 2 Tablespoons honey
- 2 Tablespoons mustard
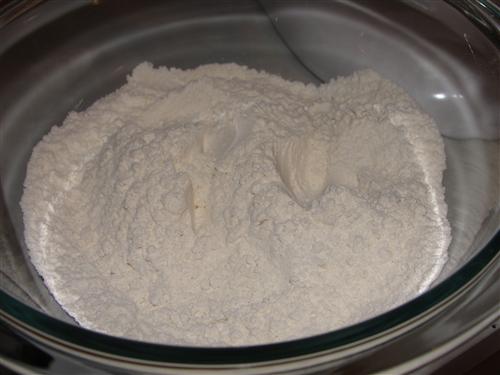
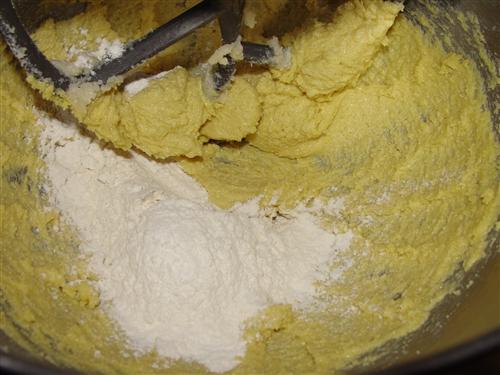
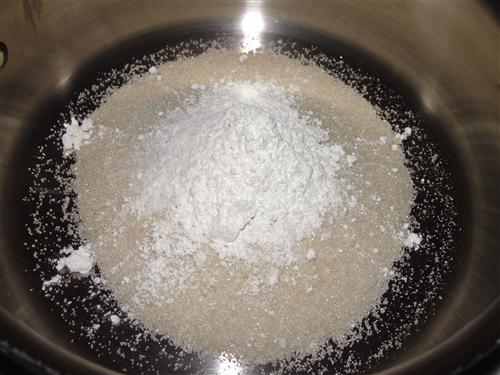
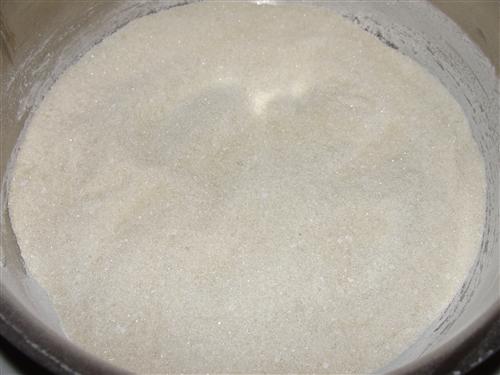
Before you start you’ll probably want to turn your oven to 425°. Then, into a mixing bowl go the flour, salt, and baking powder.
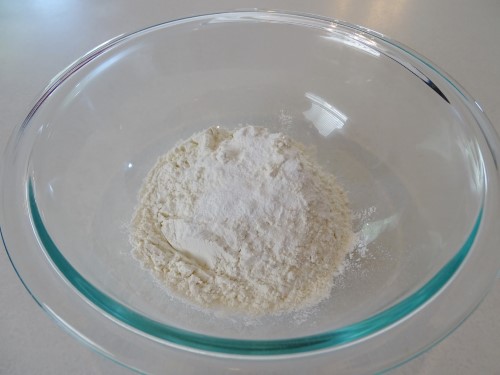
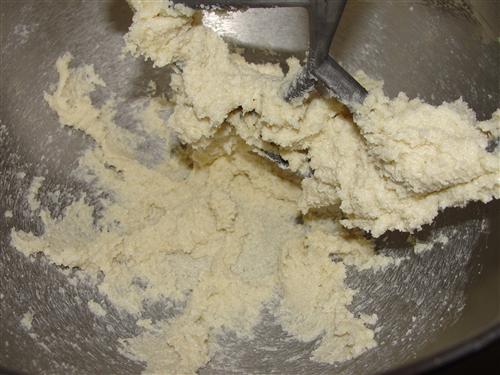
Stir them together and add the olive oil and 3 Tablespoons of water.
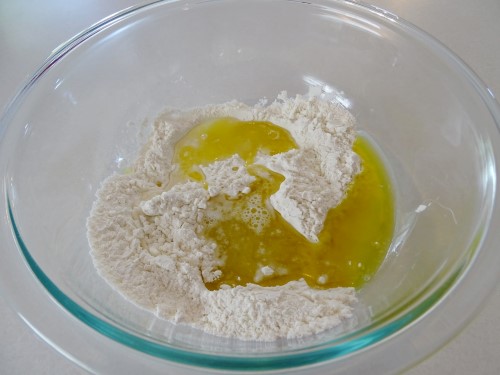
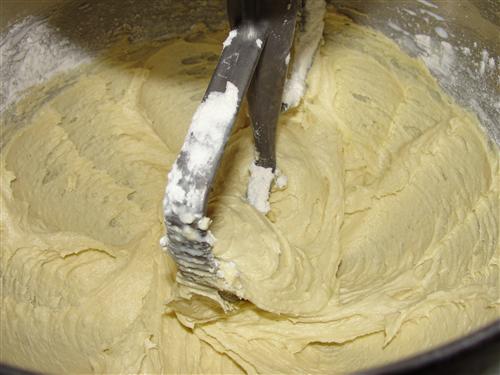
Mix, continuing to add water ½ Tablespoon at a time until all of the flour is incorporated and you have a soft, but not really sticky, dough.
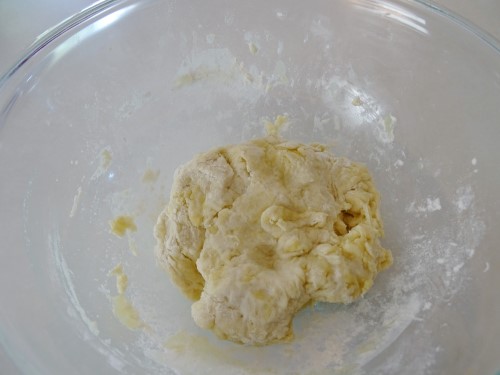
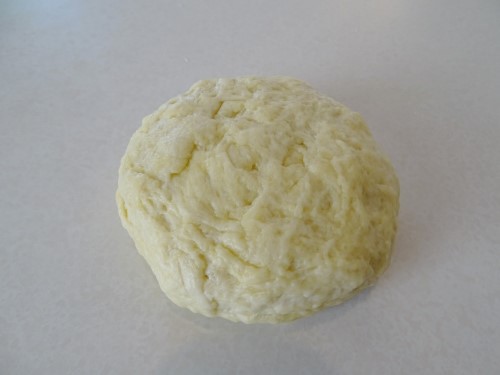
Knead the dough for about a minute just to bring it all together and get rid of any bits of flour or lumps. Form it into a round disk, cover it with a damp towel (paper or cloth is fine) and set it aside.
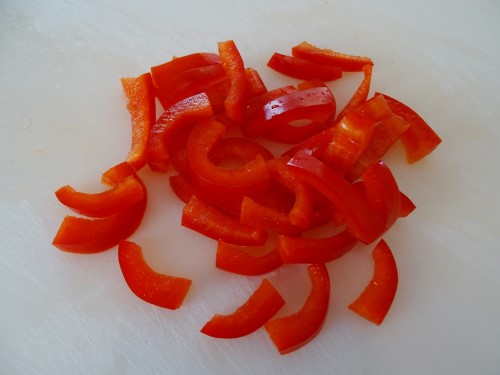
While that’s resting, slice your bell pepper into thin slices.
Then, the green onion.
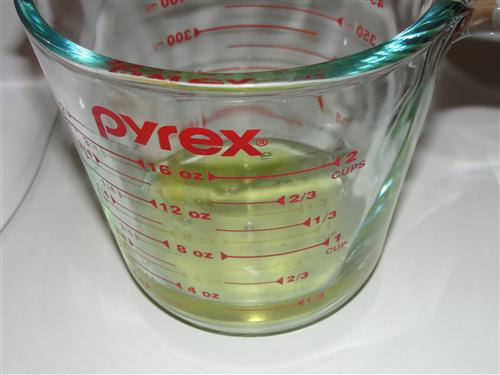
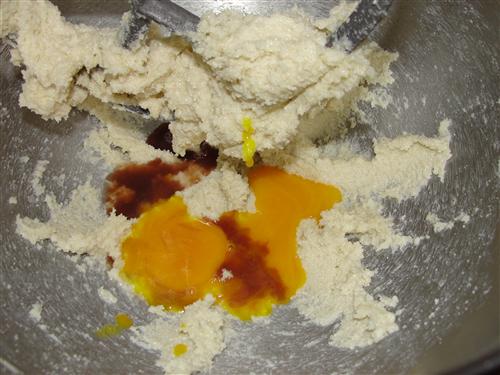
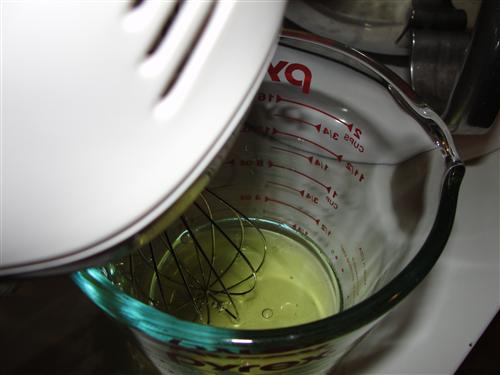
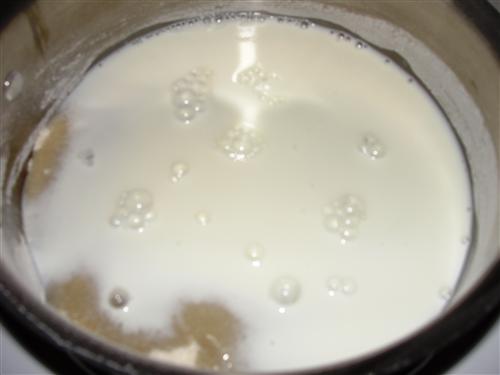
Next comes the sauce. In a small bowl, combine two Tablespoons honey
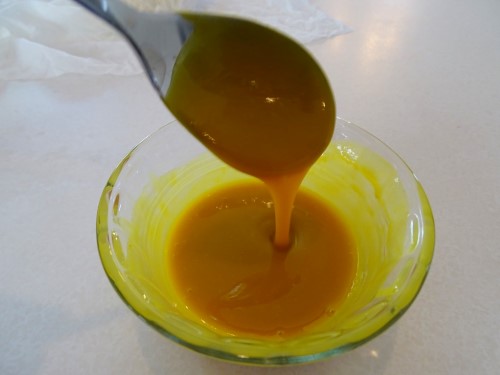
And two Tablespoons mustard.

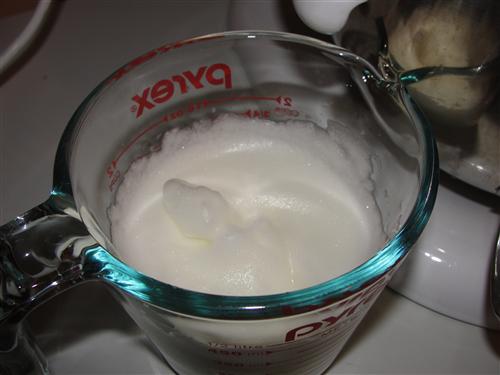
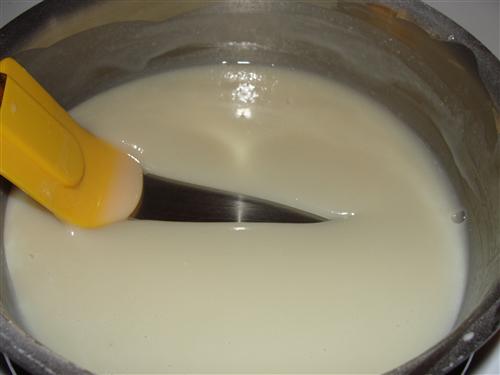
Stir them together until they're completely combined. I’m not sure why, but when you mix honey and mustard you end up with something much thinner in consistency than either of them on their own. If I were a chemist, I’m sure I could explain why, but well…
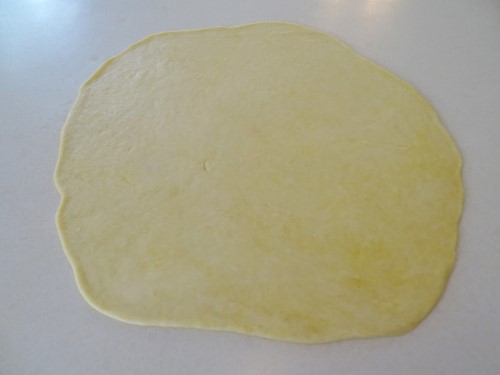
Now for the crust. Grab your rested dough and begin rolling it. Be sure to keep moving it as your roll so that it doesn’t stick to your countertop. You want the end result to be about 1/8 inch thick and 12 ish inches in diameter.
Lightly brush your pizza pan with olive oil before transferring the crust. I just put a little on a paper towel and rubbed it over the surface. With a fork, poke the entire surface of the dough.
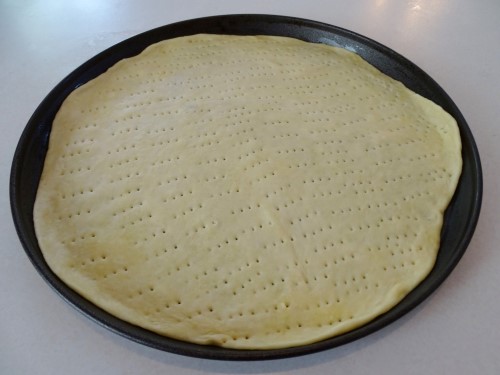
Into the oven for 4 minutes. Yes 4. Not 3. Not 5. It should look something like this.

Sprinkle on some grated mozzarella. Wait, I was supposed to measure that? I don’t know, a cup? Enough to lightly cover the surface.
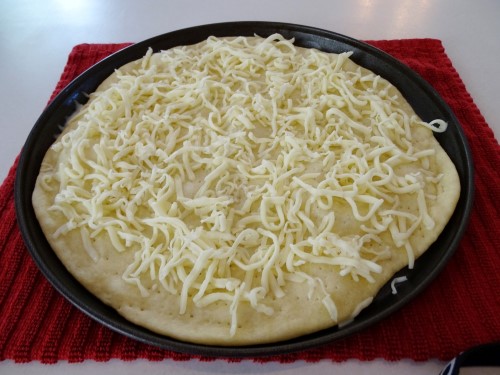
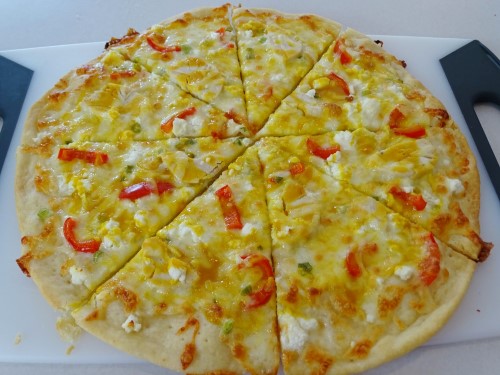
As for the chicken, I just used some leftover rotisserie chicken, but you can, of course, cook your own. Just make sure you do it before starting on anything else. Whichever you use, slice it thin and place it around the pizza. Follow that with the red bell pepper, green onion, and feta.

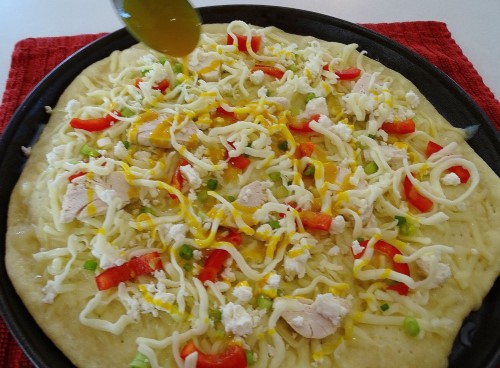
Cover with a light sprinkle of mozzarella, just to help hold everything in place. Then, drizzle over the honey mustard. You probably won’t use it all.
Back into the oven for another 12 minutes. When it’s ready it should be nice and bubbly on top and starting to brown around the edges.
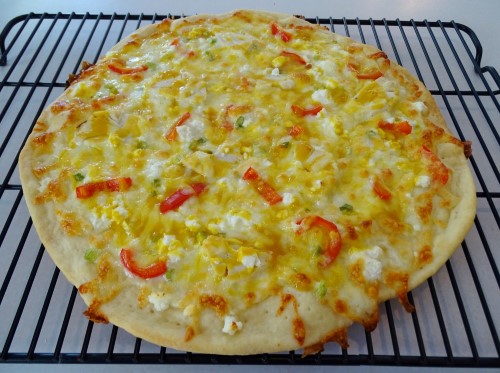
Remove it and allow it to cool on a rack for at least 2 or 3 minutes before cutting. Then just slice it like you would any other pizza. I know, often times pizza places cut their thin crust pizzas into square pieces. Why? It makes no sense. The shape of the pizza hasn’t changed. I just don’t get it.
So there you have it, a delicious, thin, crispy crust pizza you made all on your own. Feel free to use the same crust with more traditional toppings or these toppings on a more traditional crust, as well. This is more of a guide than an actual recipe.

So, Seeley, what kind of pizza are you bringing to the May-hem party?