Search
Categories
Have a request?
This form does not yet contain any fields.


    Entries in mayhem! (9)

    Tuesday
    May032016

    Chocolate Cream Pie Done Right

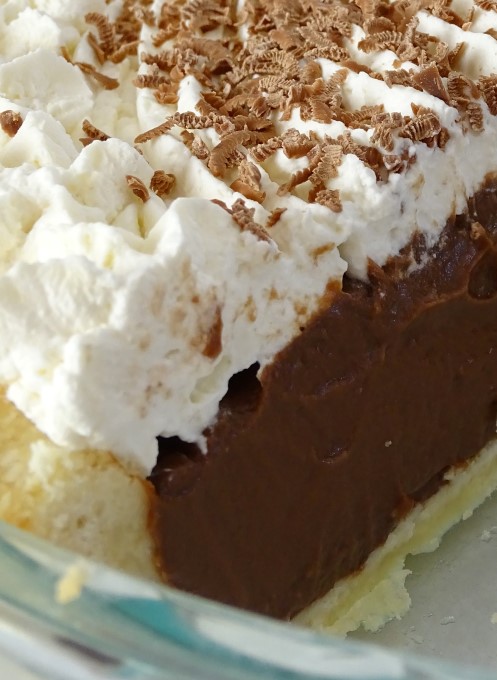
    Recently, I was having a serious craving for chocolate cream pie. Easy enough, right? Just drop into the nearest diner and pick up a slice. Yeah, not so much. After much googling and wracking of my brain, I eventually decided I would have to make my own. I couldn’t find a place locally that I could be sure wouldn’t disappoint. Since I’d never made a chocolate cream pie before, I needed to do some research. Off to Pinterest and Google, then. For some reason, every recipe I looked at had either cocoa or chocolate. When given the opportunity to use both, why on earth would you pass it up?? I mean, we’re making CHOCOLATE cream pie, after all. Now chocolaty pudding pie, or chocolate-ish custard pie. Well, I went all in, and boy did it pay off.

    Here’s what you’ll need: 

    • 1 pie crust
    • 1 cup sugar
    • ¼ cup cornstarch
    • ¼ cup cocoa
    • ½ teaspoon salt
    • 4 large egg yolks
    • 3 cups whole milk
    • 4 ounces dark chocolate
    • 2 tablespoons butter
    • 1 teaspoon vanilla 

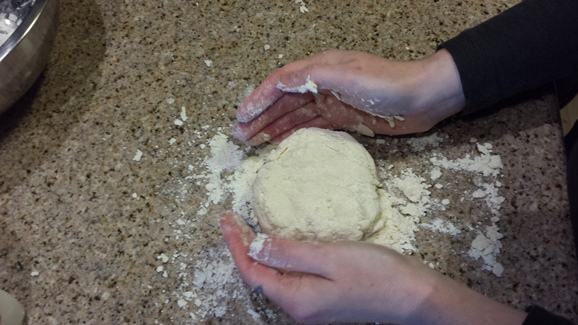
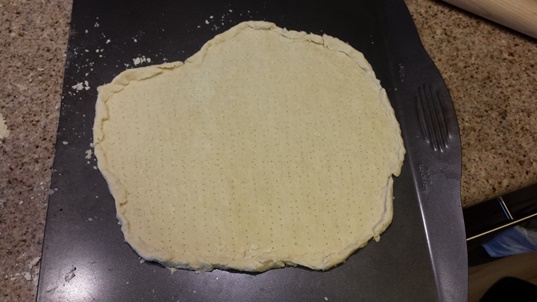
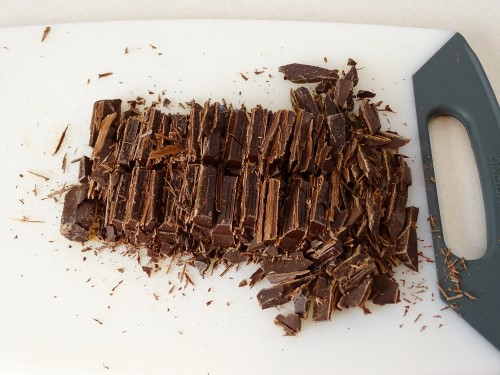
    Before you get started on the filling, you’ll need a pie crust. I used a frozen one form Trader Joes, and it was fantastic. If you don’t want to go to the trouble of making your own, I highly recommend theirs. Either way, the crust needs to be blind baked until it’s nicely golden and then cooled completely. Once that’s done, go ahead and chop your chocolate. Once again, I turned to Trader Joes for that. I love their pound plus bars.

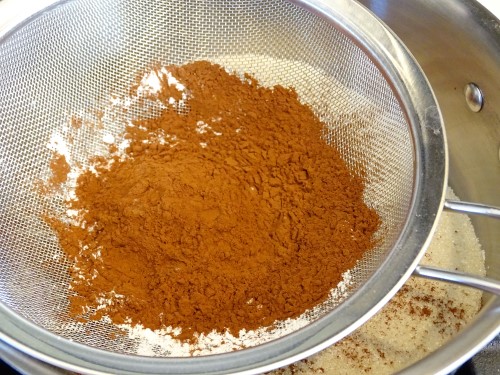
    Put that aside, and into a medium sized saucepan, sift the cornstarch and cocoa.

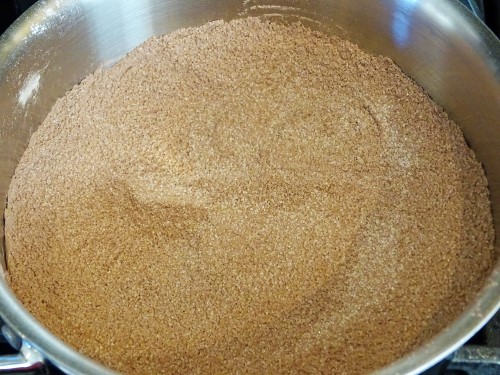
    Stir that together with the sugar and salt.

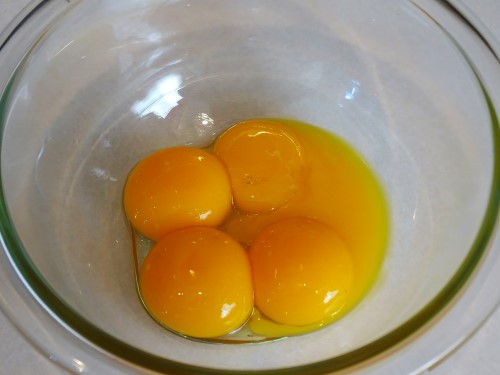
    Separate 4 eggs, placing the yolks in bowl. Give them a quick whisk.

    Here’s another place where I parted company from all the recipes I found. Even my own recipes, in the past, have always said to heat the milk and then temper the yolks before adding them to the mixture. At some point, my brain said, “if you’re going to bring it to a boil once the eggs are in anyway, why not just add them in the beginning?” It seemed like sound enough logic to me, so I did it, and it worked beautifully. So, go ahead and add the egg yolks to the milk and whisk that thoroughly.

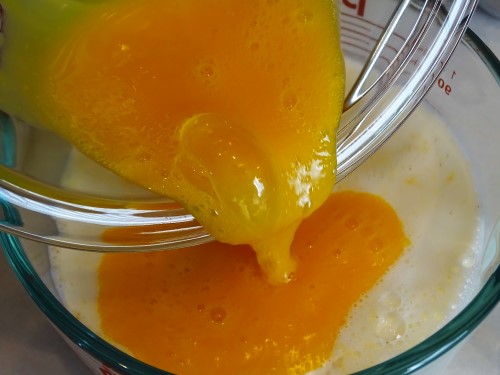
    Pour that mixture over the dry ingredients. Stir everything together and turn the heat to medium.

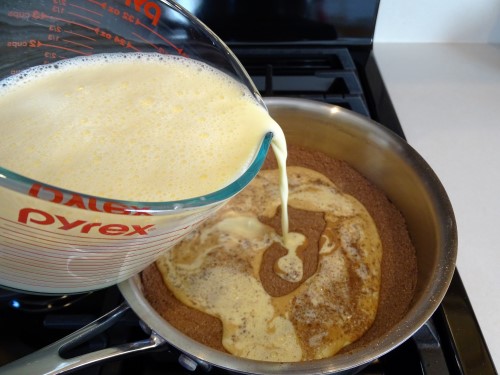
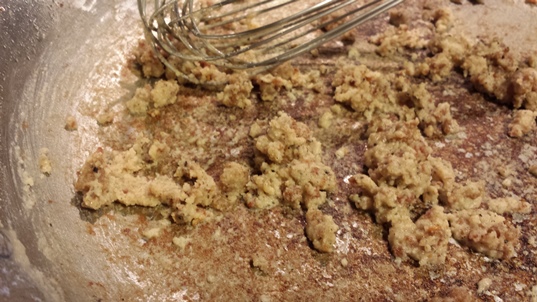
    At first, it’s going to be a bit messy, but don’t worry.

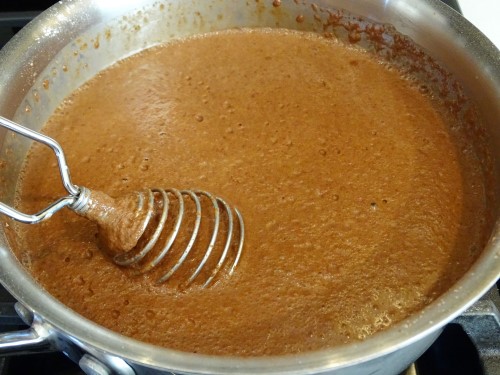
    As it warms up, it will sort itself out. Just keep whisking and stirring. I like to alternate between a whisk and a silicone spatula.

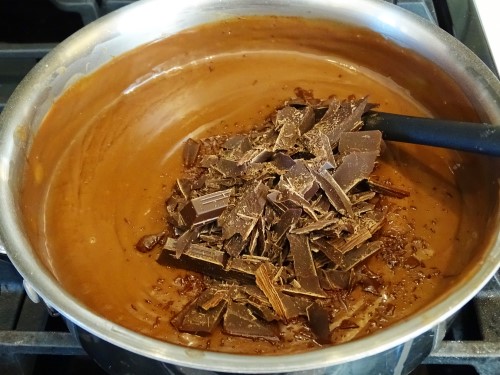
    Continue stirring until it reaches a boil and becomes nice and thick, then turn off the heat.

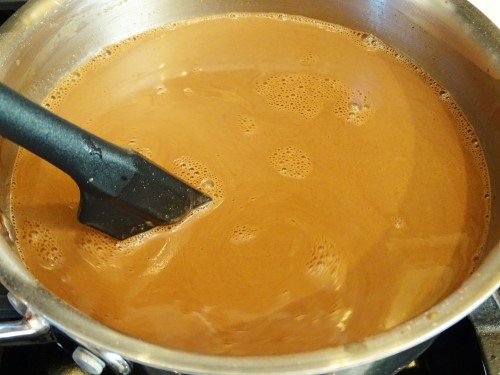
    Add the chopped chocolate and stir until it’s completely melted and incorporated.

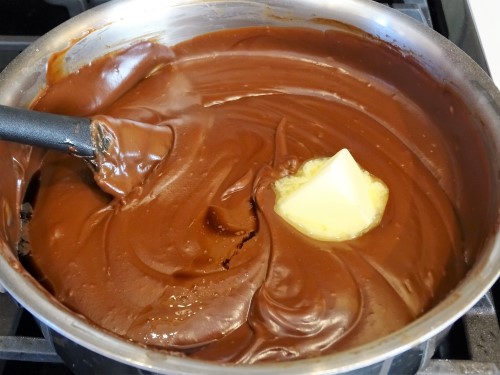
    Next, add the butter and vanilla. And yes, more stirring.

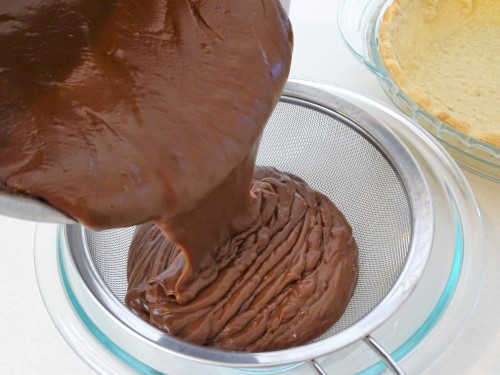
    Now, just to be safe, pour the pudding through a mesh strainer. This will ensure that you have no lumps (cornstarch, cocoa, curdled egg, whatever). It’s quite thick, so you’ll have to stir it to get it through the strainer.

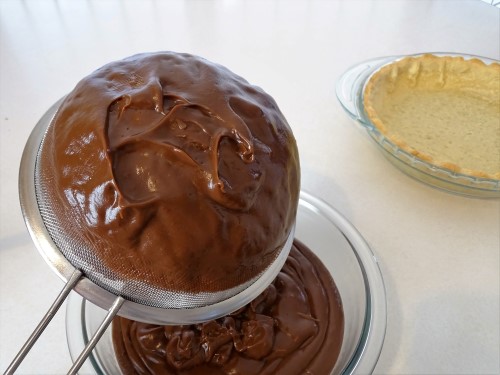
    And don’t forget to scrape everything off of the underside. There’s lots of deliciousness stuck there.

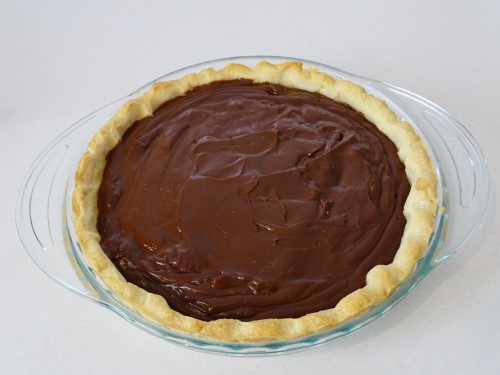
    Now, pour the finished pudding into the prepared pie crust and level it out on top.

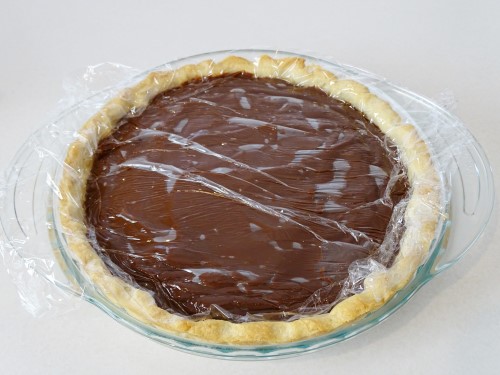
    Place a piece of plastic wrap directly on the surface. Allow it to cool, and then refrigerate it for at least 3 or 4 hours. Overnight would be even better.

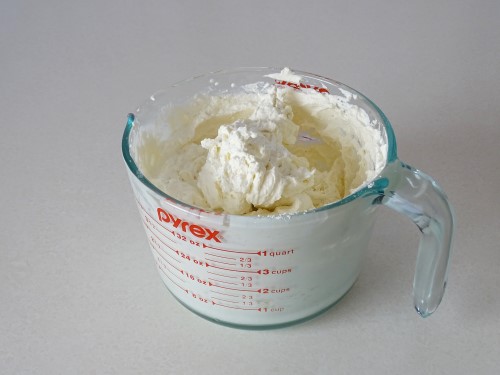
    When the pie is nice and cold, whip some cream. 

    • 1 ½ cups heavy cream
    • ¼ cup powdered sugar
    • 1 teaspoon vanilla 

    Whip until it’s nice and stiff. Although, be careful not to go too far. I’ve never actually had it happen, but apparently it will turn to butter at some point.

    I piped the whipped cream onto my pie, but you can just spread it if you’d prefer.

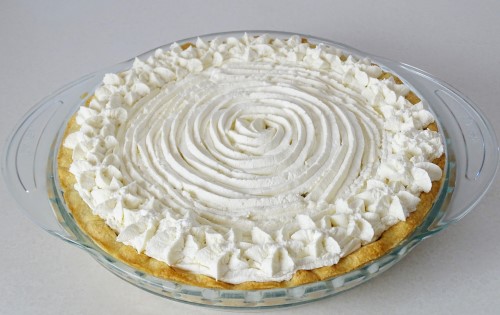
    Now, to make it pretty, top it with some finely grated chocolate. Just warm the chocolate slightly between your hands, and grate it on the finest side of a box grater. How gorgeous is that?

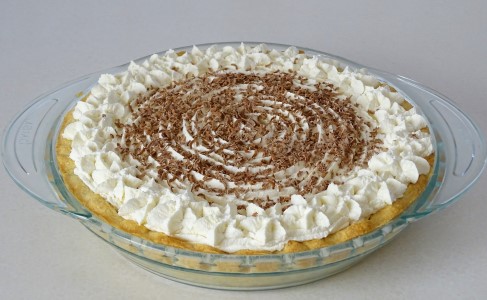
    This pie is creamy, chocolaty, and delicious. Hubby said it was the best pie he’s ever tried. That’s a huge compliment, because he’s not a big fan of sweet things, and he’s also not shy about telling me what he really thinks of my cooking. I will definitely be making this pie again.

    What food do you have to make yourself if you want it done right? 

    Thursday
    May142015

    Mayhem: Now math-free!

    NO. MORE. MATH.

    Well, at least, no more calculus. Well, no more calculus that I have to do by hand with no reference material, and sometimes not even a calculator. From now on, it’s just the everyday calculus we all do in our heads without even realizing it. No, really, you do! Every time you…

    For fuck’s sake.

    NO.

    MORE.

    MATH.

    What there will be more of though is every starving student’s favourite meal (and the only reason we join clubs that meet after class around dinner time):

    PIZZA!

    But, of course, since this is Mayhem, we’re not doing the usual. Well, not yet. We just have to start off weird here because, well, that’s what we are.

    Biscuits and Gravy, Pizza Style

    Yup, I’m serious. Biscuits and gravy in a pizza.

    I had no plans to do this wacky (and omfg tasty) mashup, but then I saw Taneasha’s first post and dude, it was on. It was mother fucking on. (ha! I made it 160 words before a fuck. Go me!)

    The crust is basically just half a biscuit recipe, with only 1 tsp of baking powder.

    The Crust

    • 1 c flour
    • ½ tsp salt
    • 1 tsp baking powder
    • 2 tbsp butter, cold
    • 6 tbsp milk (give or take)

    Stir the flour, salt and baking powder together in a bowl.

    Cut the butter into the flour (otherwise known as ‘mash it in with a fork’) until there are no more big chunks.

    Gradually add the milk one tablespoon at a time, stirring as you go, until the crumbly mass starts to come together into something dough-like. If you need more than 6, keep going, but if 6 is too much, you can make it less sticky by adding a tablespoon of flour.

    Dump it out onto the counter and press it into a ball, disc, thing.

    Roll that out into an amoebic shape that is nothing at all like Taneasha’s fucking perfect, round circle of crust. Holy shit woman.

    Poke it a bunch of times with a fork – really, it’s only fun for the first few times, but you’ll manage – then … dammit, oven’s not hot. Preheat the oven now while you cook the sausage. Totally planned it that way.

    Sausage Gravy

    • 2 big sausages, of whatever kind you like (mine are Andouille, made in store, and a bit spicy, but whatever kind you want or have will work)
    • 1 tbsp bacon fat
    • 2 tbsp flour
    • Salt and pepper
    • ½ tsp garlic powder
    • 1.5 to 2 cups milk
    • Fresh thyme leaves

    Remove the sausage from the casings, crumble it, and fry it up over medium heat until it’s got yummy crispy little golden bits in it. I recommend doing this in a pan that is not non-stick. You want the stuff that’s stuck to the pan. It’s tasty, and it will come up off the bottom after a couple more steps.

    Your oven should be hot by now, so pop in the biscuit crust and bake it at 425 F for exactly 4 minutes. Hey man, she did it first.

    Once it’s done, take it out and let it hang out for a bit while you finish the gravy. Also, turn up the heat on the oven as high as it will go: mine went up to 525 F.

    Remove the sausage from the pan, leaving as many of the drippings behind as possible. Reduce the heat to medium low, and since sausage never leaves enough drippings, add the bacon fat. Once it’s melted, stir in the flour, salt, pepper, and garlic powder. Whisk this around in the pan for a minute or so.

    With a whisk in one hand and the milk in the other, slowly pour milk into the pan while you’re whisking. The brown bits from the bottom of the pan will be whisked in, and the gravy will immediately thicken. Just keep stirring. And keep slowly adding milk until you have a very thick gravy, almost custard or pudding consistency; this should take about 1 cup.  And then add the thyme leaves.

    Blob a few tablespoons of gravy onto the crust, spread them around, all the way out to the edges. You should still have lots of gravy left in the pan. This is a good thing.

    Toppings

    • Crumbled sausage
    • Crumbled bacon
    • 1 to 1 ½ cups shredded cheese: cheddar or a cheddar – jack mixture
    • Green onion
    • Thyme leaves

    Spread your sausage and bacon on top of the gravied crust, then top with cheese.

    You can put the green onions and thyme on now if you’d like, but I left mine off so I’d have a bit of sharp fresh flavour on top of the creamy cheesey sausagey biscuitness.

    Bake in the hottest oven possible until the cheese is melty and bubbly, and the edge of the crust is golden.

    While it’s baking, pour the rest of the sausage into the gravy and gradually add the rest of the milk until you have a nice gravy consistency. This gravy, you can use for dipping your pizza into, or for spreading on top of the pizza.

    Once it’s out, decorate it with the onion and thyme (if you haven’t already) and serve with gravy!

    Holy crap.

    Why didn’t I think of this sooner??

    Oh, right. FUCKING MATH.