It's My Birthday!!
 Taneasha
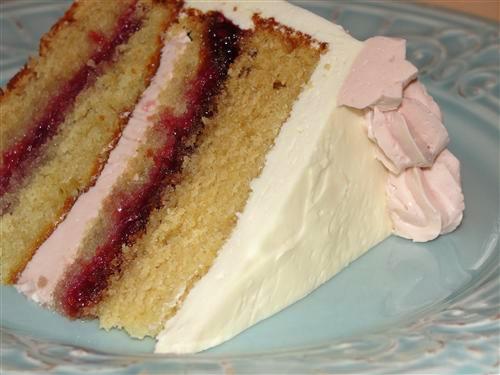
Ok, so technically my birthday isn’t until the 12th, but hubby was out of town this week, so I decided to make my cake a little early. Besides, who wants to spend their birthday in the kitchen? Now, ordinarily I leave birthday cakes to the professionals, but this year I decided, not only to bake myself a cake, but to go the whole nine yards. I made real Italian buttercream, and even bought pastry bags and piping supplies to do a few decorations. Next time you have a birthday or special event, give making your own cake a try.
Here’s what you’ll need for the cake:
¾ cup butter (1 ½ sticks)
1 ½ cups sugar
2 eggs
1 egg yolk
2 ½ cups flour
1 cup buttermilk
1 Tablespoon vanilla
½ teaspoon almond extract (optional)
All of your ingredients must be at room temperature before you start. Sorry, I didn’t manage to get an ingredients picture for the cake. I will tell you to preheat your oven to 350°, though. Also, you need to line 2, 8 inch round pans with parchment and butter the sides of the pans. To see how to cut parchment to the proper size, I showed how in my chocolate cake post.
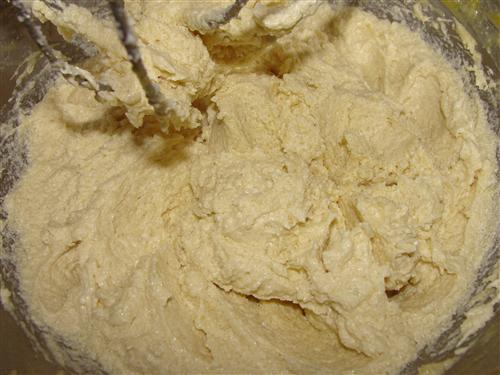
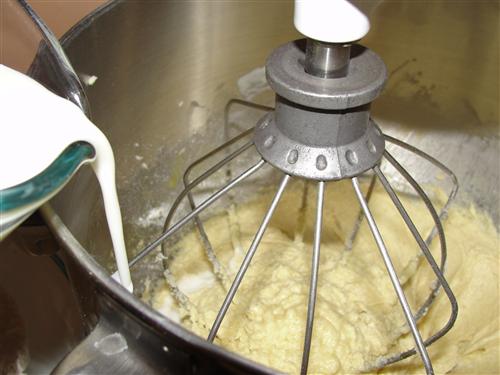
Throw your softened butter into a mixing bowl.
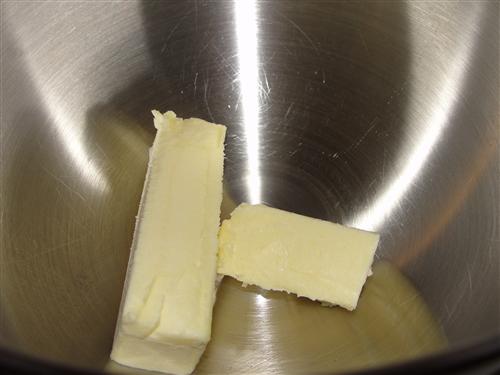
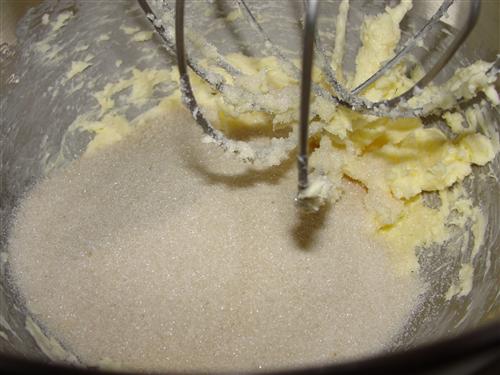
Beat it for a good minute or two so it becomes nice and soft and fluffy, then pour in the sugar and beat for another 3 or 4 minutes.
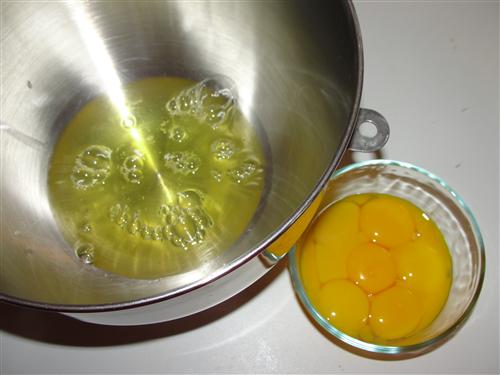
Add the eggs and vanilla.
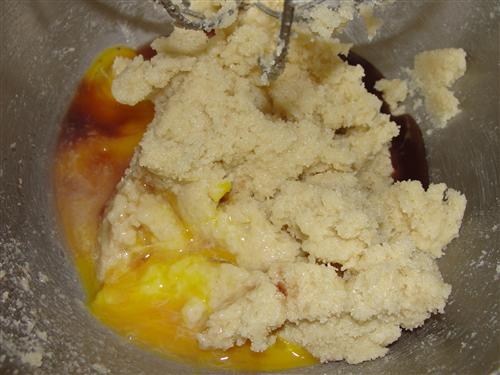
Be sure to save the extra egg white so you can use it in the buttercream later.
I know, eggs are supposed to be added one at a time… yeah, I didn’t. Just make sure you mix until they’re completely incorporated.
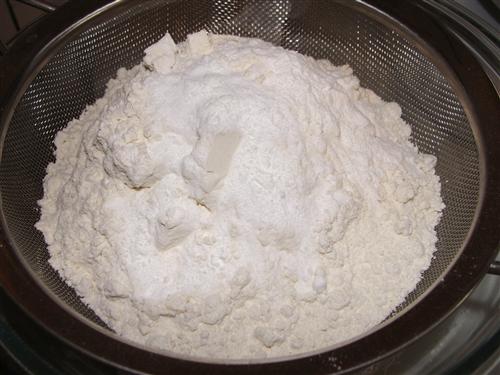
Next, sift your dry ingredients into a separate bowl and whisk them together.
Add ⅓ of the dry ingredients.
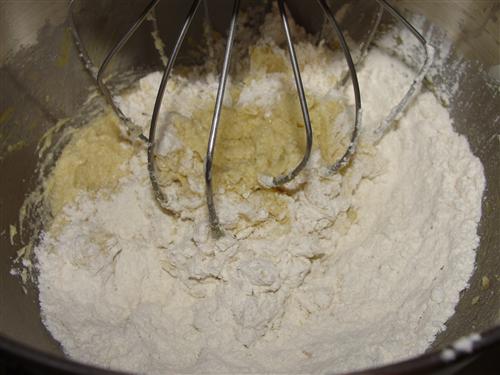
Mix until incorporated, making sure to scrape down the sides and bottom of the bowl. Pour in half of the room temperature buttermilk.
Repeat. You may notice that the mixture looks a little lumpy or curdled after the liquid additions.
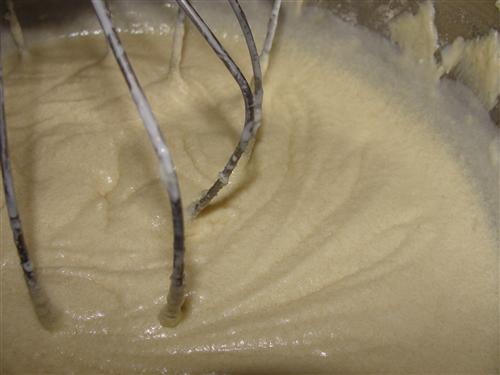
Don’t worry about that. As long as you end with dry ingredients, it will smooth out beautifully, which you can see here. This picture also shows why you have to scrape down the bowl frequently.

Now divide the batter evenly between the two pans.
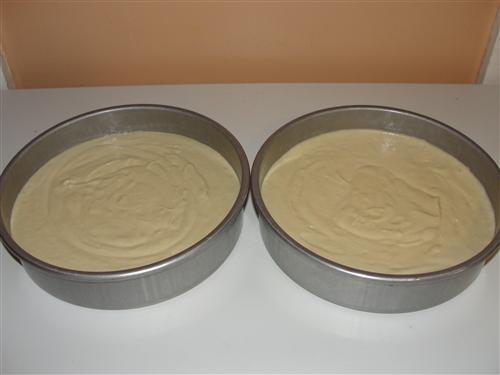
Into the 350° oven for 35-40 minutes.
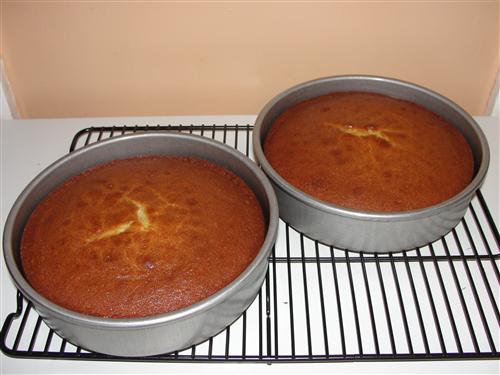
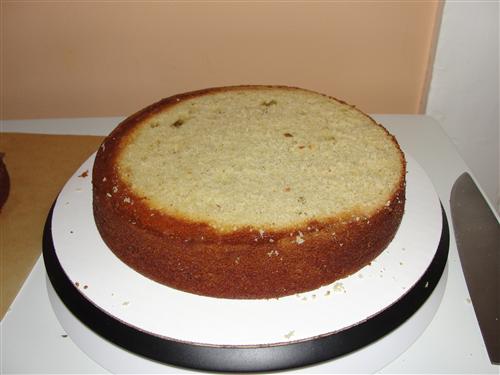
So, apparently, my oven cooks a little on the hot side. That is what causes cakes to crack on top. Oh well, that’s what icing is for, right? Now, cool the cakes for 30 minutes in the pans, then remove them and allow them to cool completely. Once they’ve cooled, drop them back into their pans, cover them, and refrigerate for at least a few hours. I left them overnight.
Now to start on the frosting. I knew I wanted some of my buttercream to be pink, but as usual, I would not be using artificial colors. Instead, I used pomegranate juice.
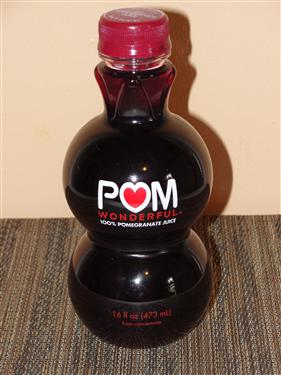
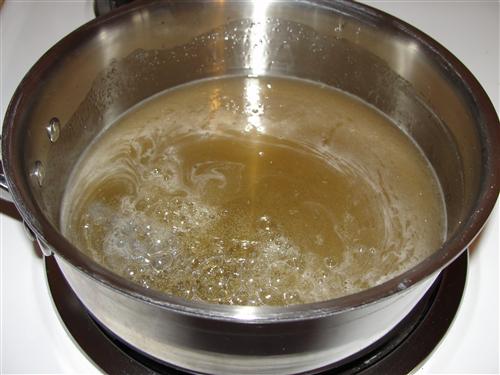
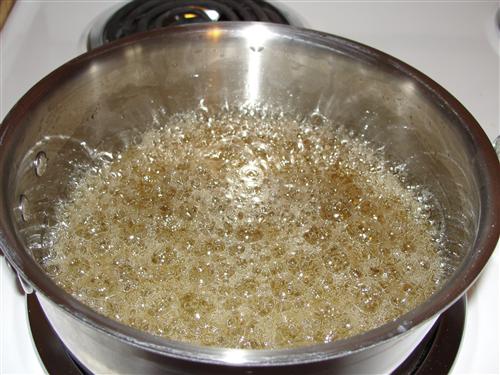
Unfortunately, you can’t just add it as it comes. Adding too much liquid to your frosting will make it break. We have to cook it down. Easy enough. Just pour it into a pan and boil it for a while, stirring occasionally. As it cooks down, you’ll start to see larger bubbles forming and stacking on top of each other. That’s a good sign that much of the water has cooked off.

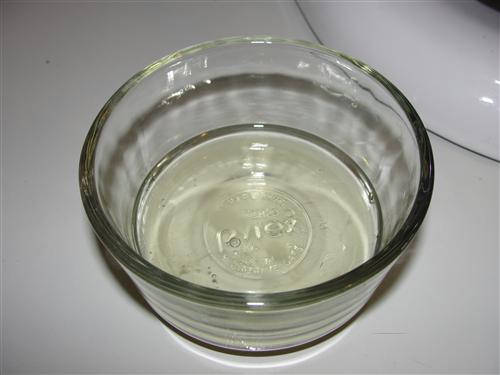
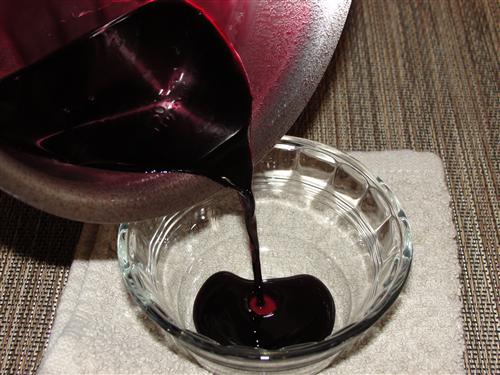
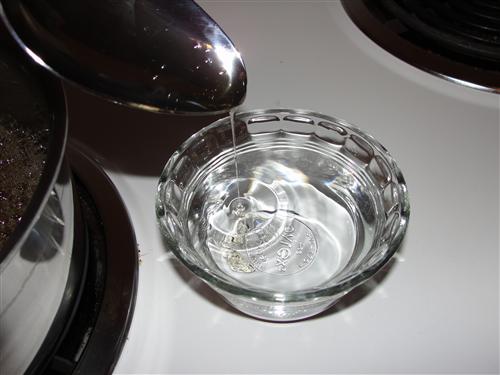
It will be very hot, so pour it into something very heat safe, and make sure it’s resting on top of a towel or hot pad. As you can see, from the 2 cups of juice, I ended up with about ¼ cup of colored syrup.
Set that aside and we’ll start on the buttercream. Now, since I had never made Italian buttercream before, I used a recipe I found on the interwebs. That being said, next time I make it, I will change it up just a bit. To me, it was a bit too rich and buttery, so I will try cutting the butter down to 2 cups instead of the 3 that are called for. Since I’ve never made it that way and can’t guarantee it would turn out beautifully, I’ll give you the recipe I did make. If you feel like experimenting, try it with 2 cups and let me know how it turns out.
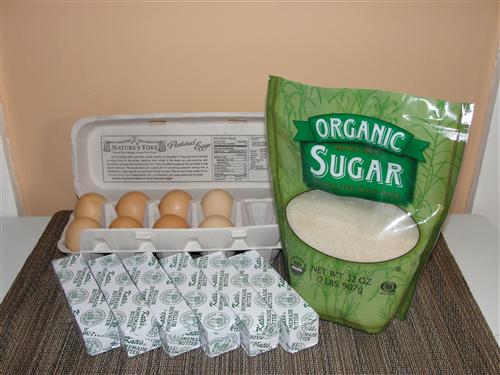
Here’s what you’ll need:
1 ¼ cups sugar
½ cup water
8 egg whites
⅓ cup sugar
3 cups butter (6 sticks… what? It’s my birthday.)
Again, it is important that everything is room temperature.
For separating all the eggs, I used Seeley’s tip and pulled out a third bowl. Don’t forget the egg white you save from making the cake.
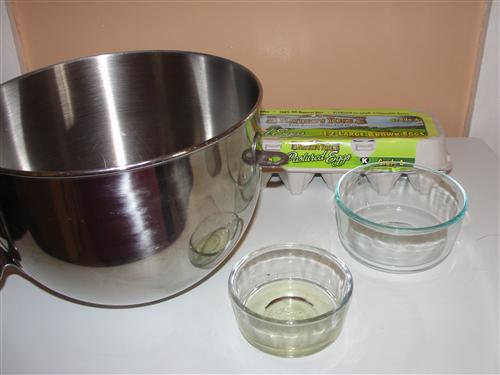
See? Perfectly separated.
Save those yolks, 4 of them at least, and next week I’ll show you a great way to use them! Now, onto the syrup. Before you start, grab a little dish of ice cold water. In a pan over medium low heat, stir together 1 ¼ cups sugar and ½ cup water. When the sugar has mostly dissolved, increase the temperature to medium, continuing to stir constantly. When it reaches a boil, put on a lid and set a timer for 3 minutes.
Now back to the mixer. The recipe I used called for 1 teaspoon of cream of tartar, but I didn’t have that, so I just added a little squeeze of lemon juice to the egg whites. Feel free to do either, or neither. Now, turn the mixer on high-ish. When the egg whites become foamy and opaque, sprinkle the over the sugar while the mixer continues to run.
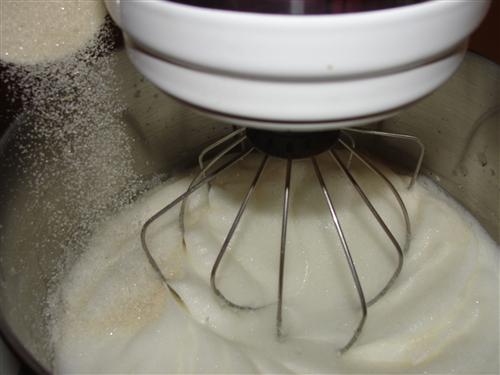
Soon, the mixture will become very opaque. You want to be able to do this.
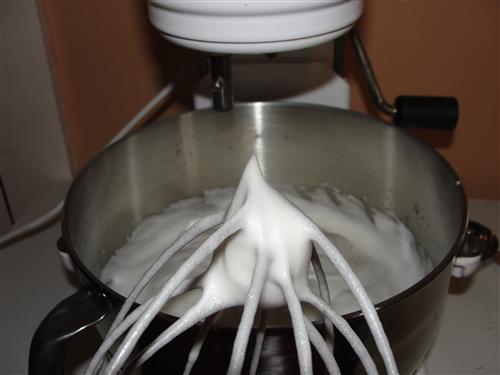
Hopefully, like me, you’re able to accomplish that in the 3 minutes you have while the lid is on the syrup. When the timer goes off, remove the lid. It should look about like this.
With a clean spoon, drop a little of the syrup into the cold water.
You should be able to gather it together into a ball, but it should flatten easily between your finger and thumb.

When you get to that point, turn off the heat and carry the pan over to the mixer. When the syrup has stopped boiling, with the mixer running on medium high, begin to pour the syrup very slowly into the egg whites.
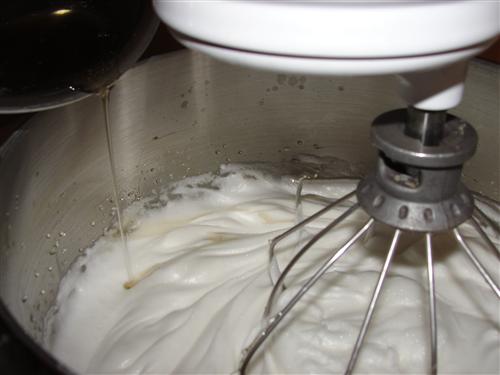
Try to get the stream to fall between the side of the bowl and the whisk. If the syrup gets on the cold metal, it will harden rather than mixing in. Naturally a little of it will be thrown around by the whisk no matter what you do.
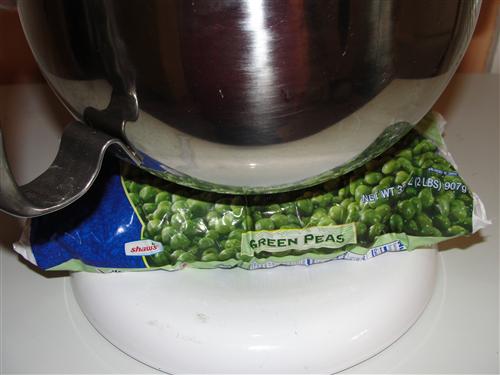
When all the syrup is into the mix, it will be quite hot. If you have a flexible ice pack on hand, go ahead and wrap it around the bowl. I always keep a bag of cheap frozen peas on hand for just such an occasion. They make the best ice packs, and you can get them really cheap.
You want the mixture to be just a little over room temperature, around 80°, then it’s time to start adding the butter. Cut the butter into about 1 Tablespoon size pieces and add them one at a time while the mixer continues to run.
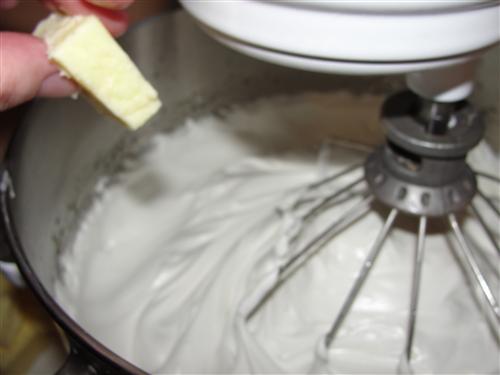
Yes, it is going to take a while. And when you finally get close to the end of your butter, this will happen and you’ll think you’ve killed the whole thing.
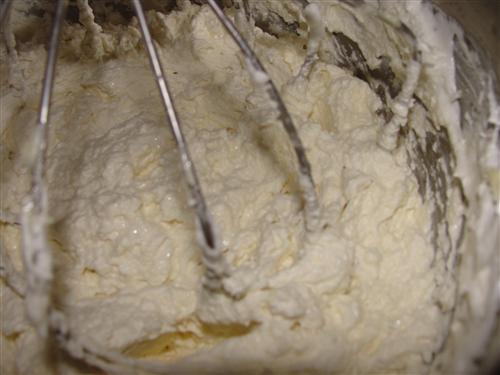
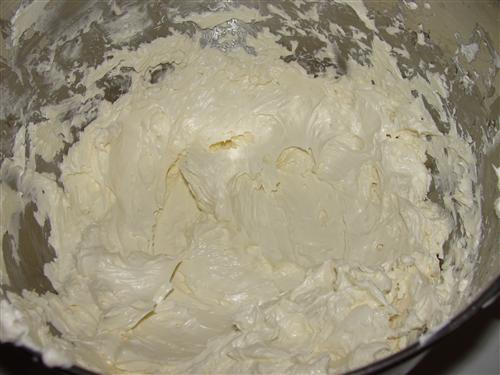
Don’t panic, just keep going. It’s going to turn into buttercream, and soon. See?
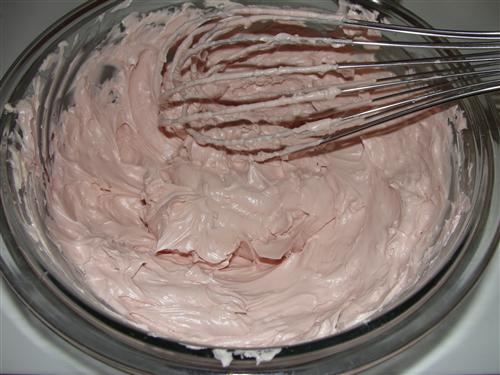
Now, I wanted a layer of pink in the middle of my cake as well as pink borders and a few little flowers, so I took about a third of the icing out and added some of the pomegranate syrup. See how thick it is?
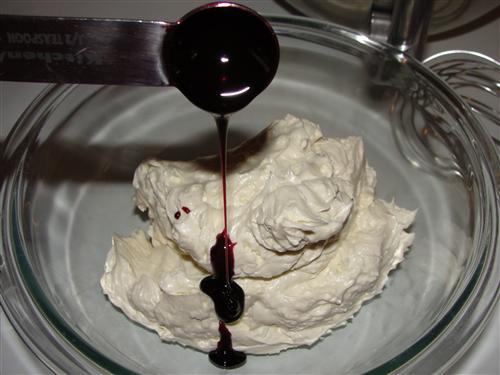
Whisk it in to get the color you’re looking for. I added about 1 ½ teaspoons to get a nice pastel pink.
Ok, let’s put this cake together. Cut the bottom cake in half.

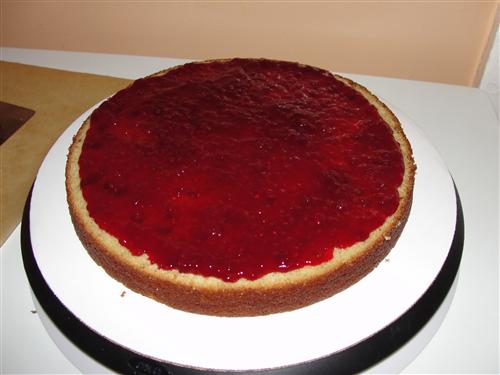
Top the bottom half with raspberry jam, leaving a small border around the edge. Use something really good. I used homemade.
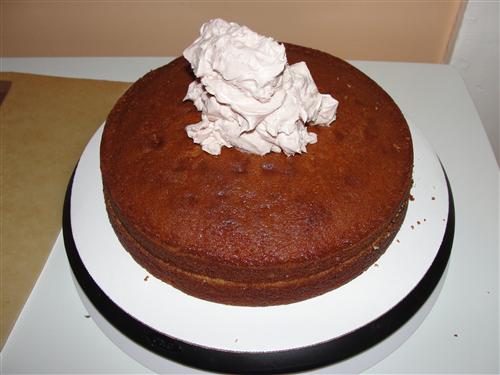
Put the top back on and plop on some of the pink buttercream.
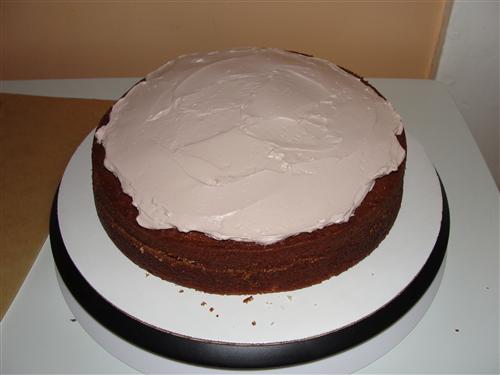
Spread, again leaving a border.
Now for the second cake. Since this one is going to be on top, I decided to level it out a bit so I’d have a flatter surface on the top of the cake.
Cut that cake in half. I missed the middle, so I put the thinner piece onto the cake next. Top that one with raspberry jam like you did the first.
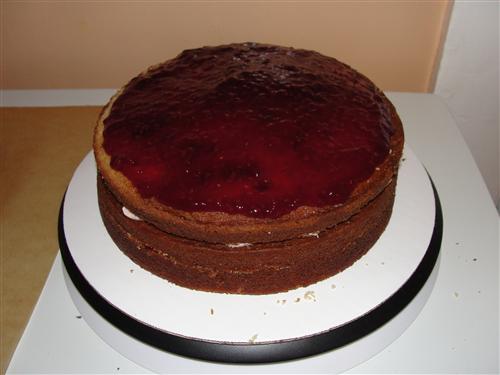
Last, you want whatever is flattest facing up.

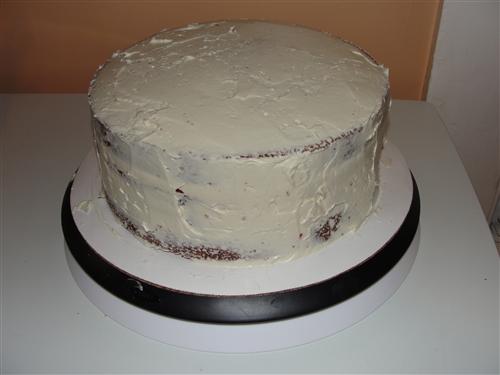
Now for the white buttercream. You want to do very thin layer on the whole cake. This is called a crumb coat, and that’s exactly what it’s for. It traps the crumbs. Pop the whole cake into the fridge for 30 minutes, and give your feet and back a break. Don’t refrigerate the rest of the buttercream, though. It needs to remain spreadable.
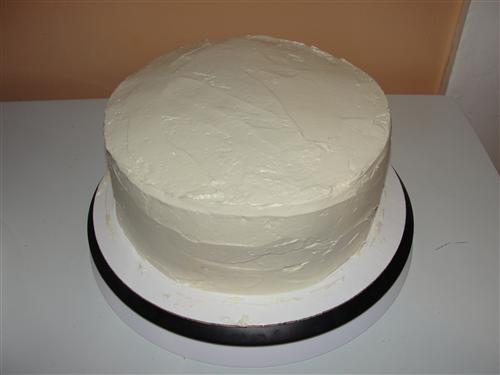
Now, I’m not going to teach you how to decorate a cake. As I’ve already said, I’m no cake decorator. You can find great videos on youtube, though. Here’s what I did. I coated the whole cake in an even-ish layer of buttercream. Looks good enough to me.
Then I just did a border around the top and bottom of the cake in pink, and a handful of easy flowers.
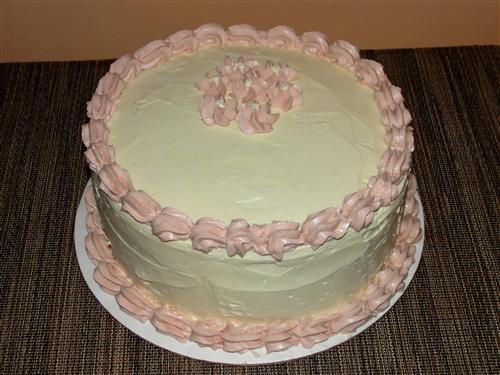
Not perfection, but I don’t think it’s half bad for my first attempt. Especially considering how artistically inept I am.
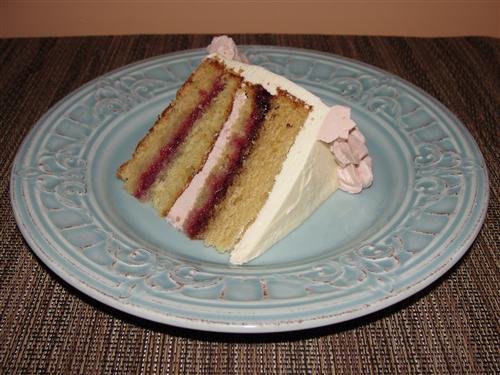
It was a bit time consuming, but I really enjoyed doing it. And really, what’s better than sitting down with a delicious, and mostly pretty, slice of cake and being able to say, “I made that!”
What food do you usually leave to the professionals?
