One... Two... Three!!
 Taneasha
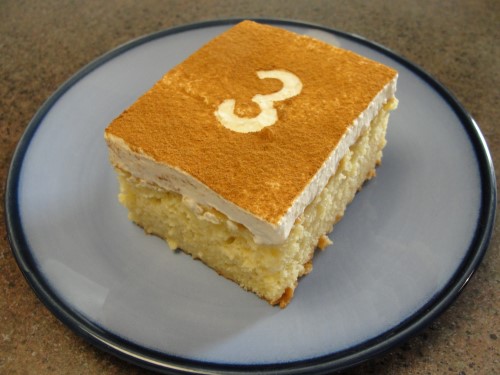
It’s our birthday, and we’re turning 3! Of course, birthday means cake, right? I thought for a long time debating what kind of cake to make. Eventually, I decided tres leches cake was fitting for our third birthday. After all, tres leches is three milks in English. I grew up in Utah, which has a fairly large Hispanic population, so of course I’d heard of tres leches cake countless times. Unfortunately, I’ve somehow neglected to ever actually taste it. So I did lots of research and even got advice from someone who has made it before. Then, I decided to ignore all of that and do my own thing. Not sure what that says about me, but whatever, I’m very pleased with the end result.
Here’s what you’ll need:
- 3 egg whites
- ½ cup sugar
- 3 egg yolks
- ¼ cup sugar
- ¼ cup oil
- 1 teaspoon vanilla
- 2 Tablespoons cream
- 1 cup flour
- ¼ teaspoon salt
- 1 teaspoon baking powder
- ½ can sweetened condensed milk (about ⅔ cup)
- ½ can evaporated milk (about ¾ cup)
- ½ cup half and half
- 1 teaspoon vanilla
- 1 cup cream
- 2 Tablespoons powdered sugar
- ½ teaspoon vanilla
- Cinnamon
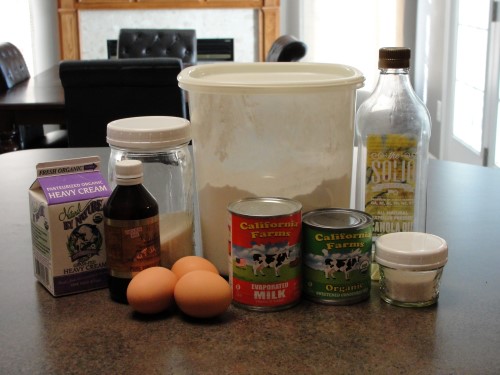
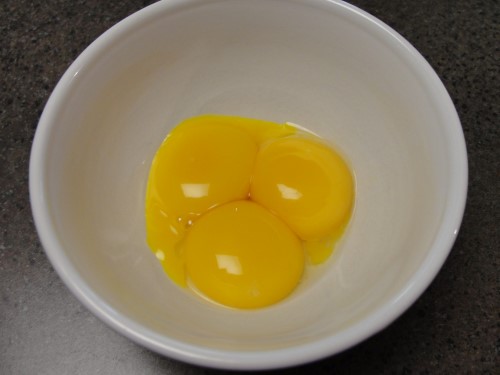
I know, the ingredients list is all wonky, but you’ll understand why before we’re done. Before you begin, make sure your eggs are room temperature. I like to just pull mine out the night before, but if you forgot, you can do this little trick. Also, butter an 8x8 pan and preheat the oven to 350°. Separate the eggs, putting the yolks aside.
The whites can go right into your mixing bowl. It’s important that no yolk ends up in your whites, though, so you might want to grab an extra bowl.
Whip the egg whites until you get soft peaks.
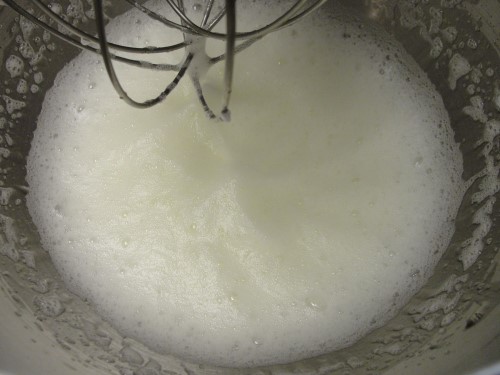
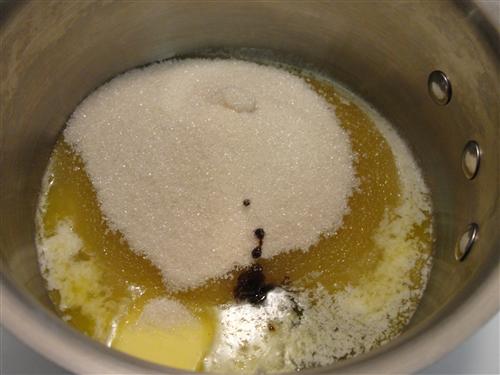
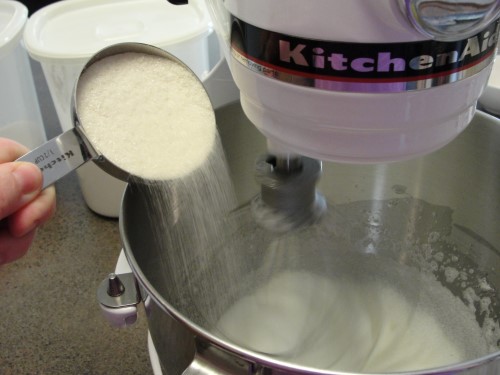
With the mixer running on medium-high speed, slowly add ½ cup sugar.
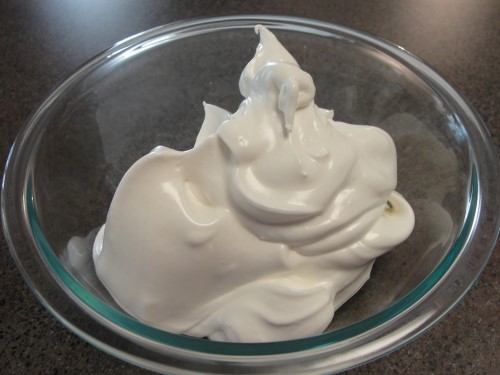
Stop and scrape everything down, then continue beating until you get stiff peaks. It should be beautiful and shiny. Move it to another bowl and set it aside.
Up next are the egg yolks. Now, because you did the whites first, you don’t have to clean the bowl before switching to the yolks. If you had done the yolks first, you’d have to wash the bowl before putting the whites in. The fat from the egg yolks will sabotage your egg whites and prevent them from getting the volume you need.
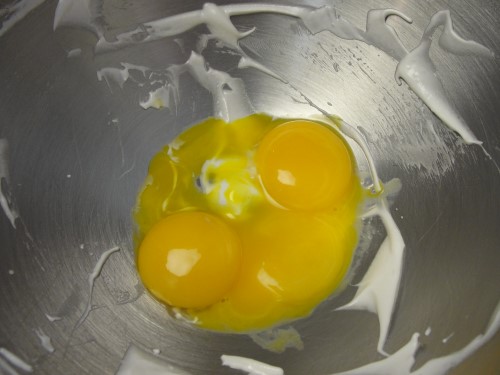
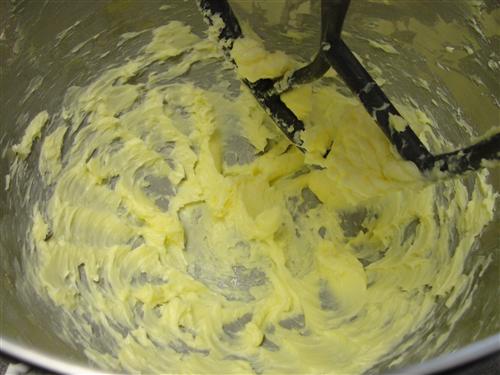
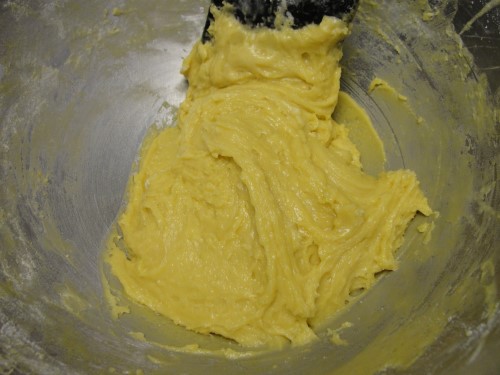
Whip the yolks until they begin to lighten in color.
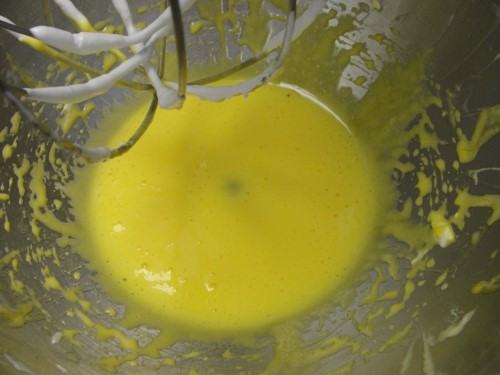
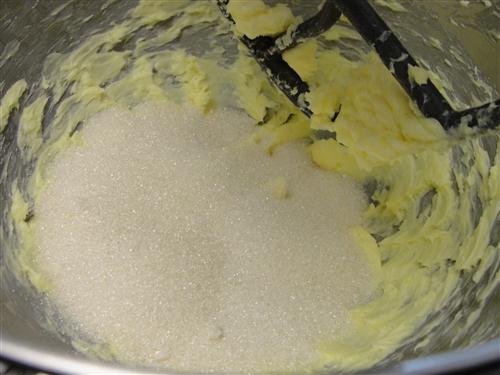
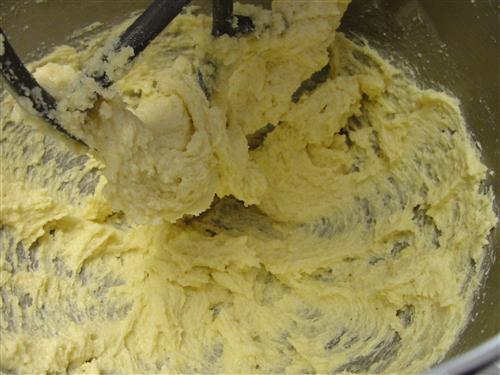
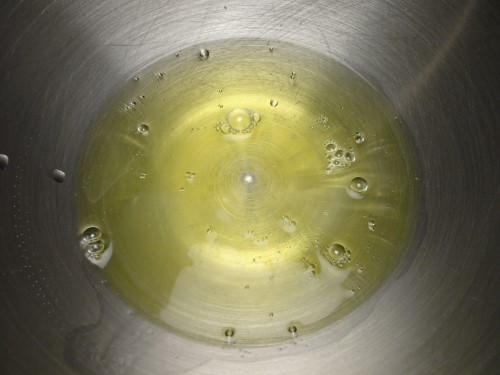
Then slowly add ¼ cup sugar just like you did to the whites. Continue beating them until they become a pale yellow and run in a ribbon from the spatula.
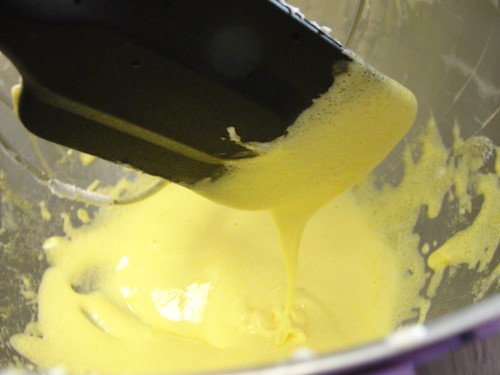
Add ¼ cup oil (I used canola, but vegetable or safflower would be fine), 1 teaspoon vanilla, and 2 Tablespoons cream.
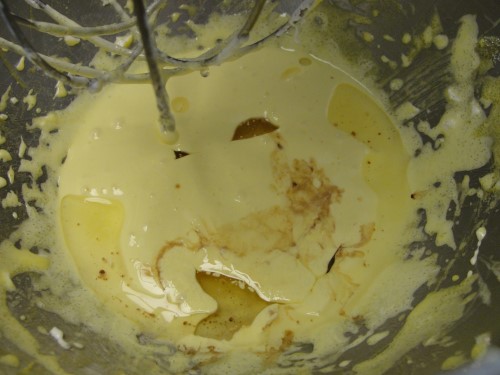
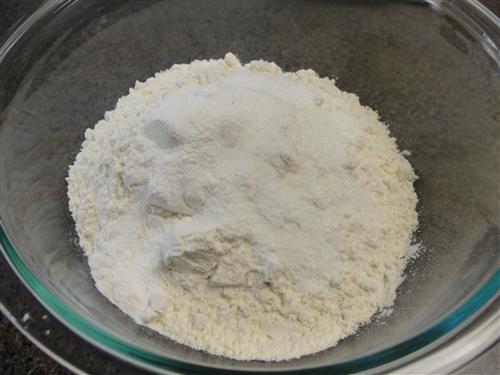
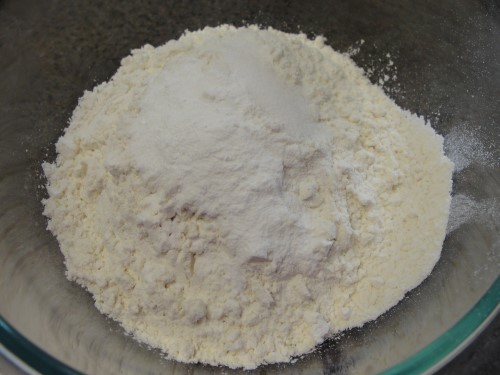
Mix until that’s fully incorporated. In another bowl, measure the flour, salt, and baking powder.
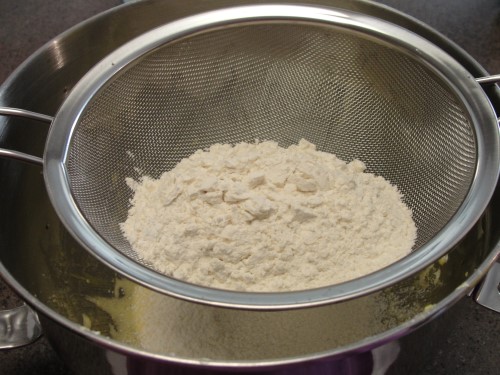
Whisk them together and sift that over the egg yolk mixture.
Stir just until the dry stuff is incorporated.
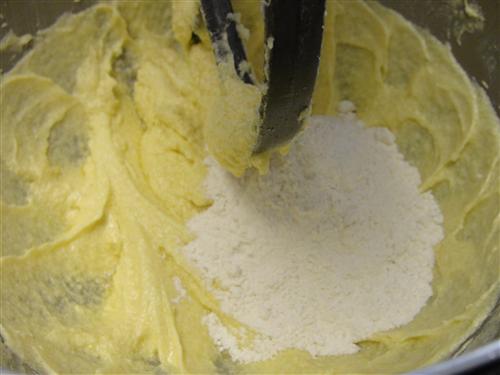
Add a dollop of the egg whites. This first bit you’ll just have to stir in. When that’s mostly combined, add another dollop.
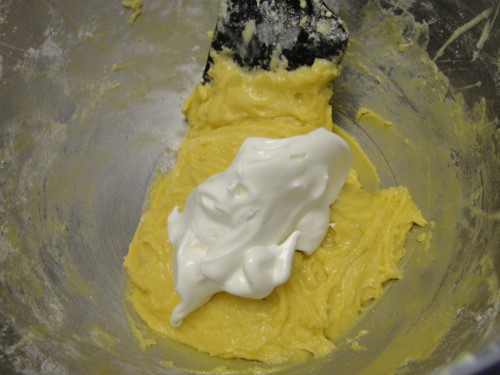
Gently fold until it looks something like this before spooning in the next addition.
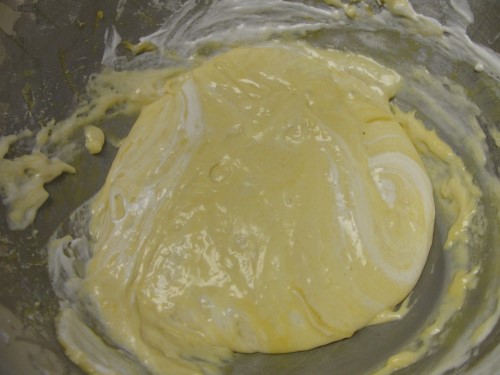
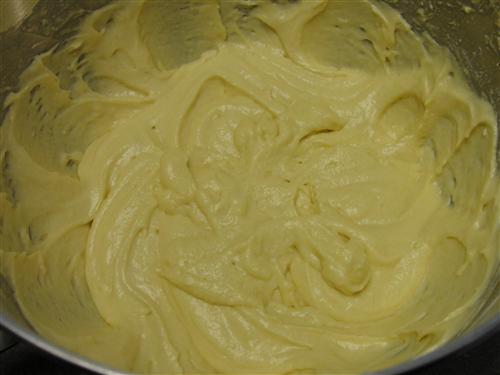
Continue to add the egg whites, gently folding them in, until you’ve incorporated them all.

Pour the luscious batter into your prepared pan.
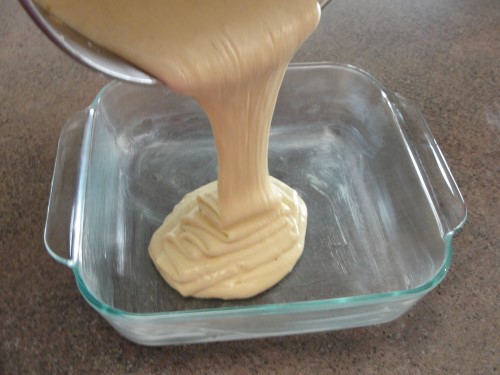
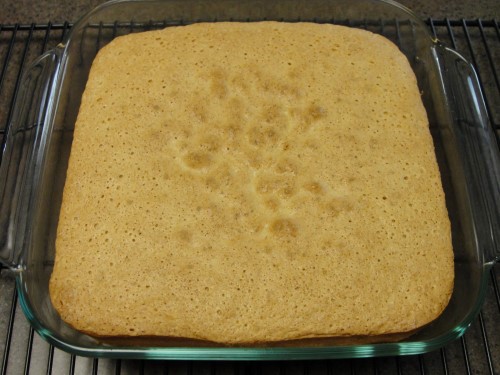
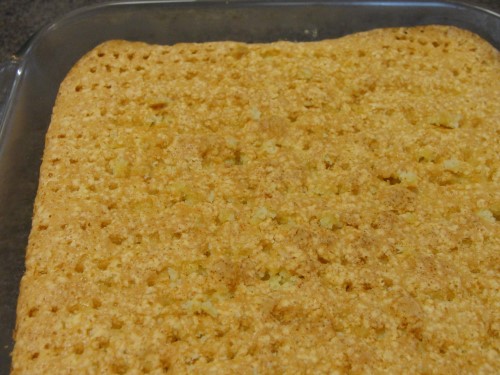
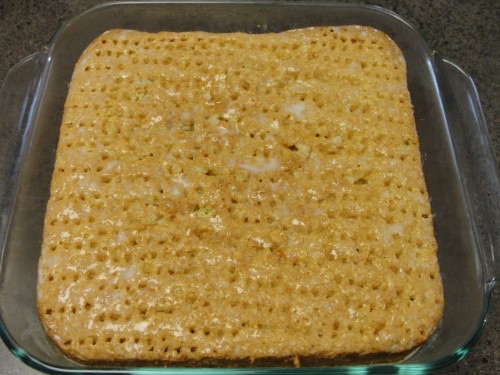
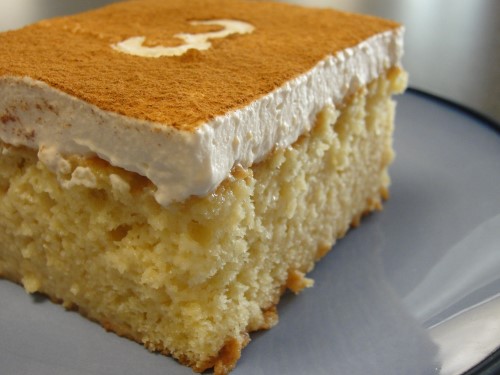
Level it out on the top and then into the oven. 350° for about 30 minutes. It will be browned on the top and sides, and a toothpick inserted in the center should come out clean. I know what you’re thinking, “Taneasha, that doesn’t look like a normal cake.” Believe it or not, that’s a good thing. We need a cake that is soft and absorbent, but won’t just turn to mush when it gets soaked with the ‘three milks’.
Allow the cake to cool completely. I actually let mine cool, then just covered it and left it overnight, which worked great. When the cake is ready, use a fork to pierce the top of it.
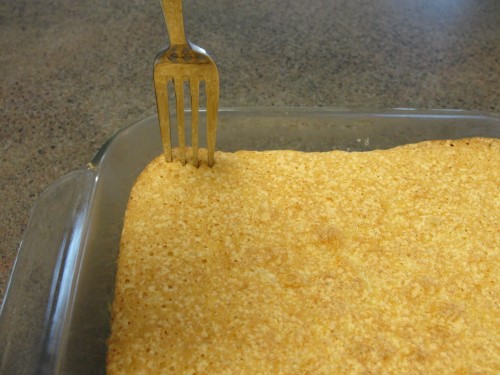
Don’t poke all the way to the bottom, just in the top half is fine. Make sure you go over the entire surface, though, all the way to the edges.
In another vessel, combine the sweetened condensed milk, evaporated milk, half and half, and vanilla. I like to use a large measuring cup for stuff like this because it pours well.
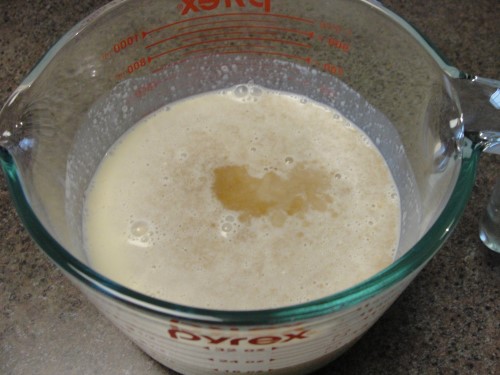
Stir it all together, then slowly pour the mixture over the cake.
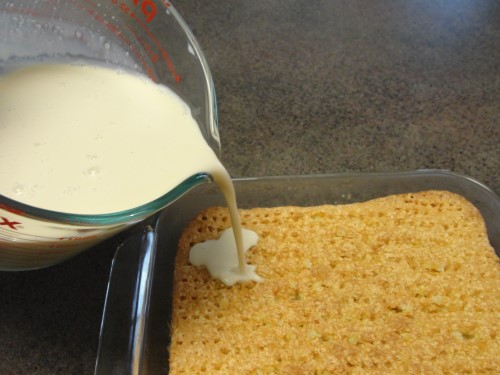
Try to soak the cake as evenly as possible, making sure you get the edges.
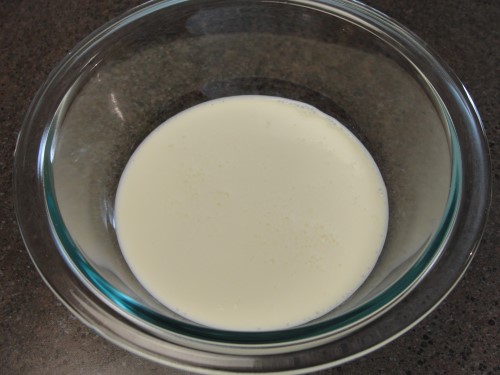
You’re probably going to want to just grab a spoon and dig in, but it’s not ready yet. Cover the cake and refrigerate it for at least 3 hours. It needs time to get nice and cold and to absorb all that sweet, milky goodness. When it’s ready, you can start on the whipped cream for the top. Pour the heavy cream into a bowl. (If you put the bowl in the freezer for a few minutes before you start, the cream will whip more quickly.)
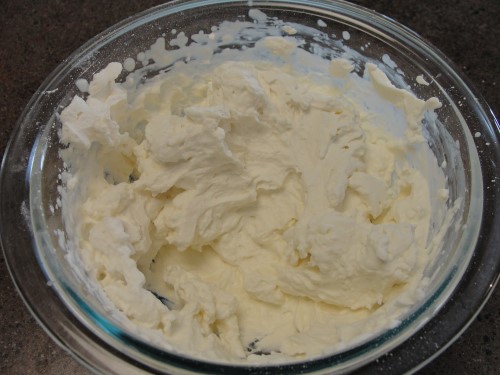
Beat the cream until it’s nice and frothy, then sift in the powdered sugar and add the vanilla.

Continue to whip until the cream is fairly stiff. Be careful not to go too far, or you’ll end up with sweet butter. You want it to be a nice, spreadable consistency that will hold its shape when you cut the cake.
Schplop it all on top of the cake.
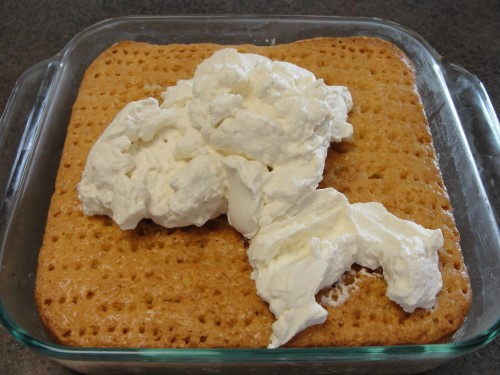
Spread it to the edges. An offset spatula is the perfect tool for this job.
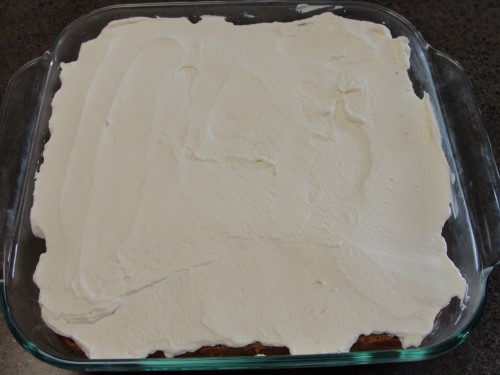
Sprinkle cinnamon over the top. I may have gotten a little carried away with it, but you get the idea.
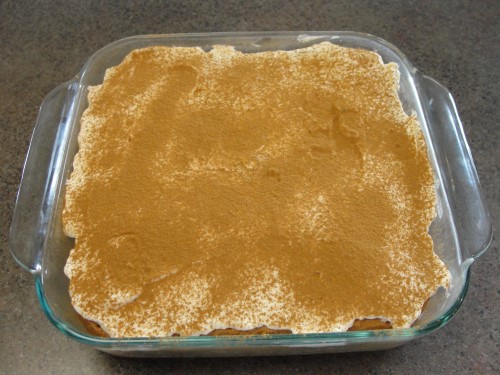
Back into the fridge until you’re ready to serve it. This cake is really hard to describe. The words you might think to use just don’t do it justice. It is wet, but not in a ‘I just spilled a glass of milk over my cake’ kind of way. It’s tender, delicate, and sweet with the delicious warmth of vanilla and cinnamon. I guess I’ll just go with my usual, fabulous. That, it is, and more than fitting for our third birthday.
Taneasha
By the way, use those extra half cans of sweetened condensed milk and evaporated milk to whip up an extra batch of the three milks mixture. Then just pop it into the freezer. If you don't want to make a second tres leches cake right away, I'll post another way to use the mixture in the next couple fo weeks.