Search
Categories
Have a request?
This form does not yet contain any fields.


    Entries in fabulous frosting (9)

    Friday
    May172013

    Beautifully Basic Buttercream

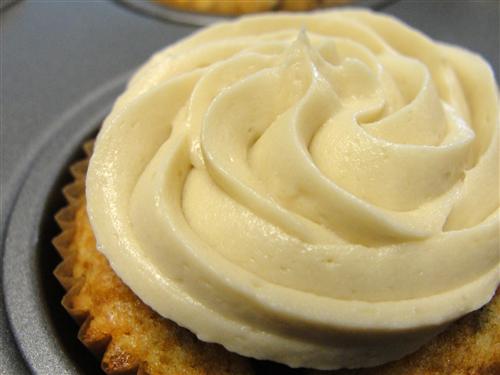
    The other night, Hubby told me that a colleague of his was looking for a buttercream recipe.  Rather than referring him to one of our posts that includes a recipe for buttercream, I decided it deserves a post of its own.  The truth is, there are lots of different kinds of buttercream.  The one I’m making today is foolproof (even in May), reliable, delicious, and perfect for either piping or spreading. 

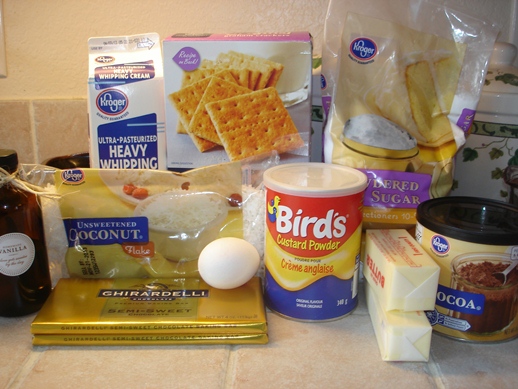
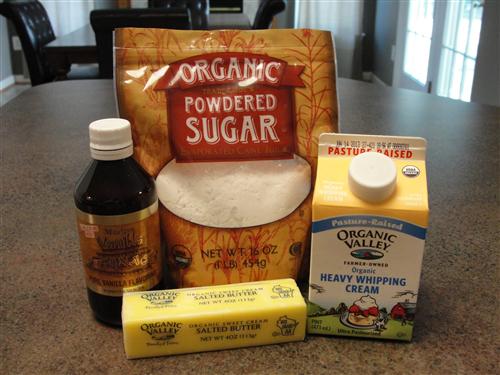
    Here’s what you’ll need:

    • ½ cup butter, softened (1 stick)
    • 2 cups powdered sugar (that’s icing sugar for you non-Americans)
    • 1 Tablespoon vanilla
    • 2-3 Tablespoons cream
    • ¼ teaspoon salt (optional)

    An important note to make is that your buttercream can only be as good as the individual ingredients you use.  Good quality butter, organic powdered sugar, and pure vanilla extract are a must.  I can’t stress enough just how important it is.  If you’re going to use crap ingredients, you might as well save yourself the trouble and just buy the stuff that comes in a tub.  If you’ve never used organic powdered sugar, give it a try one time.  You won’t believe the difference.  Trader Joe’s is a really good source for stuff like that. 

    Ok, rant over. Let’s get started.  Drop the room temperature butter into your mixing bowl and give it a quick stir, just to make sure it’s nice and soft. 

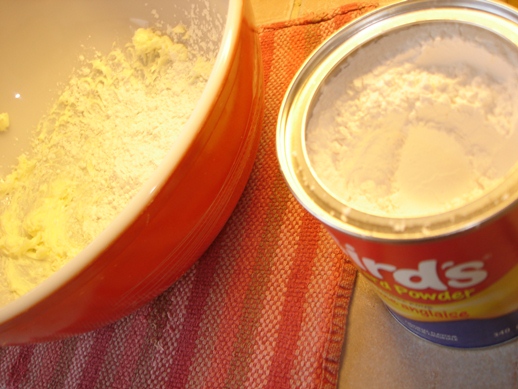
    Sift the powdered sugar over the top. 

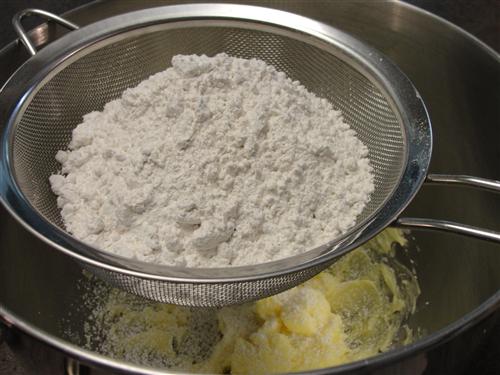
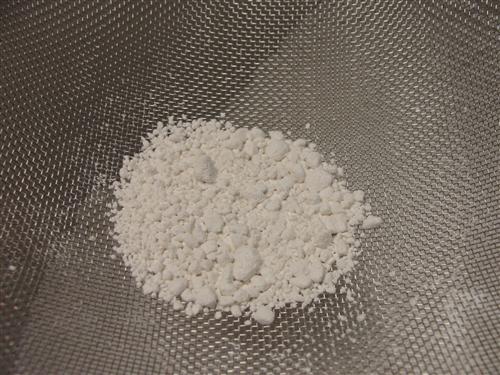
    This is another thing that makes a difference.  All powdered sugar is going to have at least a few lumps in it.  Sifting it will make your icing nice and smooth.  Break up any lumps with your fingertips or the back of a spoon and put them through the sieve. 

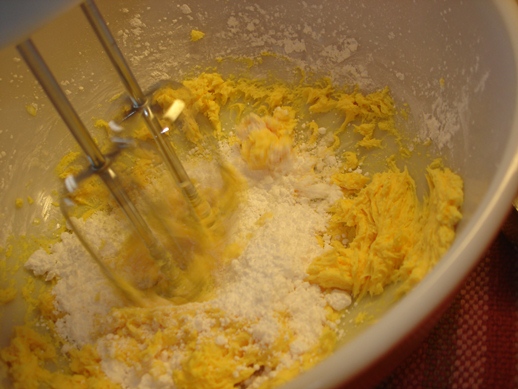
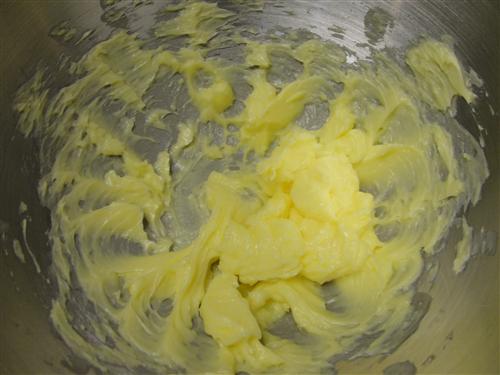
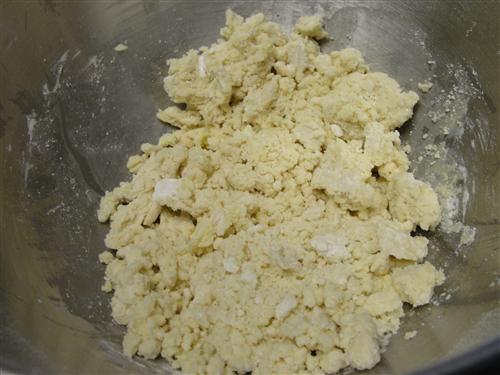
    Mix on low speed until you have what is basically a crumbly mess.  This is when you want to scrape down the bowl really well.  If you have a dough scraper, they work great for this because they’re stiffer than a silicone spatula. 

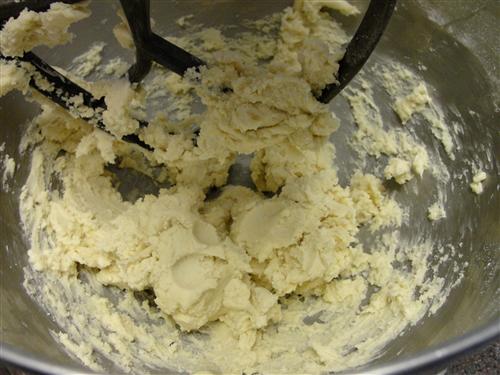
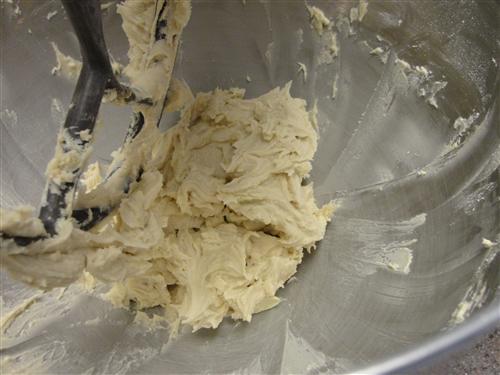
    Once everything is scraped down thoroughly, mix on medium- low speed until you have something about the consistency of play dough. 

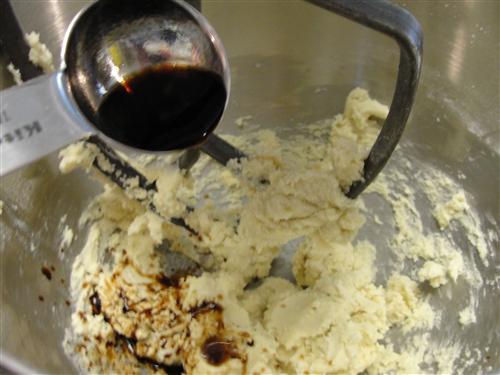
    Add the vanilla.  If you want your buttercream to be a different flavor, (mint, almond, whatever) feel free to substitute it for some or all of the vanilla.  (this is also when you would add coloring if you’re doing that)     

    Mix that in until it is completely incorporated.  Be sure to continue to scrape everything down. 

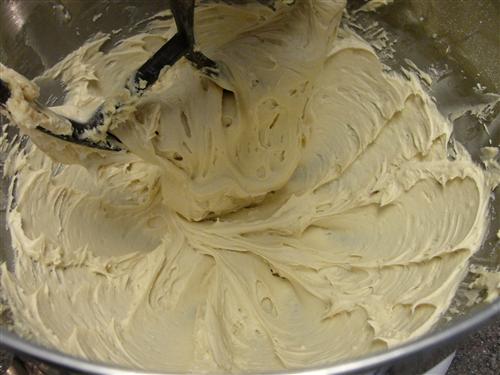
    Add 2 Tablespoons of heavy cream,  

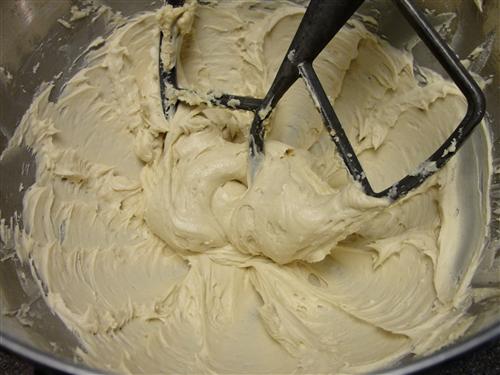
    and give it a mix until it looks well… beautiful!

    Now’s the time to check for consistency and flavor.  If you want it to be thinner, add a little more cream.  I wanted salt in mine, so I added ¼ teaspoon. 

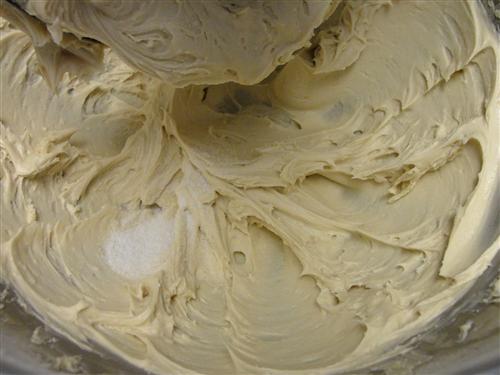
    Give it one more stir and you have reached buttercream perfection! 

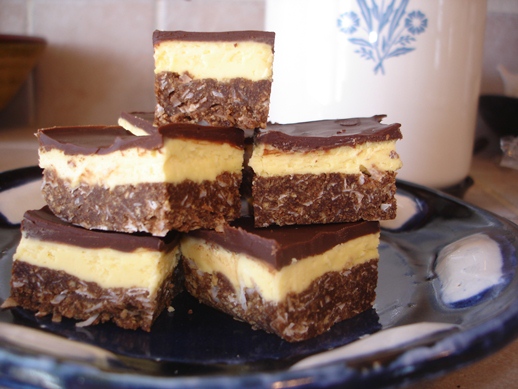
    Spread it on a cake or pipe it onto your favorite cupcake. 

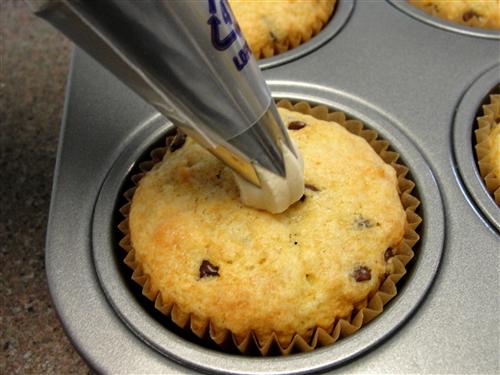
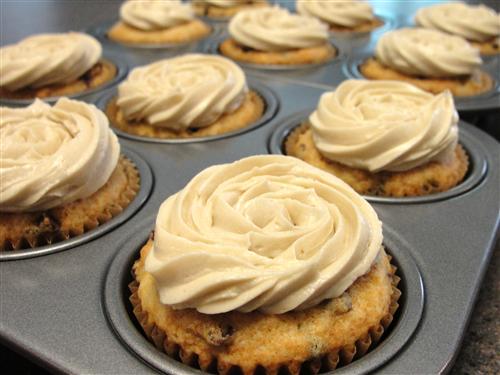
    If you drop your cupcakes back into the pan, they can’t run away from you while you’re piping.  There are two easy designs for topping cupcakes.  The first is a spiral that has a point in the middle. To accomplish this, use a large open star tip, hold your bag straight up and down, and starting from the outside edge, work your way around, slowly moving toward the center. 

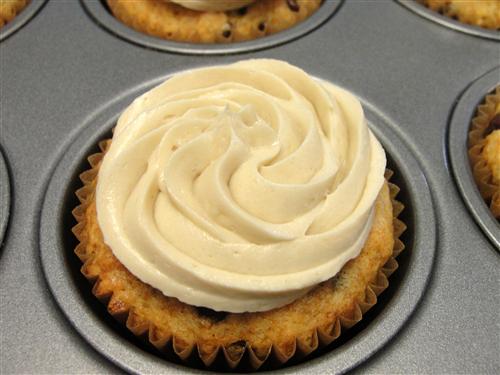
    The second is a rosette.  It’s exactly the same technique, except you start in the middle, and work your way toward the edge.  Either way is beautiful!

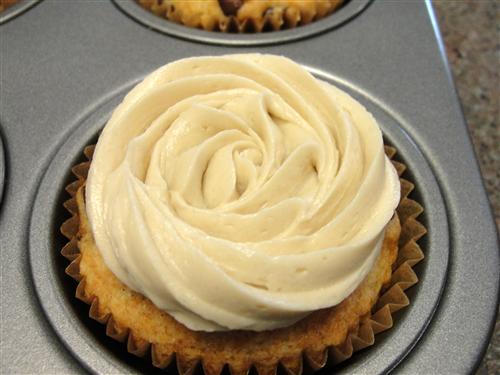
    Repeat with the rest of the cupcakes.  There should be plenty of frosting for a dozen. 

    What recipe would you like to see us feature?  Don’t be shy.  Requests are not a nuisance.  We actually love getting them.  Not only do they give us inspiration for posts, but they help us to know what kinds of things our audience is interested in.  So feel free to ask questions or make requests anytime, even if it is completely unrelated to the post.    


    Tuesday
    Feb192013

    Three layers of square

    These are some seriously exotic treats.

    From that far away land called Canada.

    Nanaimo is a small city (city, lol) on the south part of Vancouver Island. As a place, it's a bit of a crap hole. It's got a cute little downtown harbour, and backs onto a large temperate forest, but it's also got pulp mills. You do not want to ever wake up to that smell. A musician friend of mine from Nanaimo would always play a cover of "Dirty Old Town" by the Pogues while he was on the road because it reminded him of home.

    Really, the only claim to fame of this odd little place is a dessert created by a woman who lived there. And it's become such a part of the food culture of Canada that these are ever present at holiday dinners. Every xmas spread has at least one plate of these. Thanksgiving too. Easter, even.

    And everyone has their own special little variation. This is mine. It's the best one. Is too.

    Nanaimo Bars


    Layer 1

    • 1/2 c butter
    • 1/4 c sugar
    • 1/3 c cocoa
    • 1 egg
    • 2 c graham cracker crumbs
    • 1-1/2 c unsweetened coconut (I prefer shredded for the texture)
    • 1 tsp vanilla

    Layer 2

    • 1/4 c butter (unsalted, has to be)
    • 2-1/2 tbsp Bird's custard powder (more on that later)
    • 3 tbsp cream
    • 1 tsp vanilla
    • 2 c icing sugar

    Layer 3

    • 4 oz bittersweet chocolate
    • 1 tbsp butter

    Yes, it's a lot of stuff, and a lot of layers, but each one has to spend time chilling in the fridge, so you can do them piecemeal, adding the next layer whenever you get a few minutes to spend on them. I suspect that's why they're such a holiday thing.

    The base:

    Melt the butter in a medium sized pot. Mix the sugar and cocoa together.

    You don't have to do that; you could dump them in individually, but I find that the sugar crystals help to break up the clumps in the cocoa.

    Whisk these together, and then break the egg into a small bowl, and whisk it. With the pot over low heat, whisk as you slowly pour the beaten egg into the cocoa mixture. Whisk, whisk, whisk.

    You don't want to cook the egg, just get it to set, like in a custard. Keep whisking for a few minutes until it thickens. Beautiful, glossy, dark, chocolately stuff.

    Once it looks like that, take it off the heat and dump in the crumbs, the coconut, and the vanilla. You'll need a spoon to stir this part. You'll also be able to find any chunks of graham cracker that didn't get busted up in the food processor.

    It will be crumbly, but it will stick together in large clumps.

    Press it into a 9x9 pan, buttered and lined with an overhang of parchment (you'll need that to help get them out). You want this part evenly distributed and well packed. Hands are the only way to do it.

    Now, cover the pan and put it in the fridge.

    Find something else to do for an hour.

    Yes, an hour.

    I'm sure you can find some means of entertaining yourself. I mean, it's not like you have to set a timer or anything, just make sure that it's firm before you spread on the next layer.

    The filling:

    It has to be unsalted butter (no salt, seriously) that is room temperature soft. Whip it up in a bowl for a few minutes.

    Then add the cream, the vanilla, and the custard powder.

    If you don't know what custard powder is, you will need to learn. I've seen recipes that say you can substitute vanilla pudding powder here, but you can't. No. You will have to go find some Bird's. It's in every grocery store I've ever been to in Canada, but if you can't find it in yours, you may have to look for an English import store. It is a UK thing, limey as limes, and it makes the tastiest non-Newtonian fluid around.

    It also gives the middle it's characteristic soft buttery colour.

    Add the 2 cups of icing sugar about 1/3 of a cup at a time, beating it well after every addition.

    Recipe Guy's house has power tools!

    At the end you want something firm enough to hold its shape, but soft enough to spread around.

    All your base are covered in frosting.

    And then back in the fridge it goes.

    Seriously, you could take a week to make this and it wouldn't know the difference.

    Once the middle is firm, usually only half an hour later, start the topping.

    The chocolate:

    Get a small pot of water up to a simmer and put the chocolate and butter into a small bowl. Bowl, meet pot. You, stir.

    mmmm... chocolate.

    Pour it onto the creamy filling and spread it around.

    Fridge!

    But only for about 15 minutes. For this one, you should set a timer. You want the chocolate set enough that you can cut it, but not hard enough that it will break when you try. My way of telling: you can touch it gently and not leave a fingerprint, but press on it and make one.

    With a very thin sharp knife, cut it into squares. Wipe off the knife after each cut.

    Yes, I just cut the contents of a 9x9 pan into 30 pieces. These things are rich and when they're small you can eat more of them.

    Let them firm up completely before you try prying them out of the pan. The parchment helps.

    Artfully arranged on a platter, or left in the pan with a fork for self-service, these things will disappear fast and everyone will complain that you're trying to kill them with rich delicious sweetness. Yes, the filling of these is basically half an inch of thick buttercream icing, but no one held you down and forced 7 of them into your mouth.

    What's your favourite layered dessert?