pies are square
 Seeley deBorn
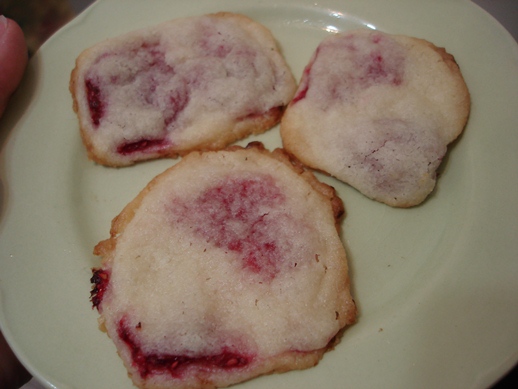
So, I wanted to try that shortbread crust again, but I didn't have any pears. I did manage to find my 1/3 c dry measure though. It was in the container of oatmeal mix. Nice to find, but I didn't need it, since I'm tripling the recipe for the crust this time.
I've been trying to come up with cookies that are like other desserts, along the lines of the epic creamsicle cookies, and the extremely labour intensive black forest cookies. A new acquaintance suggested "raspberry tarts."

The pear tart had a bit of an issue with moisture, so I need to be careful with these. And since I want them to be portable, I'm not going to make them open faced.
I know this is going to pose a bit of a challenge because the shortbread dough is soft. So, I decided to chill it first for a bit. If all else fails, I'll cover the berries in a patchwork peicemeal fashion.
So, if you're ready, I have a counter devoid of dishes that needs to get dirty...
Raspberry Tart Cookies
What you need:
- 1 c butter
- 1 c sugar
- 2 c flour
- 1 c fresh raspberries

What you gotta do:
Make sure your butter is nice and soft.
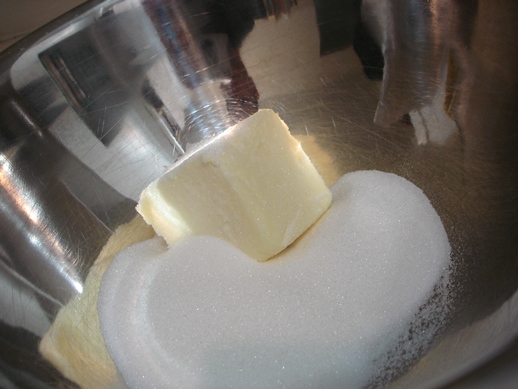
Cream in the sugar until it's pale and fluffy.

Add the flour 1/2 c at a time mixing until just combined. I cut back the flour a bit this time, since it seemed a little on the dry side when I made the pear tart. **Which was a total mistake, so I've adjusted the amount in the ingredient list above. Use 2c flour. I only used 1 1/2 and it was definitely not enough**
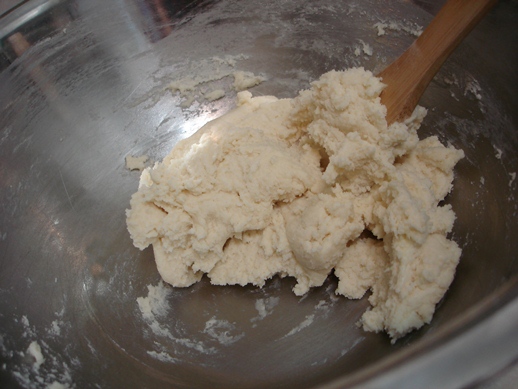
This is going to be a very soft and slightly sticky dough. Since I knew I was going to need to handle it quite a bit in the rolling, I decided to chill it.
Separate the dough in half and wrap two floured discs in floured plastic wrap. You need the flour. It will stick if you don't have it. **you may not need as much flour on the wrap if you use the right amount. may not need to chill it either.**
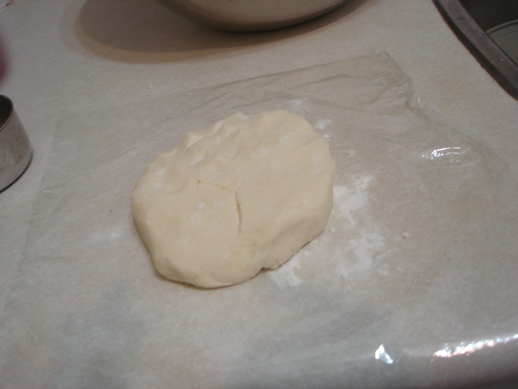
Chill the dough for at least 10 minutes. Half an hour probably would have worked better, but I was impatient and it was getting late.
Now, I didn't follow the best method initially (welcome to my understatement), so, here's what I should have done.
Preheat the oven to 375 **the 400 that I used for the pear tart is too hot for these mini-pies**.
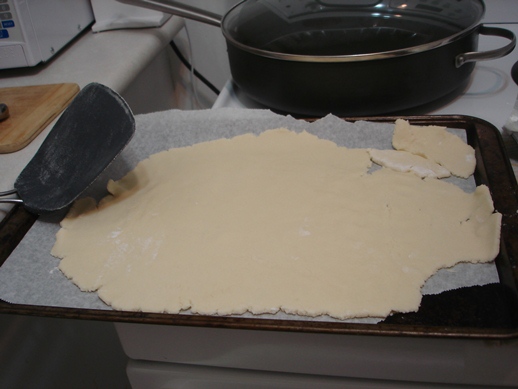
On a large piece of floured parchment, roll out one of the disks to about 1/4 inch thick.

** I did this on the counter, then realized I had to move it onto parchment. Dangerous, but I managed.** I was aiming for something somewhat rectangular, but it ended a little more rounded.
Put that piece of dough aside.
On another large piece of floured parchment, roll the other disc into a shape and size similar to the first.

One of these is going to be slightly larger than the other: that one is the top.
Flatten the raspberries by tearing them open and lay them on the bottom sheet of crust.
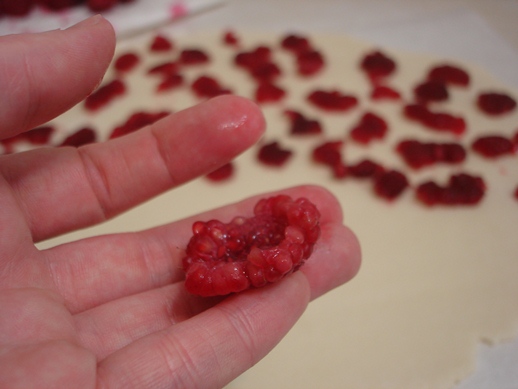
Try not to burst any of the arils as you do this; you want them dry. Too much juice here and the middle won't cook completely.
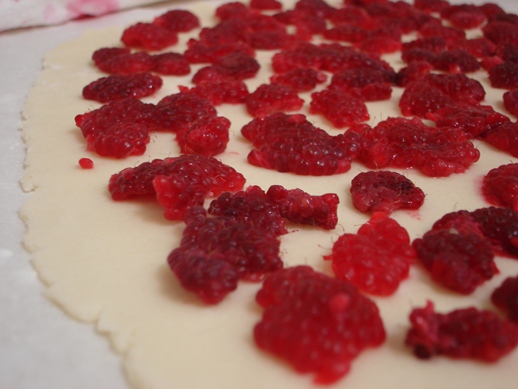
Once you've got the bottom covered in berries, figure out some way to cover them with the top crust. I lined mine up side by side and really quickly flipped the top onto the bottom. I'm pretty sure I'd never be able to to it again.

Good luck.
Patch the edges and broken peices gently. These will not be visible in the final product. Don't worry about how it looks right now.
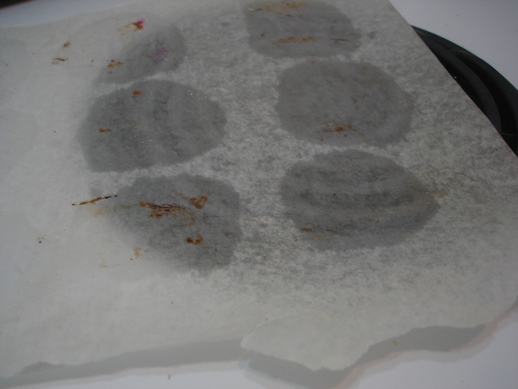
With the point of a sharp knife, cut the giant covered tart into 1 inch squares. And I mean 1 inch. They are going to spread.
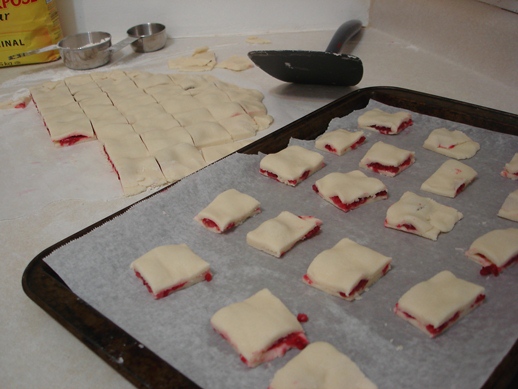
Gently transfer a dozen of the squares to the cookie sheet. Make sure it's covered in parchment (reuse the piece that the "top" was rolled on).
Bake these at... 400 seemd a little hot, or maybe I should pay more attention and watch the cookies instead of writing a blog post about them? 8 minutes at 375 seemed the best batch.
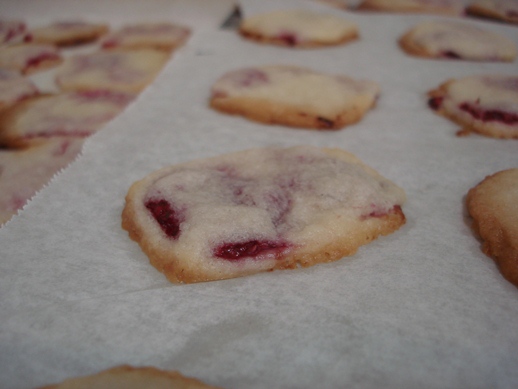
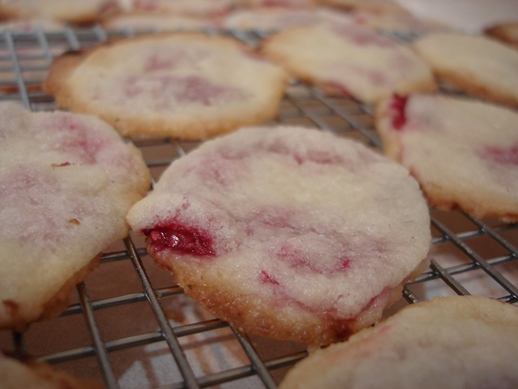
They're going to spread, but you want to get them out before they get too brown on the edges. And they are buttery.
A little too much so. Definitey need to increase the flour. Well, this is tagged as a "kitchen experiment," right?
They're tasty though, and really do have the flavour of a raspberry tart. Kinda look like them too.
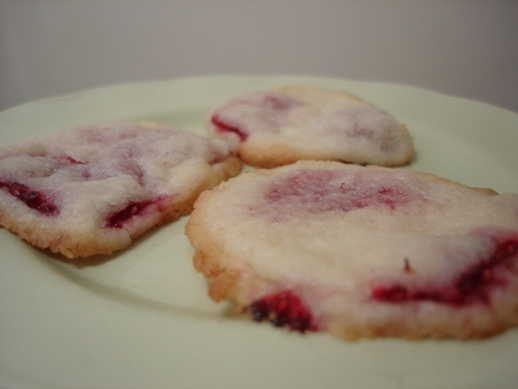
Sorta.
Maybe?
Next time they might.
I hope.
Damn my kitchen is a mess.
I hope you're happy, Denisearoni. ;)