Search
Categories
Have a request?
This form does not yet contain any fields.


    Entries by Seeley deBorn (124)

    Tuesday
    Oct022012

    when life gives you tomatoes

    make salsa!

    Well, it wasn't life actually, it was my friend's dad.

    We've had our first frost already, and for people who do the extreme DIY of food creation and grow their own, that meant emergency harvest of some veggies, and tucking the rest in under a blanket at night.

    With no garden, not even a balcony for containers, I am always happy to accept donations of fresh home grown veggies. However, that was a lot of tomatoes, and they were getting pretty ripe, so I decided to use them all up at once. And since I've been craving heat like crazy lately...

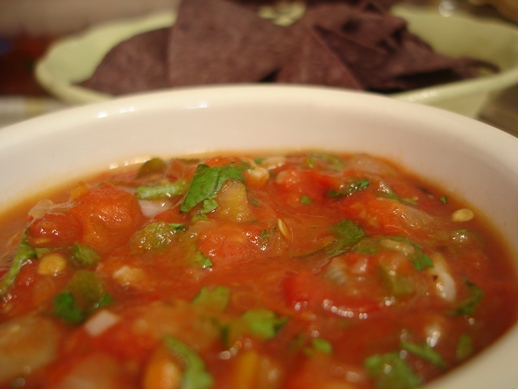
    Roasted Tomato Salsa
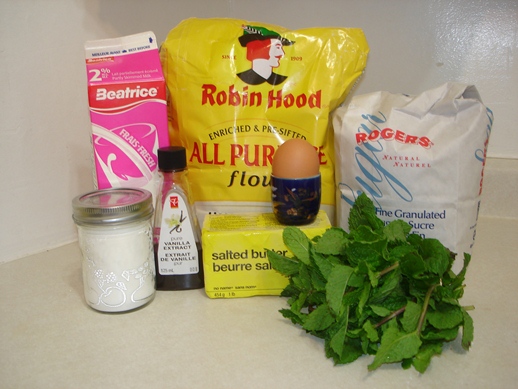
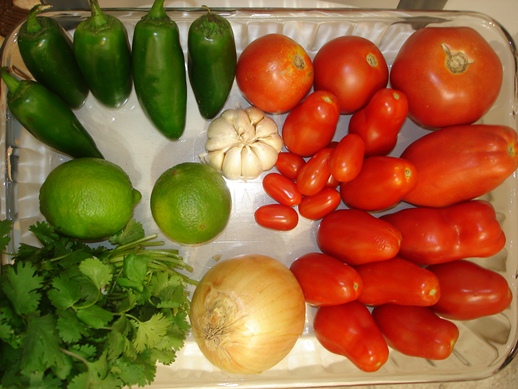
    What you need:

    • A lovely assortment of fresh ripe tomatoes ... I guess 2 pounds? Maybe 3?
    • 5 giant jalapenos
    • 1 onion
    • 1 whole head of garlic (yes, a whole head)
    • 1 lime (2 in the pic, I only used one)
    • 1 bunch of cilantro
    • oil
    • salt

    What you gotta do:

    I opted to trim the stem parts off the tomatoes. You don't have to if you don't want to.

    Preheat your oven to broil and move one of your oven racks up a level or two.

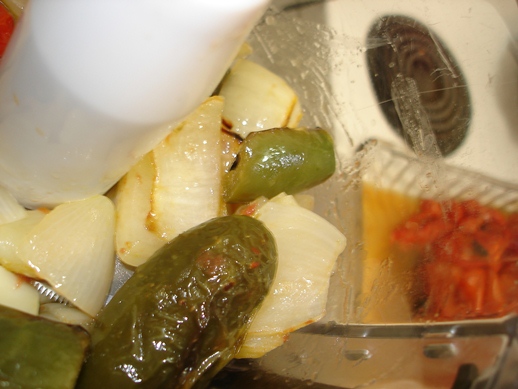
    Chop the larger tomatoes in chunks (I did the big ones in quarters and the medium ones in half). Cut the onion into eighths. Cut the stems off the jalapenos, and cut them in half. If you really want to, take out the seeds and whatnot. Peel all the garlics.

    Put the garlic, jalapeno, onion and tomatoes into a 9x13 roasting dish.

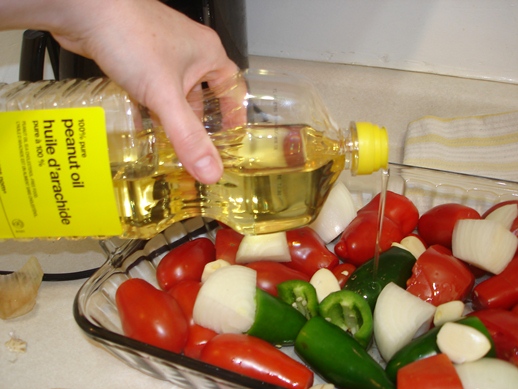
    Drizzle on about 1 tbsp of oil, and toss the veggies in the oil until they're all nicely coated. Use your hands. It's okay. It's only food.

    Put the veggies under the broiler.

    If you have a decent oven, they should only take 15-20 minutes to be nice and roasty. After that much time, my tiny and apparently weak broiler had started to brown some of the skins, but the onions and jalapenos were still crispy.

    I gave everything a stir and popped it back in the oven. It took another 20-25 minutes before everything was getting that nice browned roasty colour and smell.

    Time to chop it.

    Put the garlic, onion, and jalapenos (I just fished them out with a spoon) into your food processor.

    Buzz this up for a few seconds. You don't want it too chopped, but if you don't do this step, by the time the onions and jalapenos are chopped, your tomatoes will be soup.

    Drop the tomatoes on top of the pre-chopped stuff.

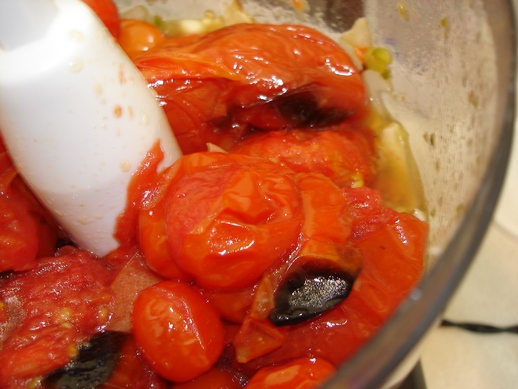
    A few seconds is all it takes.

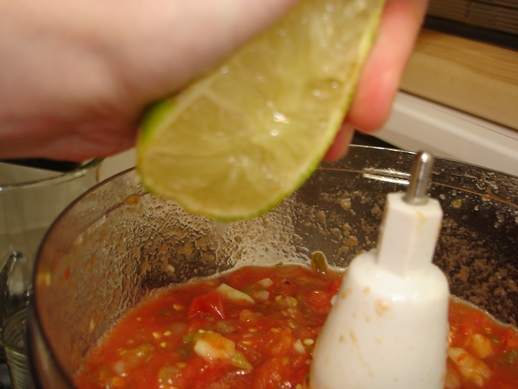
    Now, we need something sour. Roasting the veggies, especially ones with super high sugar contents like onions and tomatoes, caramelizes the sugars and makes everything super sweet. That's where the lime juice comes in. You can use lemon juice or even white vinegar in this step.

    This is where you chop and add the cilantro.

    You're also going to want a bit of salt. I used about a teaspoon. The amount of salt you add is really dependent on how you plan on eating the salsa. I was planning on scooping it up with chips, so I used a chip as my taster.

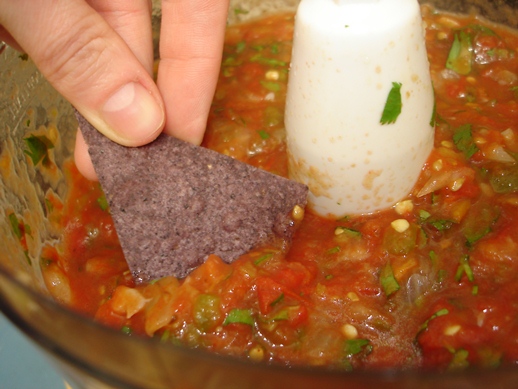
    If I'd salted the salsa by tasting it on its own, I would have ended up with a much saltier salsa. The salt on the chip makes a big difference.

    I got quite a bit of salsa from that little portion of the emergency harvest.

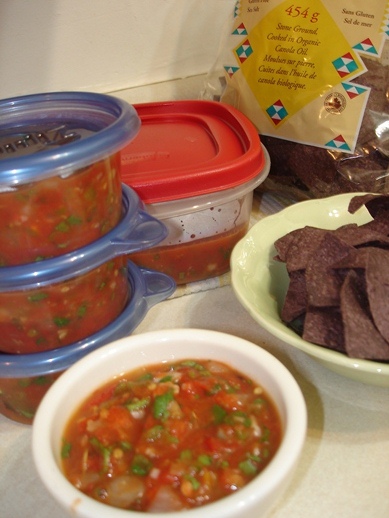
    The small containers went into the freezer since I'm not a canner. And a nice big bowl of it went onto my desk with some chips. And now there is cilantro on my statistics homework.

    How did your garden grow?

    Tuesday
    Sep252012

    ice cream flavoured cake

    would be even better with ice cream.

    But I was out of ice cream, which is why I made the cake. Well, that and I'd managed to make it around the sun one more time.

    So, you've seen me make mint chocolate chip ice cream. Definitely one of my favourites. Last weekend was the time of year for cake, and so I made a mint chocolate chip cake. And since I have trained my offspring to be aware of food additives, he insisted that we make it without artificial colors or flavours. Which apparently meant I was not allowed to use mint extract either. Had to be mint-mint.

    Okay.

    I can do that.

    Mint Chocolate Chip Cake

    What you need:

    • about 2 c mint
    • 2/3 c milk
    • 1/3 c butter
    • 3/4 c sugar
    • more mint (about 1 tbsp once it's all chopped)
    • 1 egg
    • 1 tsp vanilla (which was allowed for some reason)
    • 2 tsp baking powder
    • 1/4 tsp salt
    • 1 generous cup of flour
    • 1 c mini chocolate chips (they're in the other pictures)

    What you gotta do:

    Don't preheat your oven yet. We've got an extra step at the beginning here. Since I wasn't allowed to use a mint extract, even a non-artificial one, I had to make one of my own.

    So, I took a step from the ice cream recipe. Trim and rinse the mint, and put it in a pot with the milk.

    You will barely be able to see the milk under all the mint. Don't worry, it's still there. And the mint will cook down like all leafy green things.

    Bring this just barely to a simmer, stir it, cover it, and leave it alone for about half an hour.

    Set the butter and egg on the counter to warm up to room temperature while the mint milk is steeping.

    Once you've strained and squeezed the mint out, the milk will be just barely green.

    Not quite green enough to colour a cake. Which is where the other bit of mint comes in. Chiffonade and then cut that up a bit more.

    Cream the butter, sugar, and minced mint together.

    I was hoping that creaming the mint in with the sugar would mash it up a bit more and spread it around (using the coarseness of the sugar to macerate it) but that didn't quite go as I'd hoped. Oh well.

    Add the egg and vanilla to your speckled butter.

    Now, we do the three bowl method for the cake. In the big bowl, the creamed butter mixture. In a smaller bowl (the one I started in and then decided was too small) the flour, salt, and baking powder. And in a bowl shaped like a measuring cup, the mint milk.

    First, we add about 1/3 of the flour to the creamed butter. Mix this in well.

    Now, about half the milk. Also mix in well.

    And then about half of what remains of the flour. Mix again.

    And the rest of the milk. Mix!

    And finally the last of the flour. Don't mix. Kidding! Mix it.

    Oh. Um. You should have preheated the oven just before the mixing started.

    Now, the chocolate chips. The Boy insisted on chips rather than chopped chocolate. And he was calling the shots with this one; I guess that's his version of making me a cake.  

    Butter and flour a cake pan. I had a 9 inch pan, which turns out was too big. You'll see why in a minute. If you have an 8 inch round pan, or an 8 inch square pan that would work fine. I'm going to use the 8 inch square pan next time.

    You can also line the pan with a bit of parchment paper.

    I would show you how to cut a round piece, but I know I'm going to need a tip to post in a few weeks during midterms and I think that sounds like a good one. Until then, you can leave the parchment out if you'd like.

    Bake the cake at 350 for about 30 minutes. You can test after 25 if you'd like but mine took almost exactly 30. Let it cool in the pan for about 20 minutes, and then on a rack until it's room temp.

    You see that flat bit in the middle?

    That's what I mean about the wrong pan size. There wasn't enough leavening in the mixture to keep everything together enough to lift that far from the edge. Another egg, or a bit more baking powder would work. Or, I could use a smaller pan so I don't have to go messing with recipe proportions.

    But, it was still cooked through, and it smelled minty. Tasted minty too, but it wasn't as green as The Boy was hoping. Still, he was glad it didn't have fake colour in it. I doubt I could convince him to use spinach juice though, like Taneasha did with her colourful cookies.

    There are definitely flecks of green in there though.

    This is a very moist moist cake, with a crumbly, delicate crumb. And the texture kinda reminded me of those "snack cakes" that my mom used to make from a box in the 80s. Quick cakes, never frosted, and always done in a square pan. So, I skipped the frosting step on this one.

    A bit of vanilla ice cream on the side would have been nice though.