Orange You Glad it's Football Season?
 Taneasha
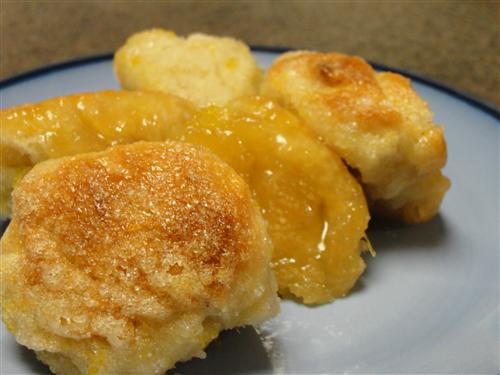
Now, I know Seeley’s not a big fan of American football. To be fair, she has a good point, it’s not very aptly named. I mean, the ball has very little contact with anyone’s feet… but whatever. American’s take their football very seriously, and unless you live under a rock in this country, you know the playoffs have begun. In honor of the season, I’ll be making a few football friendly recipes (basically just tasty finger foods) starting with this fabulous orange pull apart bread.
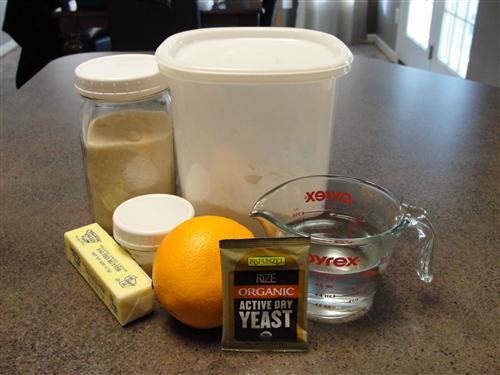
Here’s what you’ll need:
- 1 cup warm water
- 1 Tablespoons sugar
- 1 packet of yeast (about 2 ½ teaspoons)
- 2 ½ cups flour
- ¼ teaspoon salt
- 1 cup sugar
- 1 Tablespoon orange zest
- 3-4 Tablespoons butter
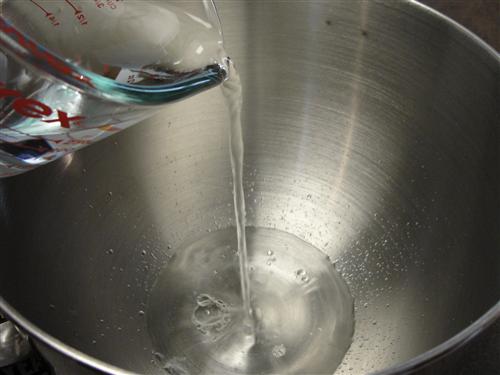
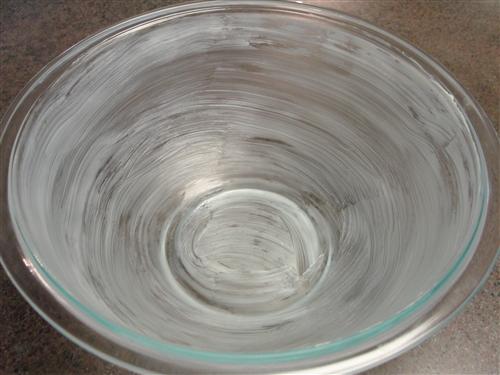
When making a basic yeast bread, you always start the same way, by pouring warm water into a mixing bowl. Using your finger as a thermometer, think warm bathwater.
Stir in 1 tablespoon sugar and sprinkle your yeast over the top.
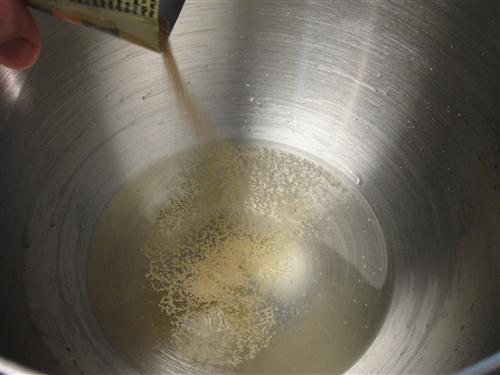
Give it some privacy for 5-10 minutes. It should dissolve and bubbles will start to appear. Now that you have successfully revived your yeast, go ahead and add 2 cups of your flour.
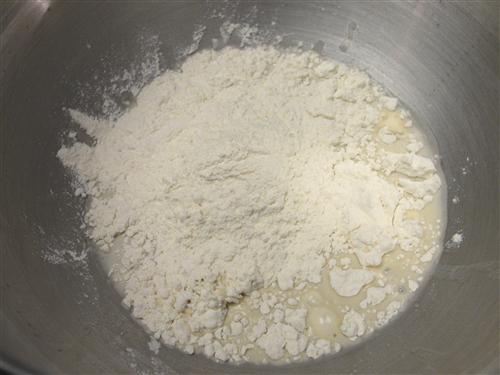
Turn the mixer on low and let it bring everything together.
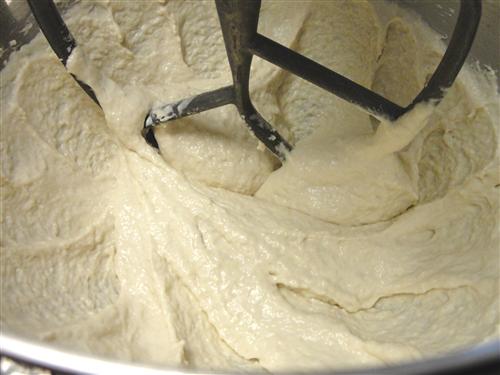
Scrape down the sides and bottom of the bowl, then turn the mixer on medium-ish speed and just let it run for a few minutes. This will help to develop some gluten, which is what gives bread it’s chew and dough its stretch… see? It’s getting stretchy already.
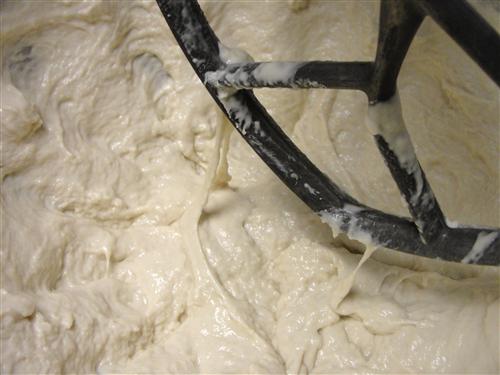
Now switch to the dough hook and add the remaining flour. Allow the mixer to run on low speed for a good 5 minutes. While it’s kneading your dough for you (have I mentioned how much I love my Kitchen Aid?) butter a large bowl.
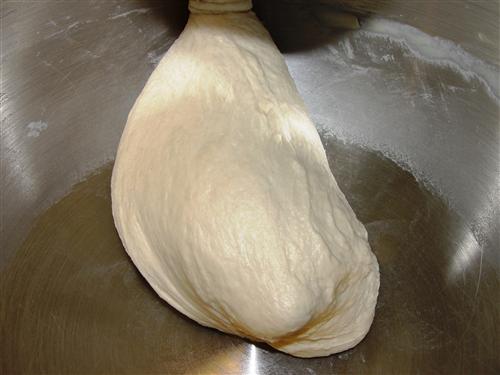
When you return to your mixer, the dough should have cleaned the edges of the bowl and will be nice and smooth. (Is it me, or is there something kind of scrotumy about that picture?)
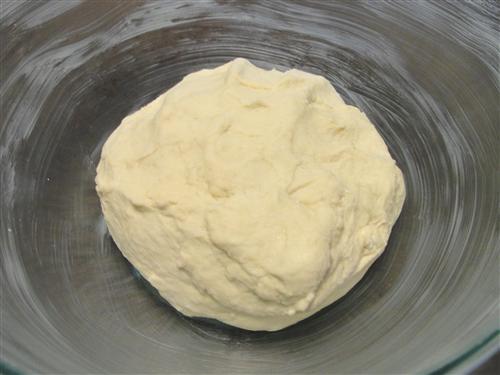
The dough is quite sticky, so flour your hands, and then move it from the mixing bowl to the buttered balls… I mean bowl! Sorry, Freudian slip.
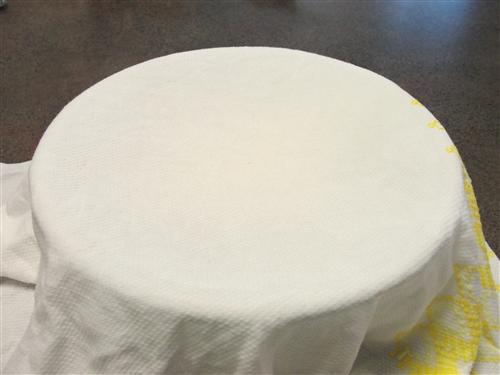
Turn the dough over so you get butter on both sides, then cover the whole thing with a damp towel.
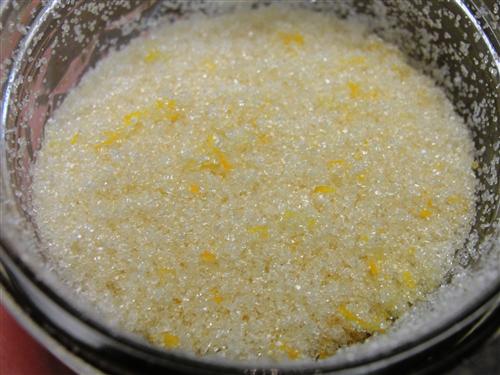
The amount of time it takes for your dough to rise depends mostly on the temperature of your house. It’ll probably be roughly an hour, but if your house is cold, like mine, it’ll probably take a bit longer. In the meantime, let’s make orange sugar. (Remember the lime sugar?)
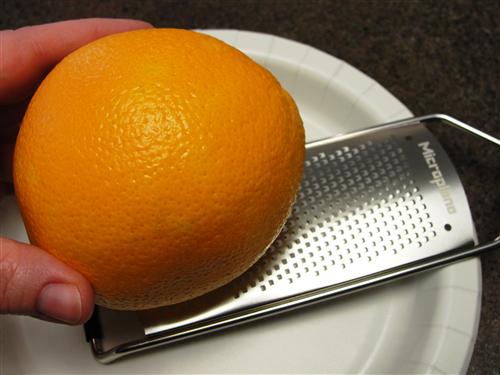
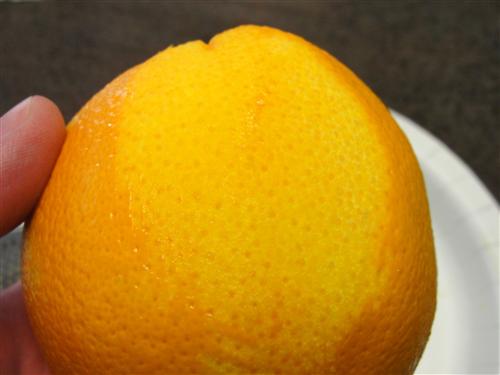
When you’re removing the zest from any citrus, make sure you only take the very outside layer. Otherwise, it will be bitter.
Add the zest (should be about 1 Tablespoon) to 1 cup of sugar, which you’ve put into a vessel with a lid.
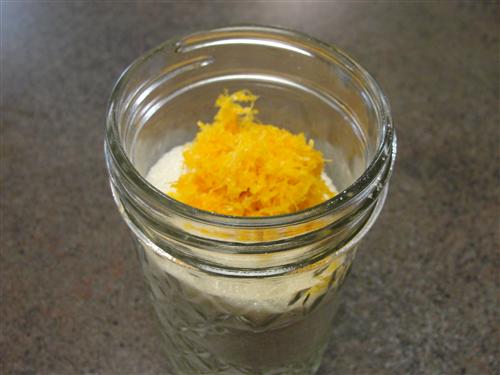
Screw on the lid and shake, shake, shake, until the zest is evenly distributed in the sugar.
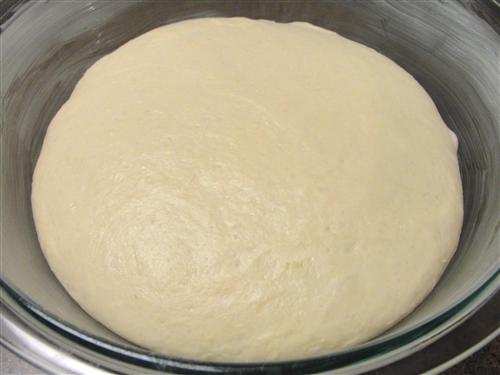
When your dough has basically doubled its size, it’s ready to be shaped.
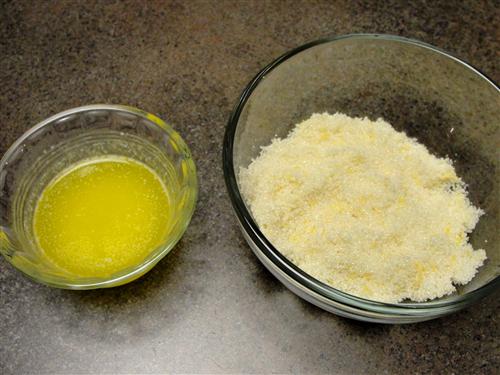
In a small dish, melt 3-4 tablespoons butter, and pour the orange sugar into a bowl.
Dip your fingertips into the butter.
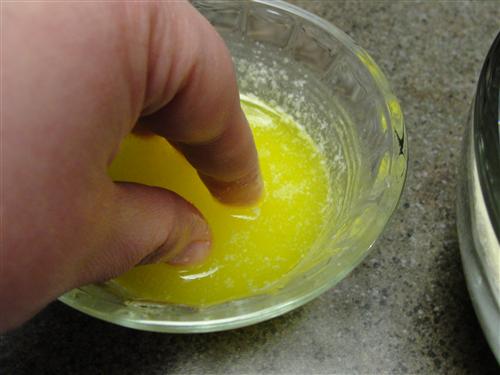
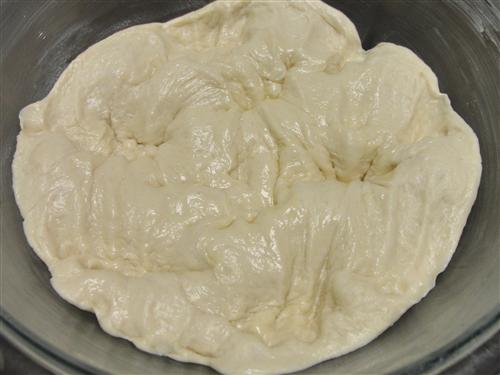
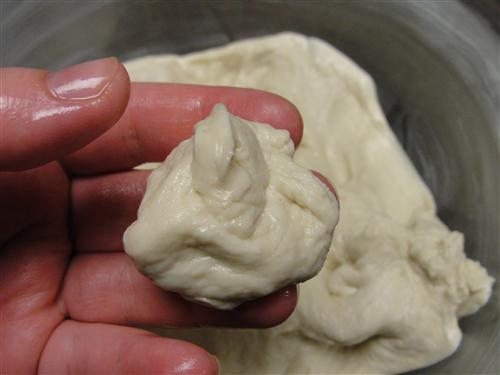
Then use them to deflate the dough somewhat.
Pull off a little piece of dough.
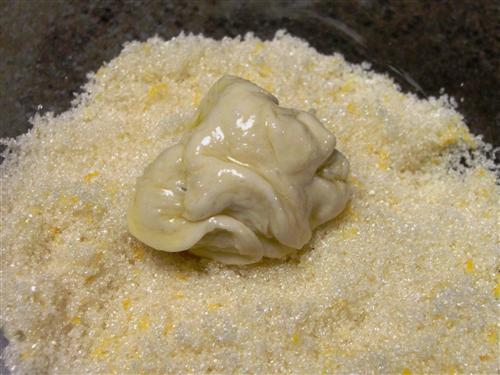
Dip it into the butter, coating all sides.

Then into the sugar, again coating the whole thing.
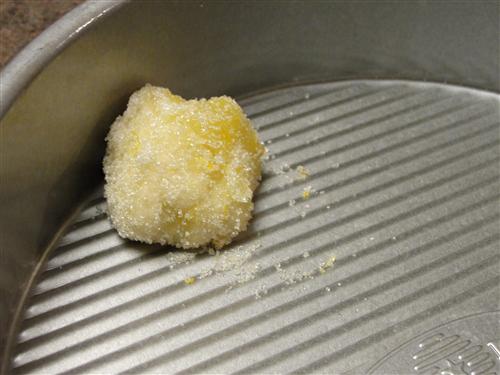
Then place it into a pan. Simple enough, right?
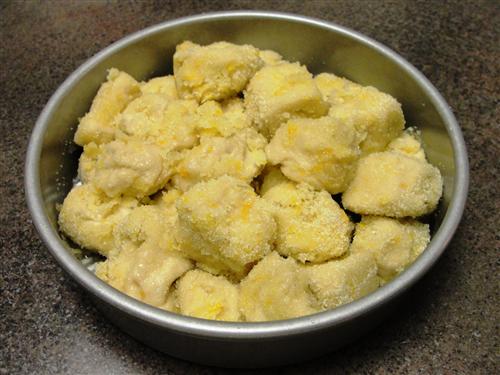
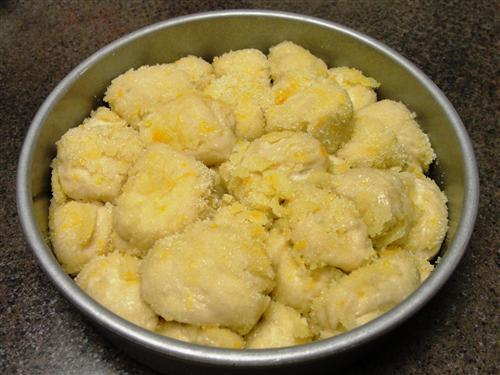
Now repeat with the rest of the dough, placing the pieces somewhat haphazardly in the pan, leaving a little bit of space between them. Don’t be afraid of stacking some of them on top. (If you want to make these ahead of time but still have them fresh on game day, put the pan into the freezer at this point, you can pull them out about 2 hours before you want to serve them and continue from this point.)
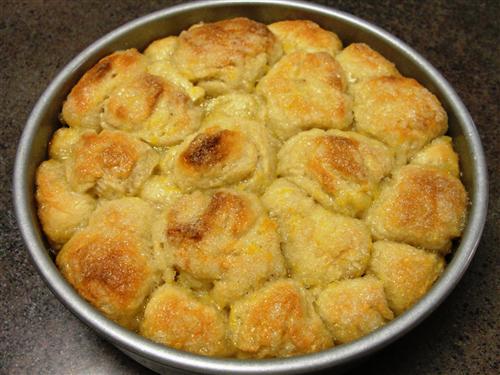
Cover the pan again, and give the dough some time to rise. After 30 minutes go ahead and preheat your oven to 350°. Once again, the rise time really depends on the temperature of your house, but this is what you’re looking for.
When they’re nice and puffy and have filled in most of the empty space, bake for 25-30 minutes. It should be nice and golden on top and if you tap on it, it will sound hollow.
Leave it too cool for 5 minutes. No more, no less. Then turn it out onto… well, whatever you’d like. I used a parchment lined sheet pan, but even a plate would work just fine. See all that syrupy, caramelly, orangey, goodness?
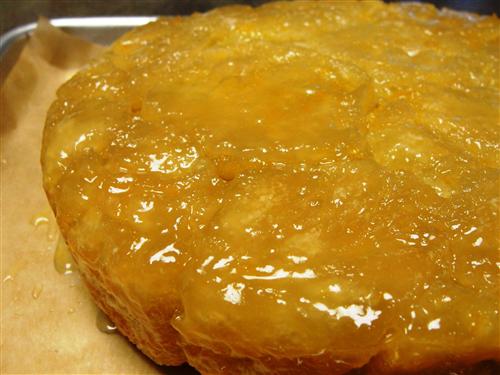
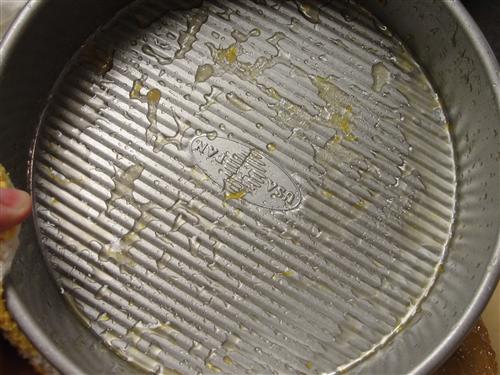
You’ll have a little of that in the pan, so scrape it out and put it on top of the bread. You don’t want to waste any of it. Trust me.
Give it another 10 minutes to cool. Yes, you might have to swat a few hands away during that time, but after that, everyone can just help themselves. No knives or forks required.
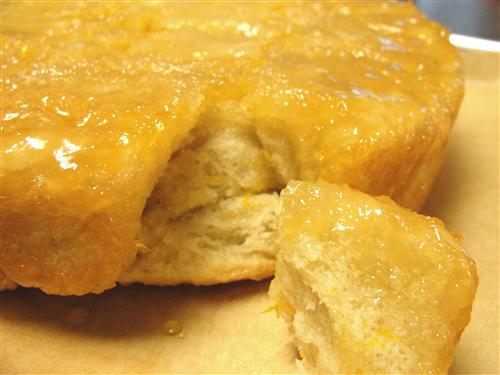
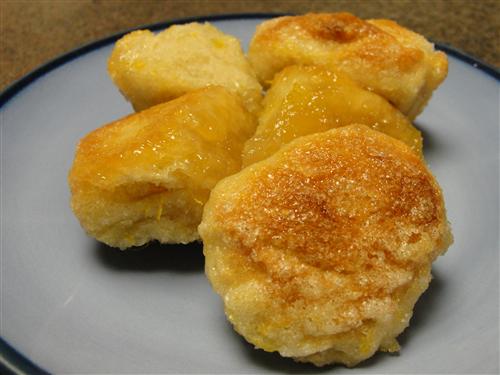
The pieces that were on top have a nice sugary crunch and the ones from the bottom, a fabulous gooey, chewy, goodness. These will not disappoint!
Who will you be rooting for this year?