Strawberry Lemonade Bars - The Mayhem continues!!
 Taneasha
 In keeping with the mayhem theme for this month, I thought I’d try something I’ve never made before, and rather than using a recipe, I’d just wing it. Fortunately, things worked out in my favor this time.
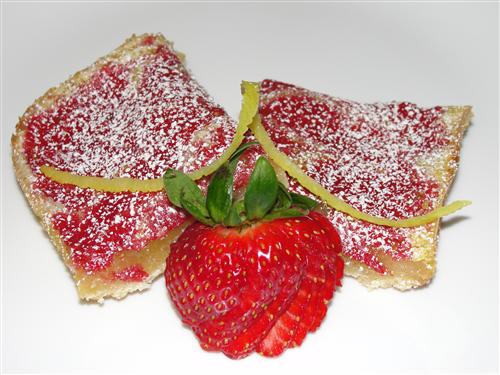
Ok, so perhaps strawberry lemonade bars are more fitting for a midsummer’s day, but I’m anxious for spring to start. The sun finally came out here in Utah, and with Mother’s Day this weekend and the snow hopefully gone for good, I wanted to make something fresh, fruity, and fun. What’s better than the refreshing tang of strawberry lemonade? The sweet tart flavor of strawberry lemonade combined with chewy edges, a smooth, creamy center, and a tender, flaky crust. That’s what.
I know you’re drooling for them already, so let’s get started.
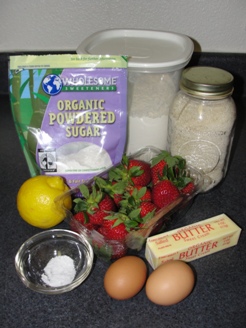
For the crust:
½ cup butter, cold
1 cup flour
¼ cup powdered sugar
¼ teaspoon salt
For the filling:
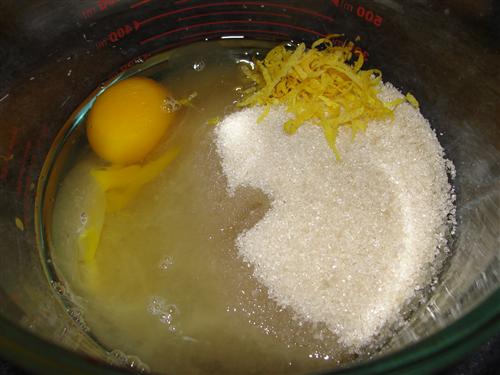
2 eggs
1 teaspoon lemon zest
3 Tablespoons lemon juice
1 cup sugar
¼ teaspoon salt
Strawberry puree:
3 or 4 strawberries
1 Tablespoon sugar
1 Tablespoon lemon mixture
Before we get started, line a 9x9 pan with parchment and preheat your oven to 350°. Then, in a mixing bowl, sift together the flour, powdered sugar, and salt. Cut your butter into small cubes and toss them into the flour.

If you don’t have a stand mixer, you can definitely do this with a pastry blender, or even your fingers. If you’re lazy, like me, just turn the mixer on low and slowly increase the speed to medium. Mix for about a minute or so until the mixture becomes crumbly, then dump it into your prepared pan.
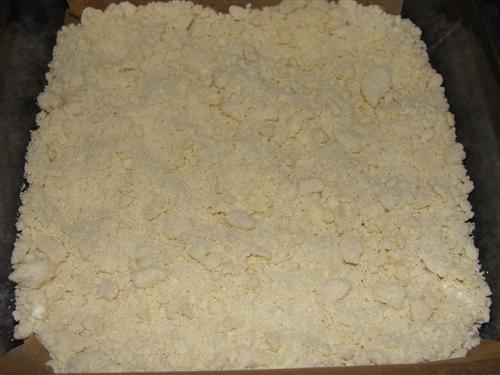
Press the mixture firmly into the bottom of the pan with your palm, or something flat like the bottom of a glass. Bake for 20 minutes.
While that’s baking, we’ll start on the filling. Basically, just throw all the filling ingredients into a bowl and whisk them until they’re thoroughly combined. Be sure to squeeze your own lemon juice. The bottled stuff won’t cut the mustard here.
Leave the whisk in the bowl. You’re going to want to stir it again just before pouring it into the crust.
Now for the strawberry puree. Wash and hull your strawberries, then throw them into your blender with the other ingredients.
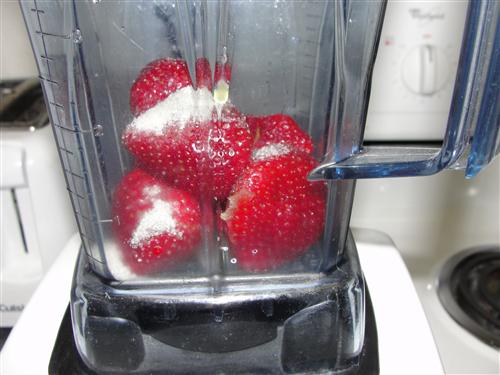
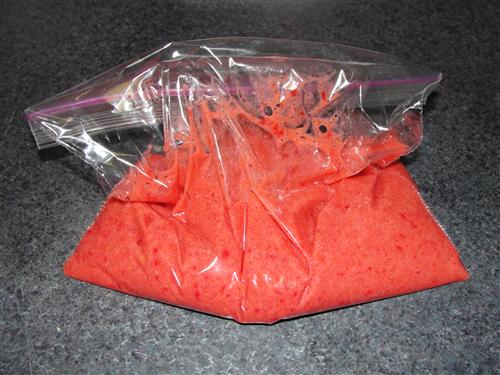
Blend on medium speed until it’s fairly smooth. You want to keep the seeds intact, and a bit of texture is fine. Pour the mixture into a plastic bag.
When the crust has finished its 20 minutes in the oven, pull it out. Stir the lemon mixture and pour it over the hot crust. Snip one of the corners off of your bag.
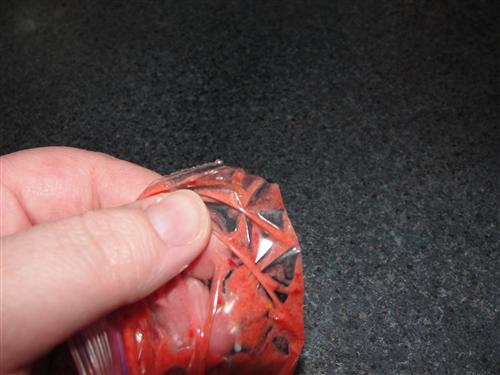
Cut a smaller amount than I did. My strawberry mixture got a little out of control. (Mayhem!!)
Ideally, you’d want twice as many passes as I got, with half the width in each, but oh well.
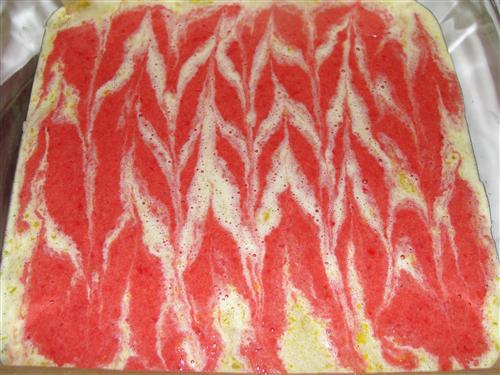
Drag a toothpick vertically through the mixture, alternating directions.

When you’ve gone all the way across the pan, it should look something like this:
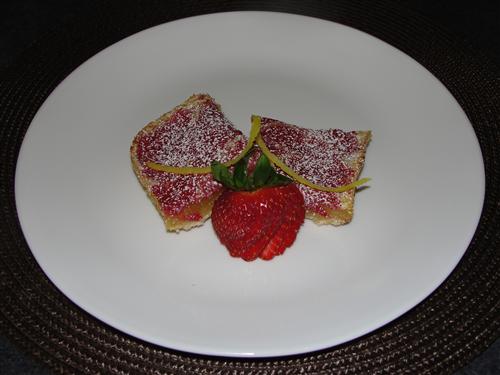
Place the pan back in the oven for another 25 minutes or so. It’ll still jiggle a bit in the center, but be set enough that it doesn’t run. Cool to room temperature and then refrigerate for 2 hours or so before cutting. This is the reason I like using parchment. When the bars are cold, you can run a knife along the pan edges and then pull the whole block out of the pan. So much easier to cut. Cut into squares and sprinkle with powdered sugar.
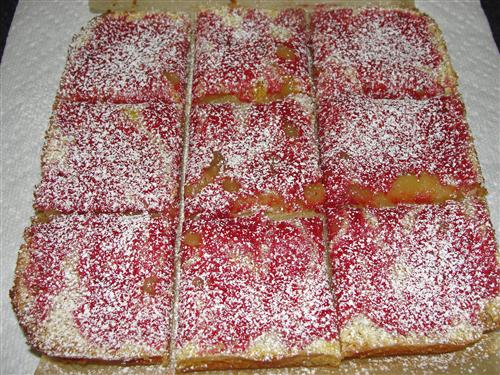
The strawberry puree becomes slightly chewy adding to the lovely array of flavors and textures.
As Seeley mentioned in her last post, things are probably going to be a bit crazy around here this month. With my frequent bouts of panic (OMG! In 13 days I'm moving all the way across the country to a place I've never even visited and leaving everything I know, and own, behind!!) [see, there goes another one] and her, well... distractions, don't be surprised to see a fair number of mistakes and mishaps. It's May(hem!!!)!