Search
Categories
Have a request?
This form does not yet contain any fields.


    Entries in cookie! (11)

    Tuesday
    Aug232011

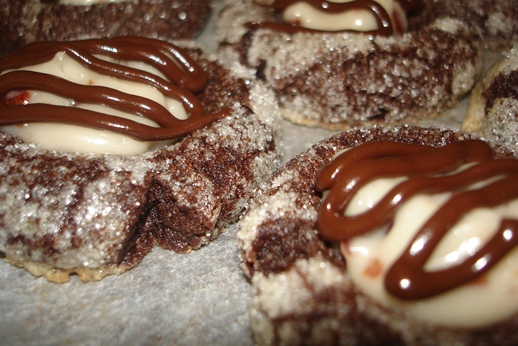
    Getting it out of my system

    Last peanut butter recipe for a while, I promise. Unless Taneasha makes jelly, then all bets are off.

    I get regular requests for peanut butter cookies and for oatmeal cookies, and I finally decided to give in and make the boys what they want. Now, I’m not a fan of either, but they are popular cookies so I guess most people don’t mind having things that belong at breakfast for dessert.

    And even though it’s cooled off a bit lately, I have been thinking lots about the no bake sort of cookie. My mom used to make something that she called “macaroons” as her usual no bake treat. I’ve since learned that this is a Canadian name for what most people call Haystacks, and what other people call macaroons are not what I call macaroons, though both contain coconut.

    Anyway.

    I decided to kill two birds with one stone, and save myself having to make one or the other at a later date. Less painful for me, and the boys at work get what they want. Happiness abounds.

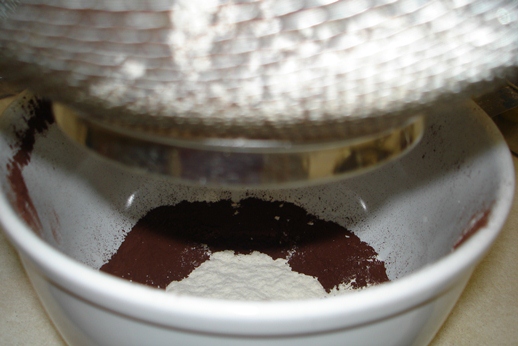
    No Bake Peanut Butter Cookies
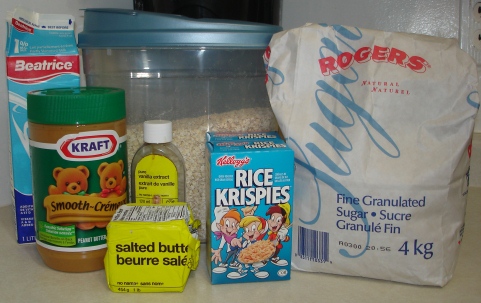
     

    What you need:

    • 2 c sugar
    • ¾ c milk
    • ¾ c butter
    • 1 tsp vanilla
    • 1 ½ c peanut butter
    • 3 c quick cooking oats
    • 1 ½ c rice crispies (gotta love the individual serving size... too bad my kid doesn't)

    What you gotta do:

    So, I used the Teddy Bear peanut butter (and I can almost see Taneasha cringing at seeing it again) which is a fairly sweet one. If you use an all natural, peanuts only one, you might want to increase your sugar a bit, maybe to 2 ½ cups.

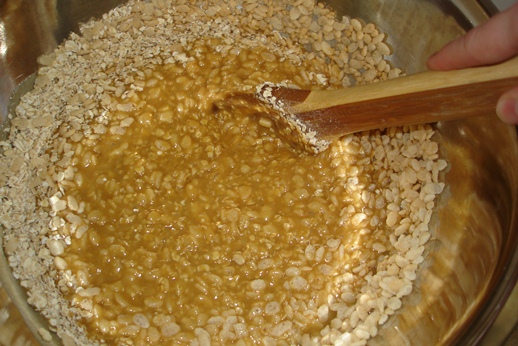
    In a good sized pot (bigger than you think you’ll need) combine the sugar, milk and butter over medium heat.

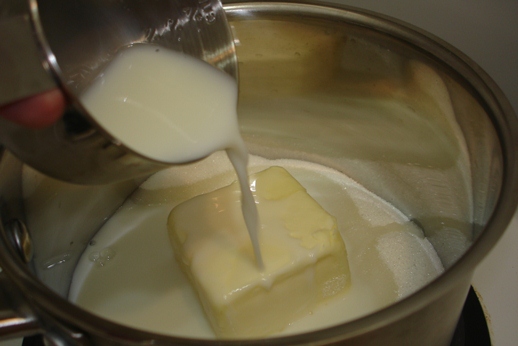
    While that heats, measure out your peanut butter into a large metal or glass bowl. Something heatproof.

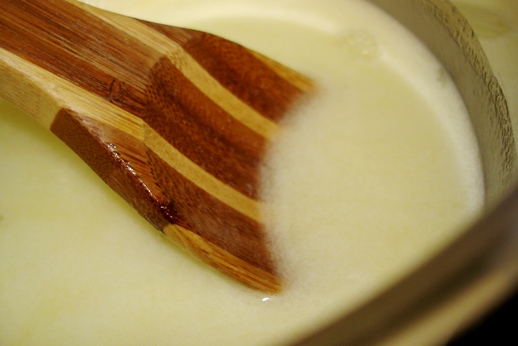
    Keep an eye on your pot o’ milk. This will boil eventually, even on medium. Stir it as it’s heating though, you don’t want it stuck to the bottom of the pan.

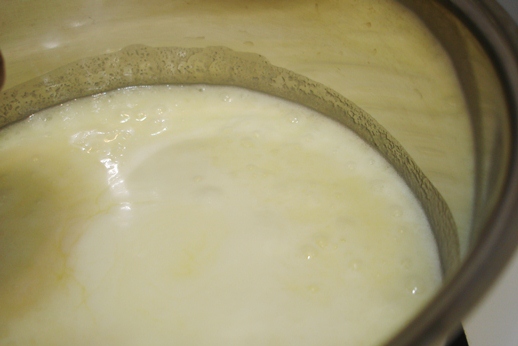
    Mine looked a little bit curdle-y just as it was starting to boil,

    but that disappeared once the boil was good and rolling. And by rolling, I mean it won’t stop or fall if you stir it.

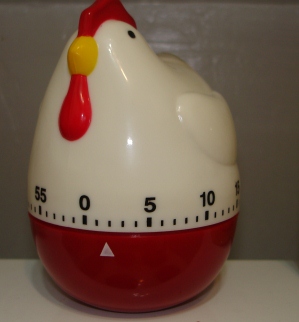
    When it gets to that point, just set the spoon aside and set your timer for 2 minutes.

    It will rise up a bit as it boils. This is why you need a bigger than you think you need pot. You really really don’t want this boiling over onto your stove.

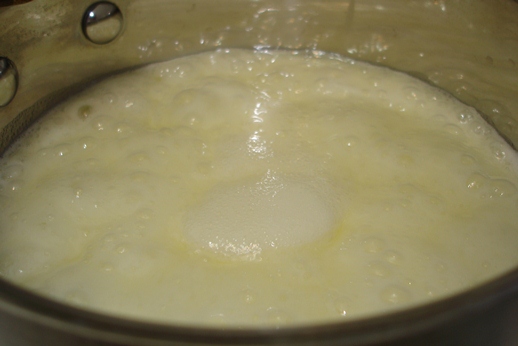
    This is the beginnings of a creamy caramel. Butter, milk and sugar. Freaking tasty.

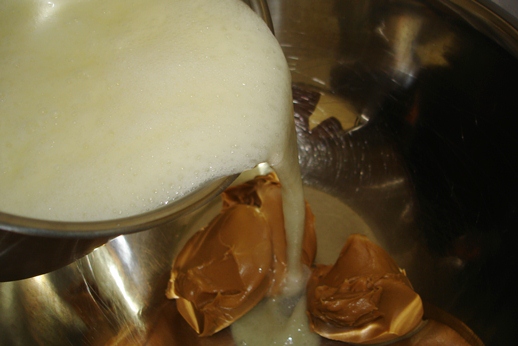
    After your two minutes are up, slowly pour the almost caramel over the peanut butter

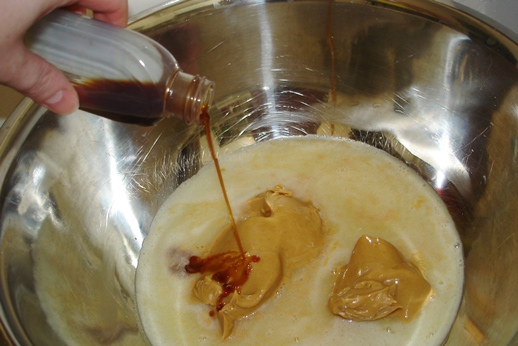
    And add a dribble of vanilla. Yes, I know I seem to have reverted to just eyeballing ingredient amounts. At least I gave you a volume in the ingredient list. Feel free to actually measure, if you want to.

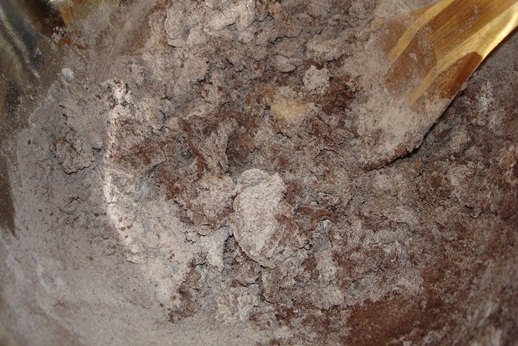
    Once again, stirring stuff into peanut butter looks weird at first,

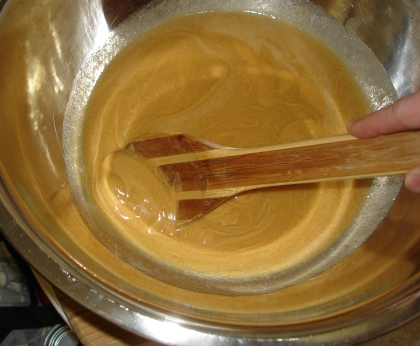
    But eventually it all comes together.

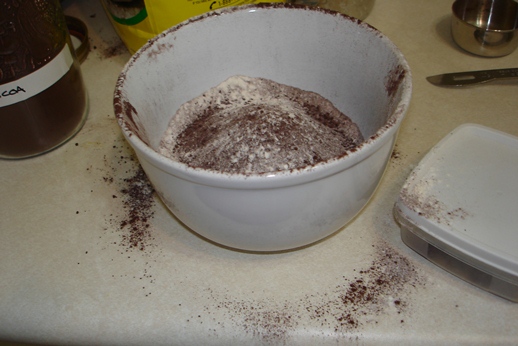
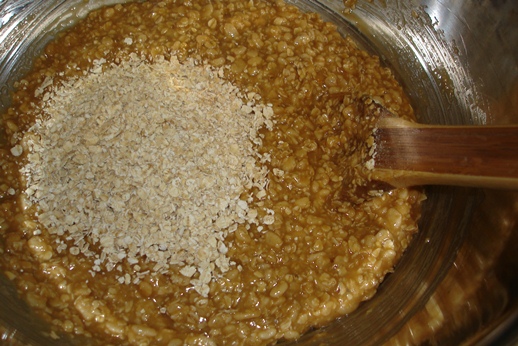
    Dump in your oats and cereal.
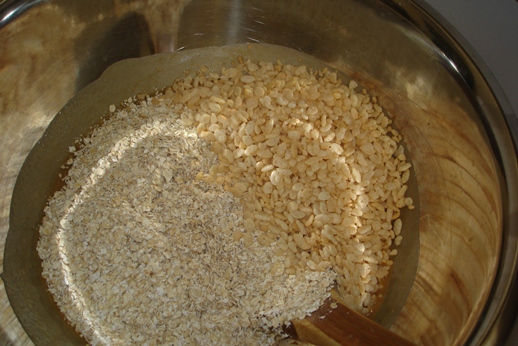
    And start stirring.

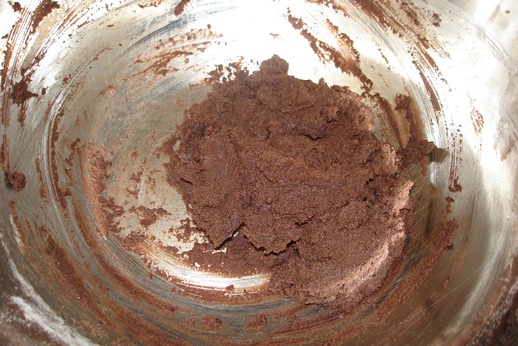
    I left out the third cup of oats and started with 2 cups of oats and all the cereal; it’s better to have to add dry ingredients than to try to figure out how to hydrate a dry cookie batter (Is this batter? Dough? What exactly is in my bowl??)

    Eventually though, I did add the last cup.

    That brought the consistency to something I was confident would hold some kind of shape if I dropped it by blobs onto paper.

    If you’re not sure of yours, drop a spoonful onto paper. It should mostly hold its shape and not spread too much.

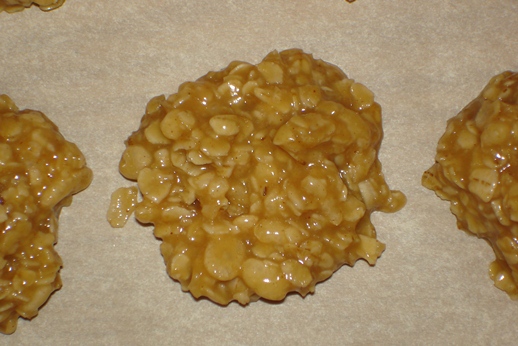
    If it’s good, keep blobbing.
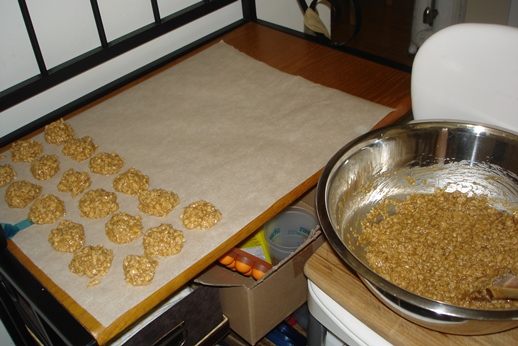
    And blobbing.

    And then add more paper at the end so you can get the last of the blobs out of the bowl.

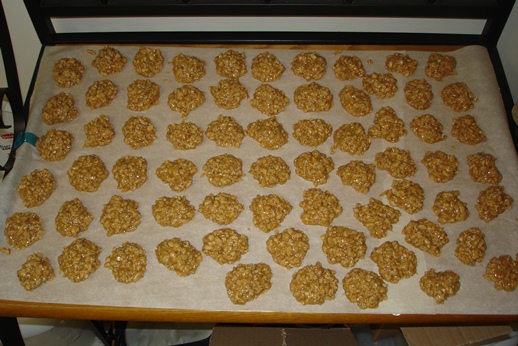
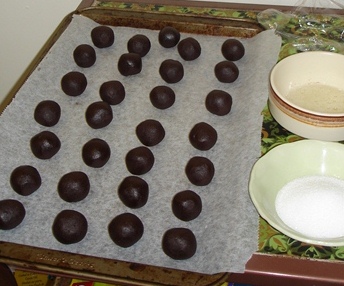
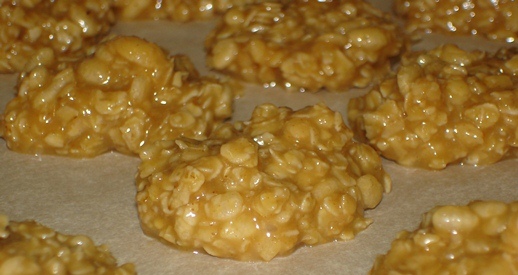
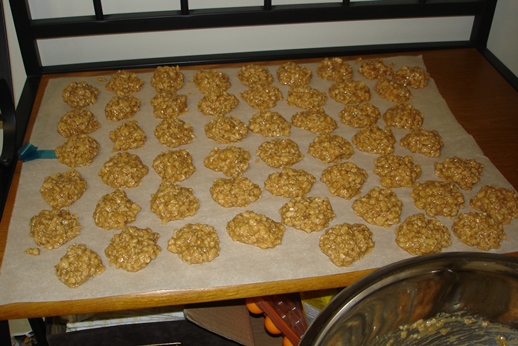
    Build yourself a rag tag army of blobs.

    69 of them in fact. Don't believe me? Count 'em.

    They need a bit of time to set. And fridging them will definitely help with that process. Just make sure you don’t put them all on one big sheet of parchment if you think you may need to relocate them.

    These are gooey and sticky and caramelly in texture, and since they contain peanut butter, oatmeal, milk, and rice crispies, they make for a perfect breakfast cookie.

    What's your favourite breakfast cookie??

    Friday
    Jun102011

    Black Forest... Cookies!?

    Last week a coworker who knows I like to bake offered me a challenge. Black Forest Cake. In a cookie.

    Chocolate, cherries, cream. Holy crap yes. So, I started searching. Initially I’d figured I’d make a chocolate sugar cookie and sandwich two together with something cherry-ish between them. Maybe top it with some kind of creamy glaze or icing… Seemed like a lot of steps, particularly if I was making some of it up as I went. And I’d have to present these to the people at work who come by my desk and say “Cookie?” Not something I want to do with a complicated recipe that I’ve never tried before.

    And then I came across a thumbprint cookie that was freaking perfect. A minor adjustment to incorporate the cherries and I had it! And holy crap do they look fancy. And holy crap did people ever keep coming back to my desk looking for more. Too bad the recipe only makes 28. I definitely need to do a double batch next time.

    Black Forest Cookies

    What you need:

    For the cookie part:

    • ½  cup butter
    • 2/3 cup sugar
    • 1 egg, separated 
    • 2 tbsp milk
    • 1 tsp vanilla
    • 1 cup flour
    • 1/3 cup cocoa powder (regular, not dutch process)
    • 1/4 tsp salt
    • 1/4 cup sugar, for coating the cookies

    For the gooey filling:

    • ½ c cream cheese
    • 3 tbsp dried cherries, chopped (if you don’t have or can’t find dried, I suppose you could use some other kind but really, look for the dried ones, they’re awesome)
    • ¼ c icing sugar

    To make them look super fancy:

    • ½ c semi-sweet or bittersweet chocolate chips

    What you gotta do:

    As usual, have all the ingredients waiting for you on the counter. It’s best if everything is the same temperature: room temperature. But don’t bother preheating the oven quite yet.

    As with nearly all cookie recipes, you start by creaming the butter and sugar.

    Separate the egg, set the white aside, and add the yolk to the butter/sugar along with the vanilla and milk.

    Sift the flour and cocoa together. I use a sieve over a bowl.

    I recommend a bowl wider than the sieve.

    I just dumped all the dry stuff in with the wet and started stirring. And panicking. It looks really dry at first. Like way too dry.

    But I kept stirring and eventually it all mixed in and formed a really soft dough.

    That’s why I wrapped it up and put it in the fridge for an hour. I totally did the dishes while it chilled. Totally did. Okay, yeah, total bullshit. But I thought about doing them.

    Once it firms up a little, roll it all into balls. Yup, do all of them first. (Actually, preheat the oven to 350 first).

    You get a better idea of how many there are, get a chance to make sure they’re all about the same size, and you won’t be constantly wiping egg white off your hands to roll the next one.

    Yup, egg white. Dip each ball in the egg white.

    Actually, best to dip only half of it, then roll it in your palm to spread it around. A bit too much egg white isn’t terrible. It comes off looking and tasting kinda meringue-like, but if you’re aiming to make these look fancy, less egg white is better.

    Roll the whited balls in sugar and place them on a cookie sheet. With your thumb, a bottle cap, or a half teaspoon measure, press the balls down and make a dent.

    Bake about 10-12 minutes, and then while they’re taking a minute to cool on the pan, use that measuring spoon to refresh the dent in the middle. You could probably skip this step if the dent stays, or if you’re okay with a slightly shallower dent.

    Put them all on a rack to cool completely. You can make the filling while they cool.

    Combine the cream cheese, icing sugar and chopped cherries in a bowl, then transfer it to a sammich bag.

    Cut the corner off the bag and squeeze a bit of the filling into each cookie.

    Resist the urge to poke at them or eat them. They’re not done yet and yes they really need the last step.

    (Note the white-ish meringuey coating. It's actually kinda crispy and tasty, but has a slightly different aesthetic.)

    Melt the chocolate chips in the microwave on medium heat. Seriously, everything in the microwave should be done on medium heat unless it’s water you’re trying to boil. The radiation is just too intense; you’ll scorch the chocolate.

    Once it’s all melted, put in into a sammich bag as well, and trim a tiny bit off the corner.

    Back and forth across the top of the cookies and the decorating is done. They’ll need a minute or two in  the freezer to set before you can pack them into the magic cookie tin to take to work. Keep them in the fridge though, there's cream cheese in them.

    So, there we go. Black Forest Cookies.

    Alright folks, here's your chance. Challenge me.

    What kind of cookie do you want me to make?