Search
Categories
Have a request?
This form does not yet contain any fields.


    Friday
    Sep282012

    Kiwi Muffins

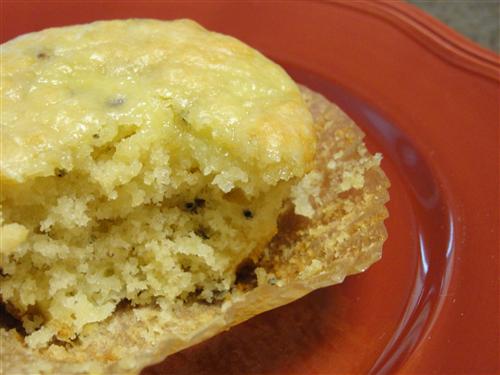
    The kiwi is definitely an underutilized fruit.  I mean, who doesn’t love them?  Sweet and juicy with those fantastic little seeds.  Sadly, they seem to always be paired with strawberries, and even then, you’d be hard pressed to find them outside of a smoothie.  Well the kiwi is taking a back seat no more.  In these muffins, the kiwi is the star of the show. 

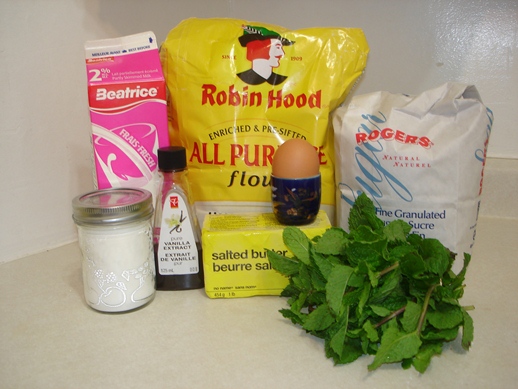
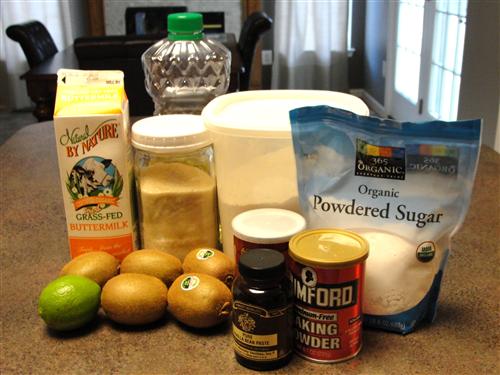
    Here’s what you’ll need:

    • 3 kiwis
    • ½ cup sugar
    • ¼ cup buttermilk
    • ¼ cup oil
    • 1 egg
    • 1 teaspoon vanilla
    • 1 ½ cups flour
    • 1 teaspoon baking soda
    • ½ teaspoon baking powder
    • ¼ teaspoon salt
    • 1 lime
    • ¼ cup powdered sugar

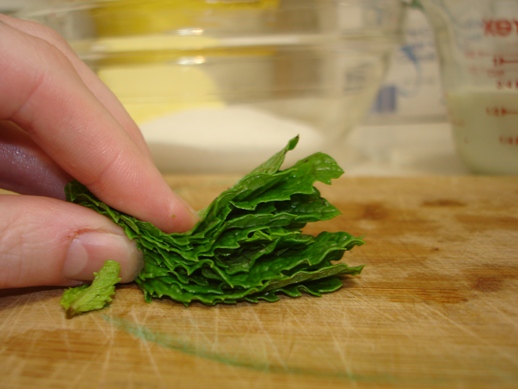
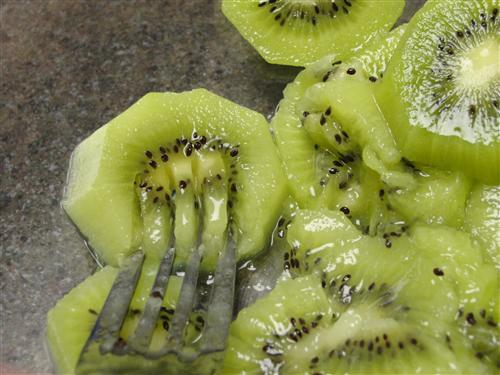
    Go ahead and preheat your oven to 350° before getting started.  I think the easiest way to peel a kiwi is to just cut the ends off, stand it up, and remove strips all the way around. 

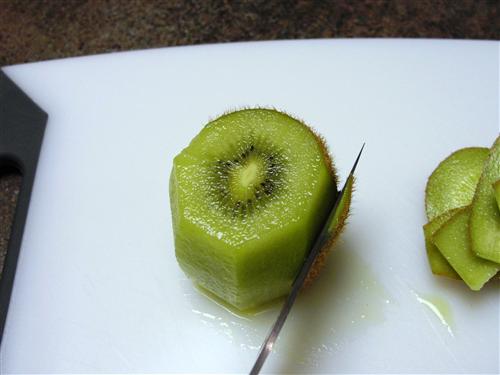
    Then just slice them and drop them into a mixing bowl.  All of the ingredients are going to eventually end up in this bowl, so make sure it’s large enough. 

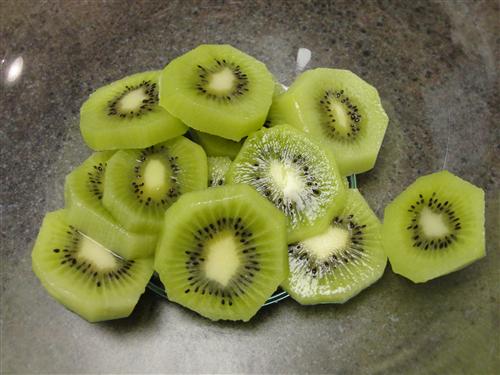
    Using a fork (or a potato masher if you prefer) smoosh all of the slices.  Could you skip the slicing step?  Sure.  But in my hands, that’s just asking for a kiwi on the floor.  Slices cooperate much better when being smashed. 

    After a bit you should have something that looks like this:

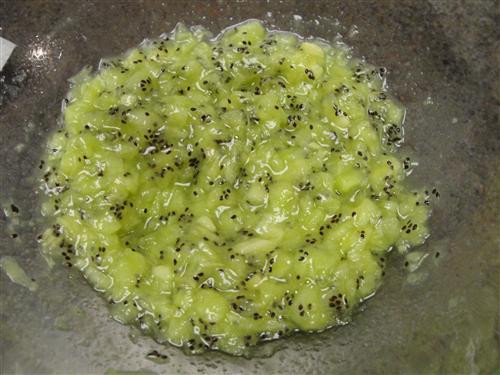
    For the people who want a measurement, I ended up with about ¾ cup of kiwi mush.

    To this, add the sugar.  (If you wanted to make kiwi lime muffins, this would be a perfect place for lime sugar.)

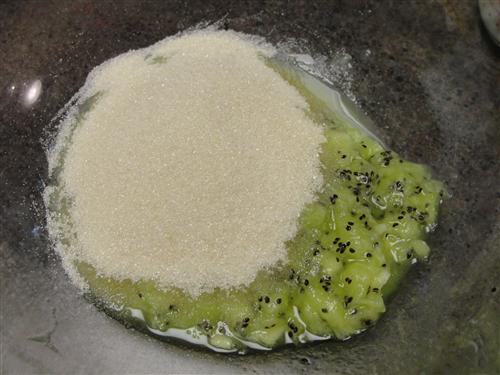
    Stir those together. 

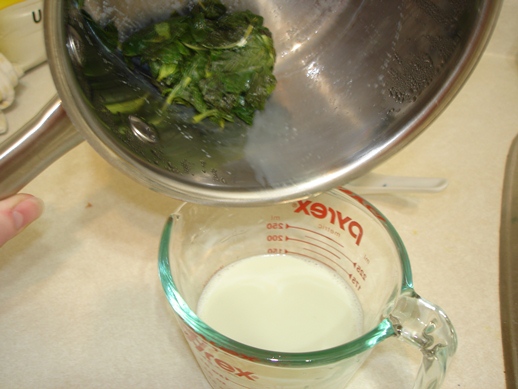
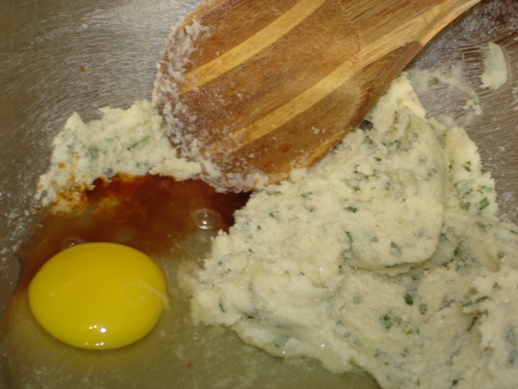
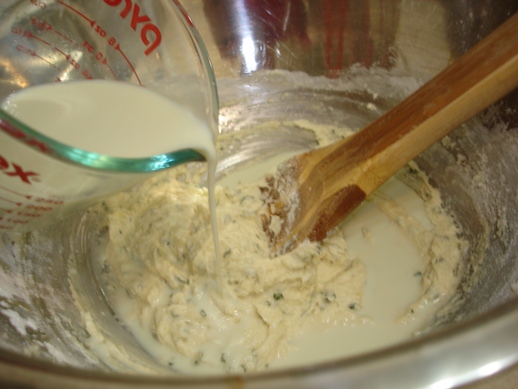
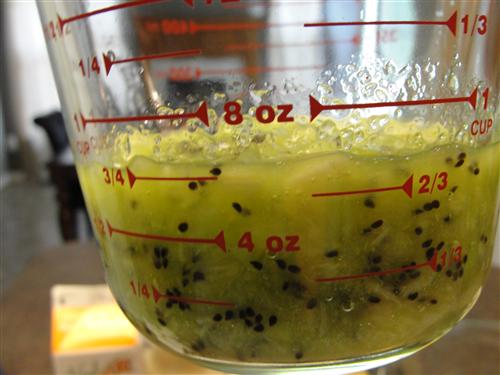
    For the wet ingredients, the easiest thing to do is measure ¼ cup buttermilk, pour in oil until it reaches the ½ cup mark, crack in the egg, and add the vanilla. 

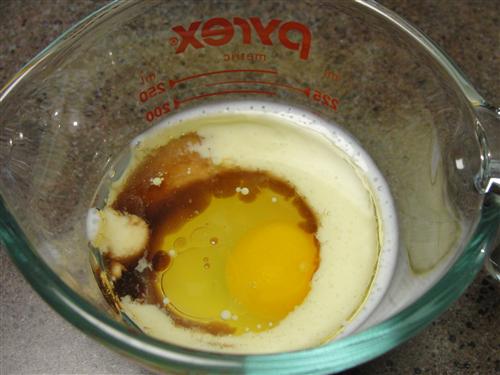
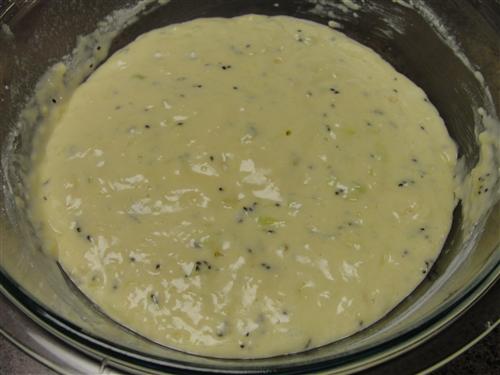
    Whisk that together and pour it into the kiwi mixture. 

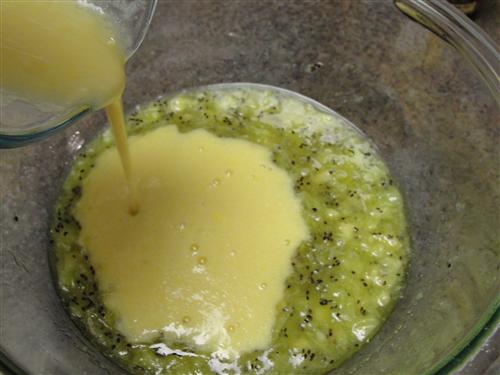
    Stir until that comes together. 

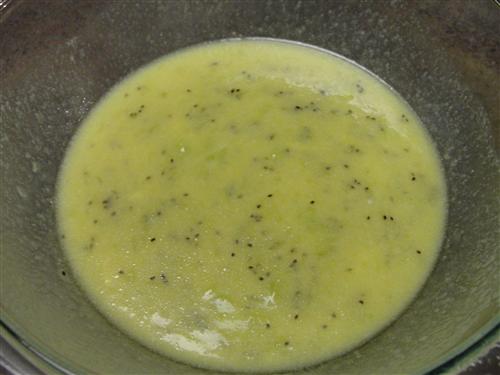
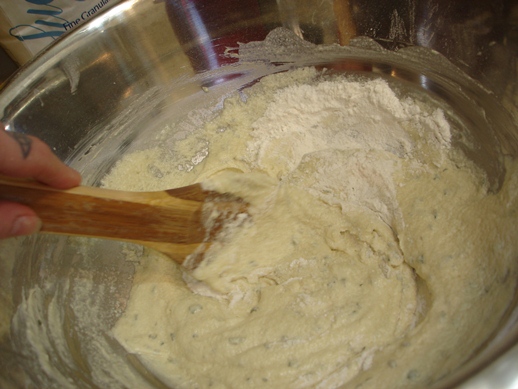
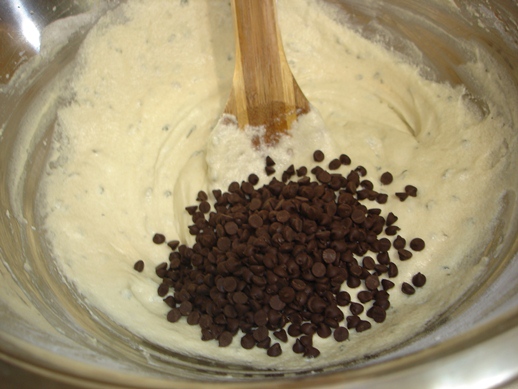
    Sprinkle the flour, baking soda, baking powder, and salt over the top. 

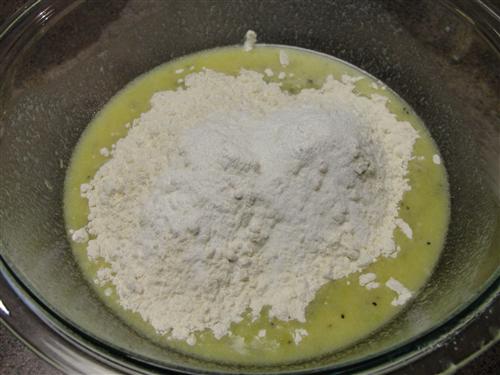
    Mix the dry ingredients together a bit, and then stir them into the wet.  Don’t over mix.  Muffins like a gentle hand, so stir until it just comes together. 

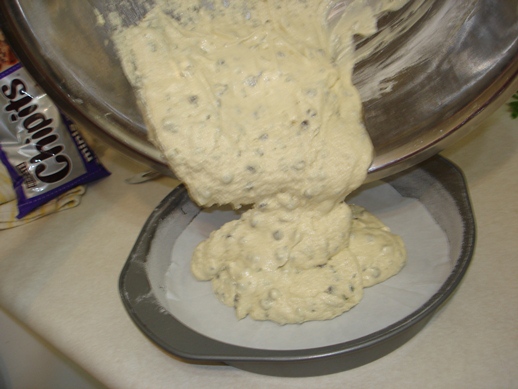
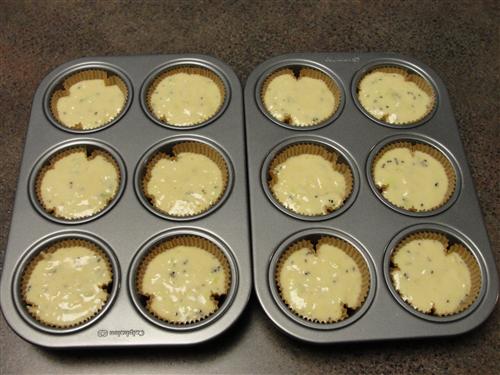
    I always use parchment liners, but if you prefer to grease the pan and have to wash it afterward, that is your prerogative.  Either way, fill the cups until they’re about ¼ inch from the top. 

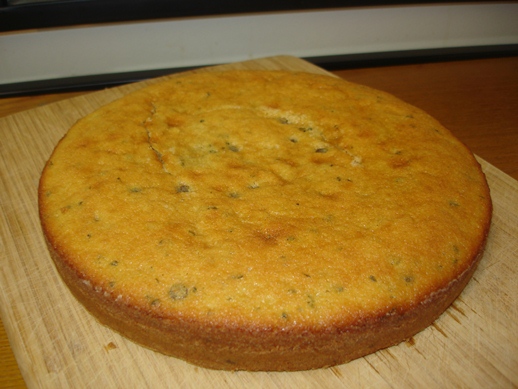
    Pop the pans into the oven, then turn the temperature up to 425° for 5 minutes.  After 5 minutes, turn it back down to 350° and bake for an additional 12 – 14 minutes.  When they’re done, they’ll be starting to brown on top and starting to pull away from the sides of the pan.  Also, a toothpick inserted in the center will come out clean. 

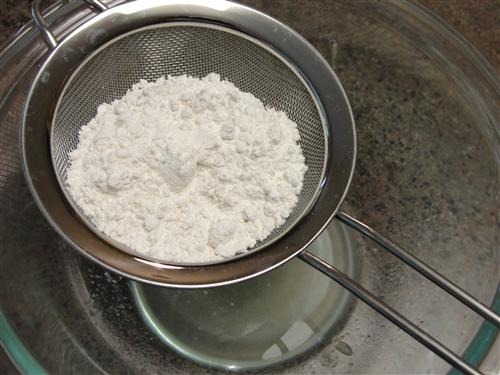
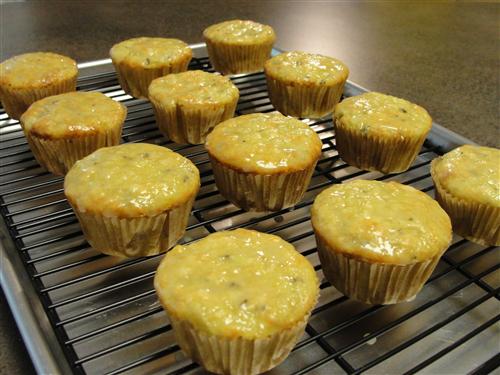
    Give them only 3 or 4 minutes in the pan before removing them to a cooling rack.  Steam trapped in the pan isn’t good for the texture of muffins.  Then, if you can force yourself away from them (omg they smell good) allow them to cool for 10 – 15 minutes.  Then it’s time for glaze.  Squeeze the juice of half a lime into a bowl.  (I got about 1 ½ tablespoons)  Sift in ¼ cup of powdered sugar. 

    Stir until it’s smooth.  Dip the top of each muffin into the glaze, then tip it and allow the excess to drip off.  You'll still probably have some glaze drip down the sides, so you'll want to place the cooling rack on top of a sheet pan or something.   

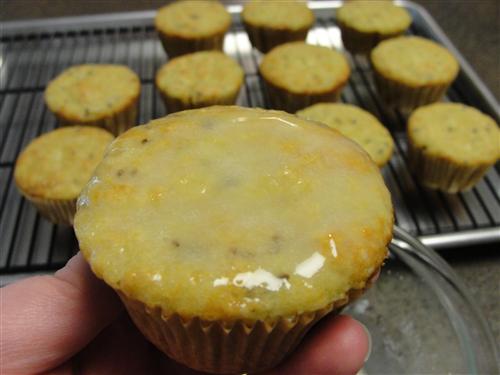
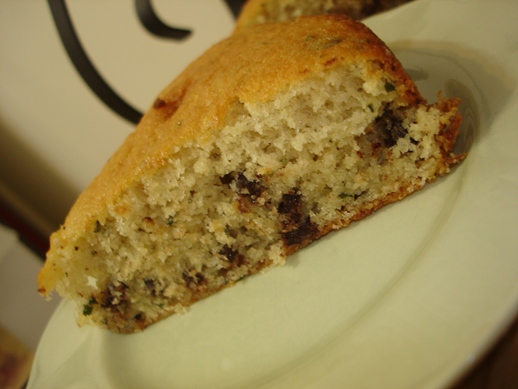
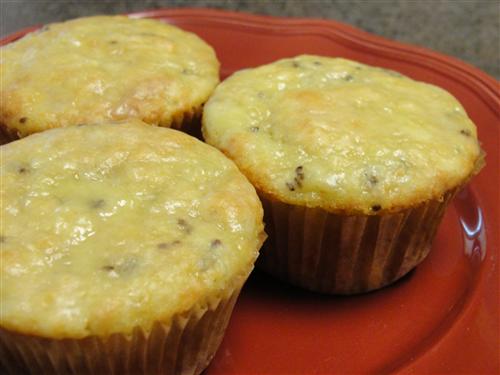
    Now, I know you’re thinking glaze on muffins?  Won’t that make them too sweet?  In this case, the answer is no.  In fact, this glaze serves the opposite purpose.  It brings a nice tang to the muffins.  It also gives them a lovely finish on top.  See how pretty?

    If you can wait, allow the glaze to dry.  If you just have to scarf one now, go ahead, I won’t judge you. 

    What do you like to do with kiwis?


    BTW, I thought you might find it entertaining to know that I always put on my geeky headphones and totally jam out while writing these posts.  It's the secret to my literary genius.  This particular episode was brought to you by Gangnam Style.  Because... why not, right?   


    Tuesday
    Sep252012

    ice cream flavoured cake

    would be even better with ice cream.

    But I was out of ice cream, which is why I made the cake. Well, that and I'd managed to make it around the sun one more time.

    So, you've seen me make mint chocolate chip ice cream. Definitely one of my favourites. Last weekend was the time of year for cake, and so I made a mint chocolate chip cake. And since I have trained my offspring to be aware of food additives, he insisted that we make it without artificial colors or flavours. Which apparently meant I was not allowed to use mint extract either. Had to be mint-mint.

    Okay.

    I can do that.

    Mint Chocolate Chip Cake

    What you need:

    • about 2 c mint
    • 2/3 c milk
    • 1/3 c butter
    • 3/4 c sugar
    • more mint (about 1 tbsp once it's all chopped)
    • 1 egg
    • 1 tsp vanilla (which was allowed for some reason)
    • 2 tsp baking powder
    • 1/4 tsp salt
    • 1 generous cup of flour
    • 1 c mini chocolate chips (they're in the other pictures)

    What you gotta do:

    Don't preheat your oven yet. We've got an extra step at the beginning here. Since I wasn't allowed to use a mint extract, even a non-artificial one, I had to make one of my own.

    So, I took a step from the ice cream recipe. Trim and rinse the mint, and put it in a pot with the milk.

    You will barely be able to see the milk under all the mint. Don't worry, it's still there. And the mint will cook down like all leafy green things.

    Bring this just barely to a simmer, stir it, cover it, and leave it alone for about half an hour.

    Set the butter and egg on the counter to warm up to room temperature while the mint milk is steeping.

    Once you've strained and squeezed the mint out, the milk will be just barely green.

    Not quite green enough to colour a cake. Which is where the other bit of mint comes in. Chiffonade and then cut that up a bit more.

    Cream the butter, sugar, and minced mint together.

    I was hoping that creaming the mint in with the sugar would mash it up a bit more and spread it around (using the coarseness of the sugar to macerate it) but that didn't quite go as I'd hoped. Oh well.

    Add the egg and vanilla to your speckled butter.

    Now, we do the three bowl method for the cake. In the big bowl, the creamed butter mixture. In a smaller bowl (the one I started in and then decided was too small) the flour, salt, and baking powder. And in a bowl shaped like a measuring cup, the mint milk.

    First, we add about 1/3 of the flour to the creamed butter. Mix this in well.

    Now, about half the milk. Also mix in well.

    And then about half of what remains of the flour. Mix again.

    And the rest of the milk. Mix!

    And finally the last of the flour. Don't mix. Kidding! Mix it.

    Oh. Um. You should have preheated the oven just before the mixing started.

    Now, the chocolate chips. The Boy insisted on chips rather than chopped chocolate. And he was calling the shots with this one; I guess that's his version of making me a cake.  

    Butter and flour a cake pan. I had a 9 inch pan, which turns out was too big. You'll see why in a minute. If you have an 8 inch round pan, or an 8 inch square pan that would work fine. I'm going to use the 8 inch square pan next time.

    You can also line the pan with a bit of parchment paper.

    I would show you how to cut a round piece, but I know I'm going to need a tip to post in a few weeks during midterms and I think that sounds like a good one. Until then, you can leave the parchment out if you'd like.

    Bake the cake at 350 for about 30 minutes. You can test after 25 if you'd like but mine took almost exactly 30. Let it cool in the pan for about 20 minutes, and then on a rack until it's room temp.

    You see that flat bit in the middle?

    That's what I mean about the wrong pan size. There wasn't enough leavening in the mixture to keep everything together enough to lift that far from the edge. Another egg, or a bit more baking powder would work. Or, I could use a smaller pan so I don't have to go messing with recipe proportions.

    But, it was still cooked through, and it smelled minty. Tasted minty too, but it wasn't as green as The Boy was hoping. Still, he was glad it didn't have fake colour in it. I doubt I could convince him to use spinach juice though, like Taneasha did with her colourful cookies.

    There are definitely flecks of green in there though.

    This is a very moist moist cake, with a crumbly, delicate crumb. And the texture kinda reminded me of those "snack cakes" that my mom used to make from a box in the 80s. Quick cakes, never frosted, and always done in a square pan. So, I skipped the frosting step on this one.

    A bit of vanilla ice cream on the side would have been nice though.