Search
Categories
Have a request?
This form does not yet contain any fields.


    Monday
    Jan202014

    Scrambling for Breakfast

    When it’s cold outside, I tend to want something warm for breakfast.  Oatmeal is great and all, but I also like having more savory options.  For that, one of my favorite things is a scramble.  What’s a scramble?  Think omelet, but all mixed up.  I’m going to show you how to make everything you need ahead of time so you can throw it together in just a few minutes.  It’s more of a technique than an actual recipe.  Here’s what you have to ask yourself.  “What do I like in an omelet?”  For me, the answer is broccoli, zucchini, and ham. 

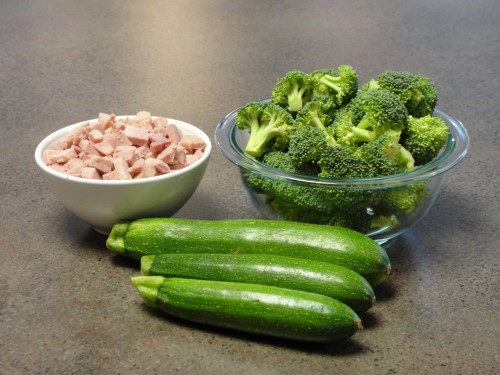
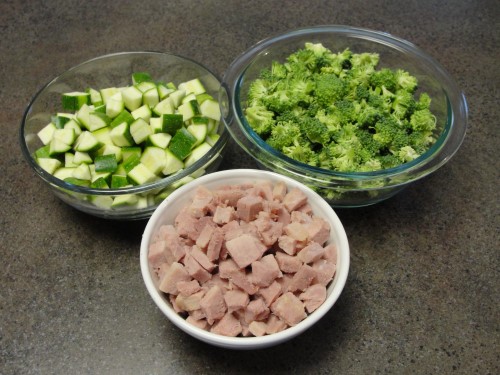
    Your answer might be something completely different, and that’s ok.  Onion, bell pepper, spinach, mushrooms, bacon, chicken, sausage… you can use any combination of ingredients you like.  Just make sure any meat is cooked before you begin.  Then, just cut everything into little pieces.  I had about 2 cups each of the zucchini and broccoli, and maybe 1 ½ cups of the ham. 

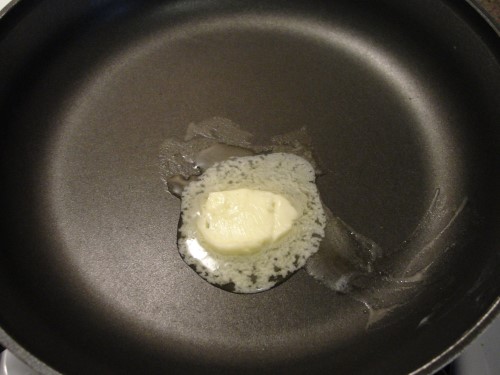
    In a pan, melt 1 Tablespoon of butter over medium heat. 

    Add your veg. 

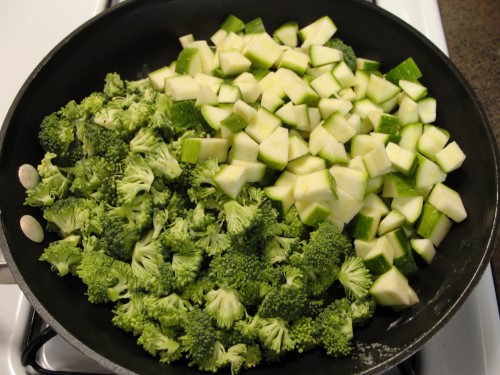
    Sprinkle on ½ teaspoon salt and ¼ teaspoon pepper.  Stir it all together and pop on the lid. 

    Allow it to cook for 5 minutes or so, stirring occasionally.  You want the vegetables to just begin to soften and give off a bit of their liquid.  You don’t want them cooked all the way because they’re going to do a bit more cooking later.  Remove the lid and add the meat. 

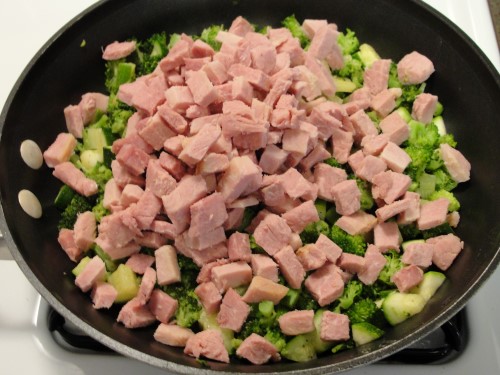
    Stir that in and turn off the heat.  Allow it to cool, and then separate it into individual portions.  Scoop out ½ cup of the mixture. 

    Then just put it into a little zip top bag.  The snack size ones work great for this.  They’ll be fine in the fridge for 2 or 3 days, or in the freezer for probably a month or two. 

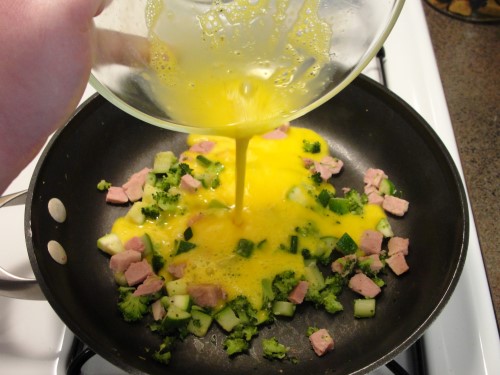
    When you’re ready, you can pull them straight from either the fridge or freezer.  Butter a pan over medium heat and dump one in.  Place the lid on and give it a couple minutes to warm up.  When everything is nice and hot, pour in two scrambled eggs. 

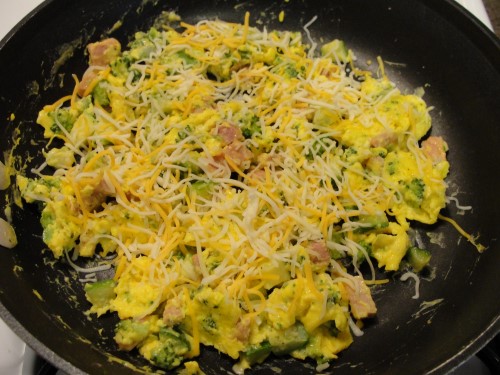
    Stir until the eggs are cooked.  For me, there is a fine line between cooked and overcooked.  My eggs cannot show the slightest sign of slime, nor can they be even remotely browned.  This is why I prefer scrambles over omelets.  It’s hard to get an omelet cooked all the way through and not browned at all on the outside. 

    I like to add a little sprinkle of cheese.  Do this right at the end after you’ve turned off the heat.  Then just stir briefly and place on the lid.  Allow it to melt while you’re waiting for the toaster to do its thing. 

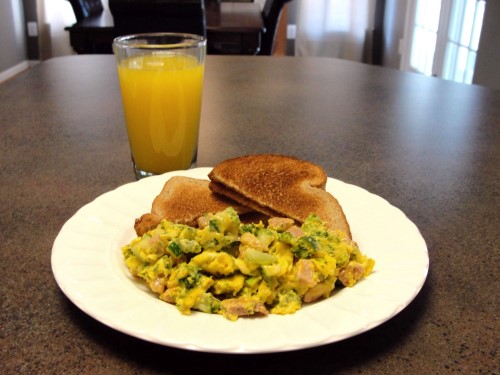
    Serve with some whole wheat toast and a glass of fresh squeezed juice and you have a fabulous, (dare I say gourmet?) breakfast, and it took less than 10 minutes to make. 

    What do you like in your omelet? 


    Saturday
    Jan112014

    White Bread Perfection (and I don't mean me)

    Well, it’s the beginning of a new year, and I thought this would be the perfect recipe to start off with.  Plus, this is the best time of year for using your oven.  Basic white bread is just that, basic.  But it’s amazingly delicious when done right, not to mention useful.  I’ll call this sandwich bread, because it’s fabulous for that, but it’s also good for toasting, dipping in soup, or just eating with butter. 

    Here’s what you’ll need: 

    • 3 cups all-purpose or bread flour
    • 1 packet yeast
    • ½ teaspoon salt
    • 1 Tablespoon sugar
    • ¾ cup milk
    • ½ cup hot water
    • 2 Tablespoons butter 

    First you want to get your wet ingredients together.  Measure out the hot water, then add the milk and butter.  You want it to be the temperature warm bath water, so pop it into the microwave for a few seconds if necessary.  Set that aside so the butter can melt.  (If you’re using active dry yeast, go ahead and add it to the liquid mixture and let it do its thing for a few minutes) 

    If you use instant yeast, it makes this super simple.  Throw all the dry ingredients (including instant yeast) into a bowl and stir them together.

    Just for a quick reminder, to properly measure flour for a recipe, spoon it into you measuring cup so it’s nice and fluffy.

    Then level off the top with a straight edge, careful not to pack it down. 

    Go ahead and pour the wet ingredients into the dry ingredients. 

    I like to just stir it until it mostly comes together. 

    Then bring in the big guns for the kneading part.  After about 30 seconds or so, it should look something like this.  That is not good looking bread dough.  I needs some work. 

    Allow it to knead for a good 5 minutes or so.  You can certainly do all of this by hand if you don’t mind the workout.  Count on it taking twice as long by hand, as well.  When it’s ready the dough should be supple and smooth, like a baby’s bottom.  Not that I’ve seen many baby’s bottoms, being of the child free persuasion, but whatever.  It’s a figure of speech.  Moving on.  While your dough is kneading, butter the inside of a large bowl.

    Form the dough into something resembling a ball and place it top side down into the bowl. 

    Turn it and flip it over so that it has butter on all sides. 

    Cover the bowl with a damp kitchen towel and leave it to rise. 

    You want it to double in size which will probably take about an hour.  At some point while it’s doing that, butter a 9x5 loaf pan. 

    Remove the towel and admire the work your yeast has been doing.  I might be weird, but there’s something beautiful about bread dough. 

    Punch it down to remove most of the large air pockets.  For just a regular loaf, you don’t even need to dirty your countertop, just leave it in the bowl. 

    Roll the dough into a sort of log, pinching the seam together. 

    Place it into the pan, seam side down, and press it down so that it fills most of the bottom. 

    Cover it again with a damp towel and leave it to rise once more.  You want it to peek over the top by about an inch or so.  That will probably take 45 – 60 minutes, but don’t rush it.  If it needs longer, be patient. 

    During the last 15 minutes or so, preheat your oven to 350°.  Gently, cut a shallow slit down the middle with a sharp knife.   About ¼ inch, I’d say. 

    Then straight into the oven.  350° for about 35 minutes.  When it’s done, it will be nice and golden on top, and if you tap on it, it will sound hollow. 

    Immediately remove it from the pan and place it on a cooling rack.  Rub the top with a stick of butter.  This will make it soft, shiny, and beautiful. 

    After a couple of minutes, you might notice little tiny bubbles from the butter.  If, like me, you don’t like the look of them, just wipe the gently away with a paper towel. 

    For the best texture, allow the bread to cool completely before slicing.  Good luck, though.  Nothing smells better than fresh baked bread.  Just look at those perfect slices of bread.  Aren't they gorgeous?  

    What’s your favorite thing to do with really good white bread?