Search
Categories
Have a request?
This form does not yet contain any fields.


    Friday
    Feb212014

    Someone Get Mother Nature a Midol!

    I'm pretty sure Mother Nature is suffering from PMS.  She can’t seem to figure out what she wants to do.  At the moment, it’s decided to be cold and miserable again, and for some reason that feels even worse than when it gets cold the first time around.  Well, since I couldn’t seem to get warm, I decided it was time to try warming myself from the inside out.  What better way to do that than with chicken soup?  And what better way to have chicken soup that with homemade noodles like I used to have when I was a kid.  A nice thick, rich broth with big chunks of chicken and chewy, delicious noodles.  Sounds good, right? 

    Here’s what you’ll need for the noodles:

    2 cups flour
    ¼ teaspoon salt
    4 eggs

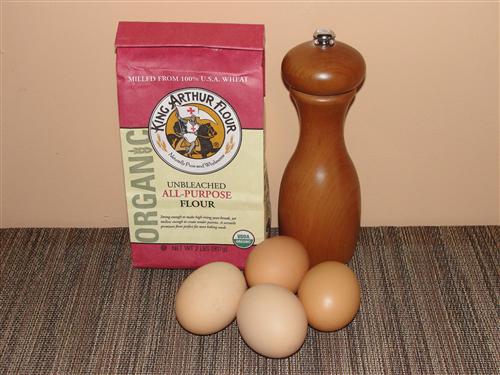
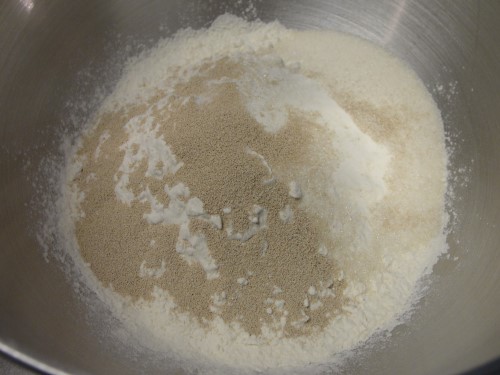
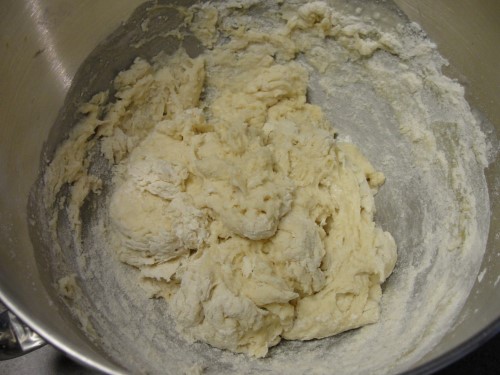
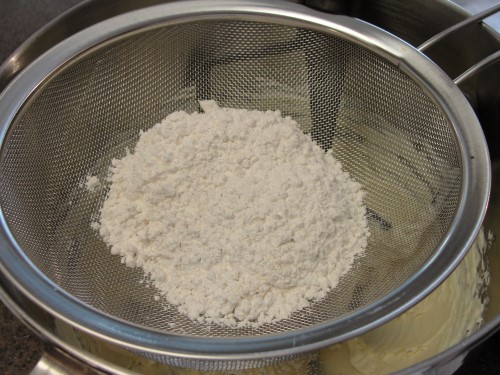
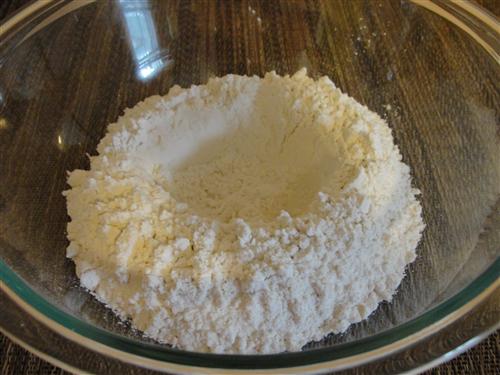
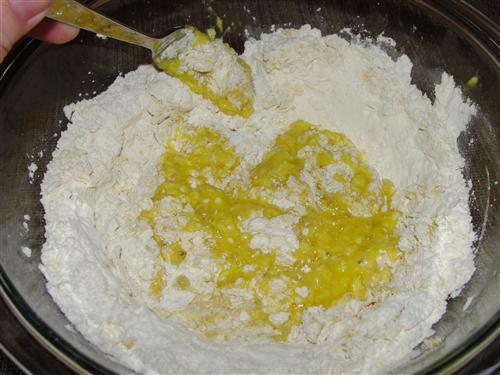
    Yep, that’s it.  3 ingredients.  The process of making the noodles is almost as simple.  Mix together your flour and salt, and make a well in the middle. 

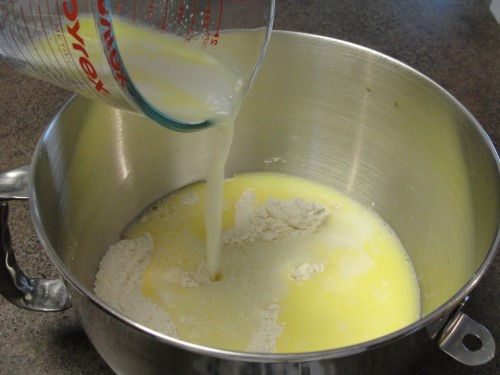
    Whisk all your eggs and pour them in.  Slowly start stirring in the flour. 

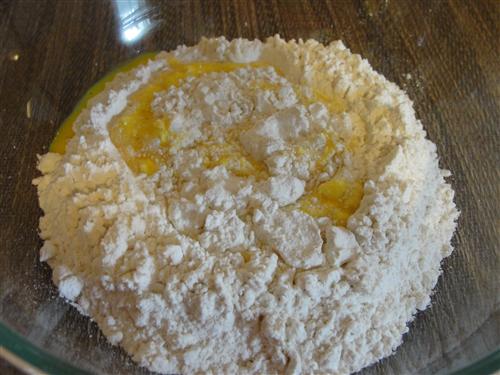
    Just add from the edges and stir.  You’ll probably have to get your hands in there at some point. 

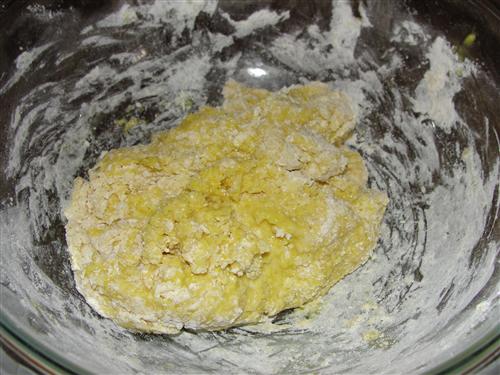
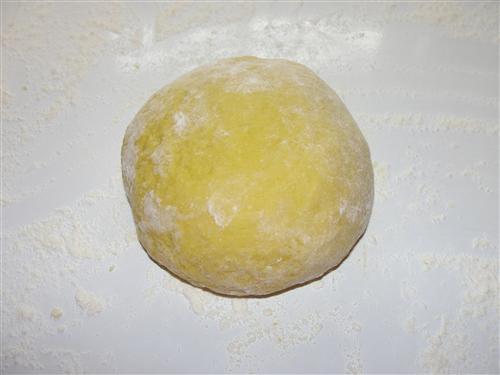
    Eventually, it will come together into a ball. 

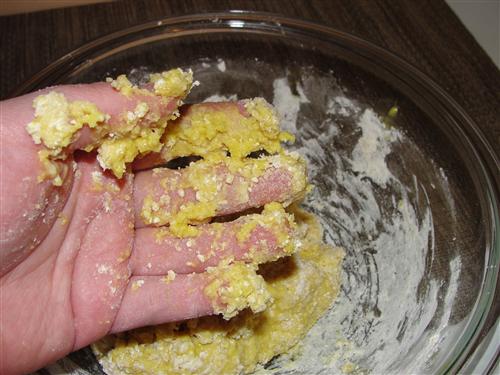
    If your hands don’t look something like this, you’re not doing it right. 

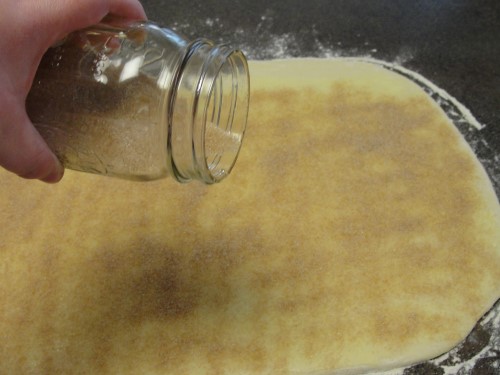
    Dump the dough onto a floured surface and sprinkle flour over the top. 

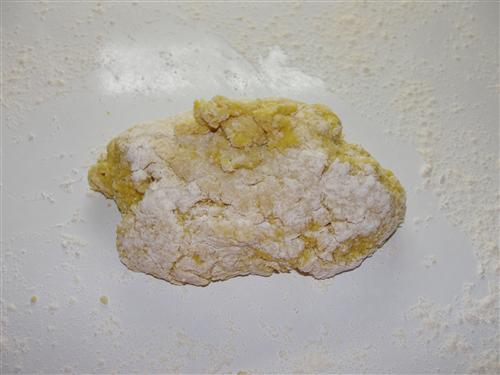
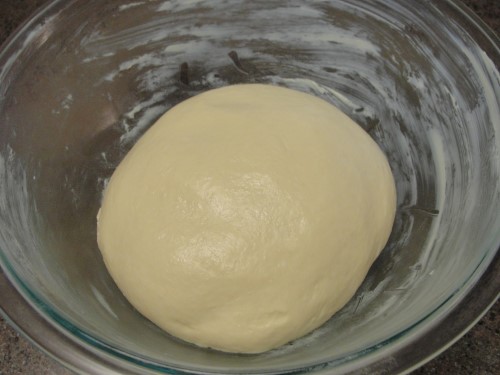
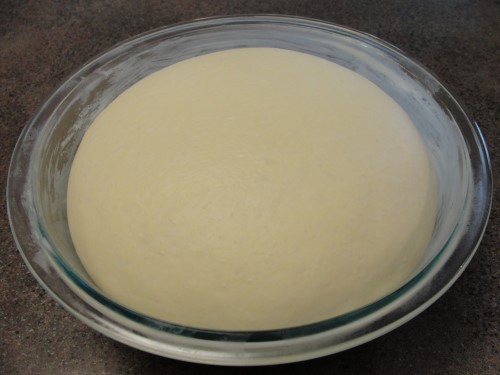
    Knead until it looks something like this:

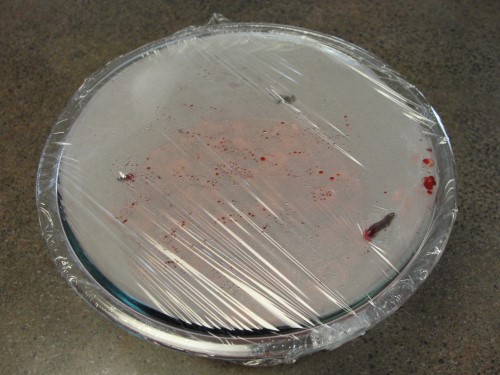
    Make sure it’s well floured all the way around, then wrap the whole thing in plastic and allow it to rest for at least 30 minutes.  After that, remove it from the plastic and cut it in half.  Return half of the dough to the plastic, and the other to a floured surface. 

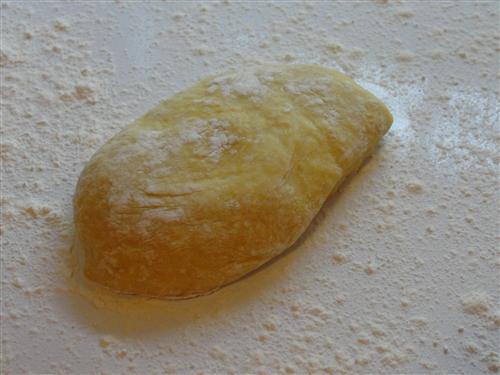
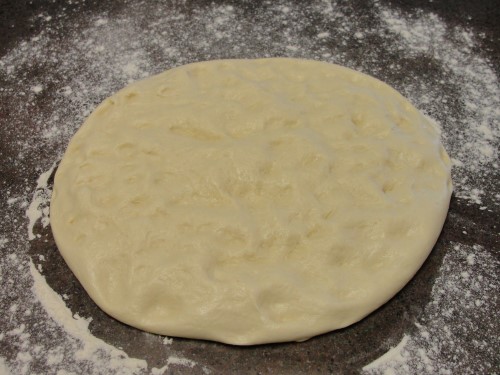
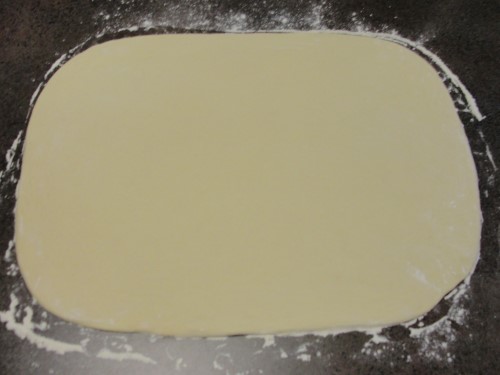
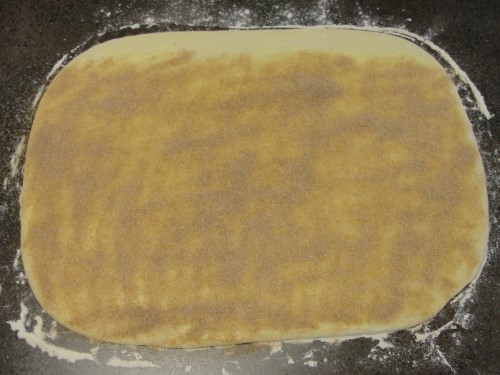
    Can’t really take pictures of the rolling process because… well… it takes both hands, but I’m sure you can figure it out.  Just keep everything well floured and keep moving the dough around so it doesn’t stick.  When you get to the right thickness, it should look something like this:

    That’s somewhere between ⅛ and ¼ inch, I’d say.  Now it’s time to cut the noodles.  A pizza cutter works fabulously for this.

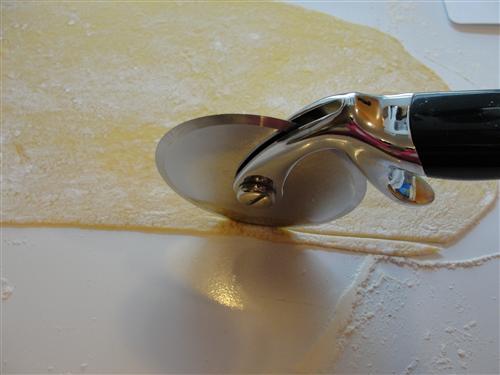
    Cut the dough into long strips. 

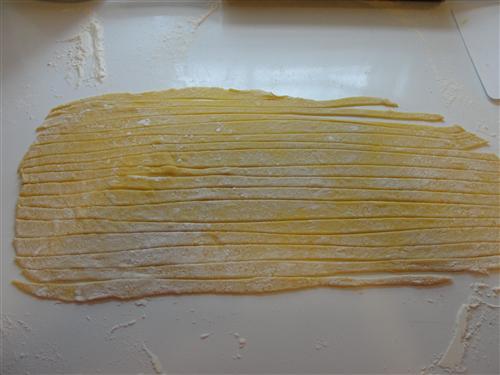
    Apparently I was cutting while intoxicated, but that’s what makes homemade noodles homemade, right?  Cut the strips into whatever length noodles you like. 

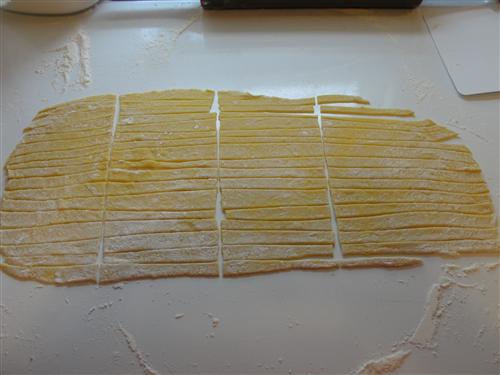
    Toss them with more flour so they won’t stick together and spread them onto a rack.  Repeat the process with the other half of the dough.  That way they can dry out a bit while you work on the soup.   

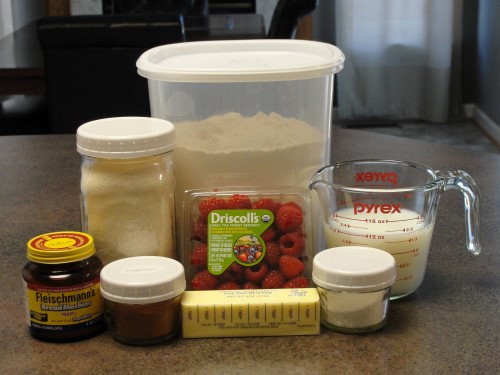
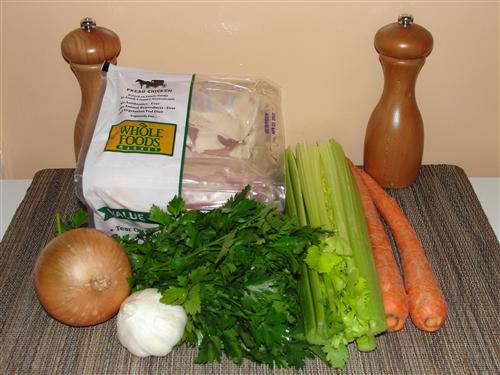
    Here’s what you’ll need for the soup:


    • Chicken, I used 4 bone-in breasts, but use whatever pieces you like
    • 1 medium onion
    • 1 bunch of celery
    • 2 carrots  
    • 4 cloves garlic
    • 1 tablespoon salt
    • ½ teaspoon pepper
    • Parsley
    • Water


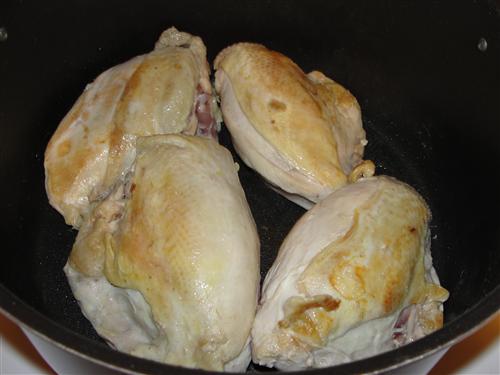
    In a pan over medium high heat, put a tablespoon of oil and brown your chicken on all sides. 

    Add the pepper, half of the celery and onion, the garlic (peel the cloves, but leave them whole), and a tablespoon or so of chopped parsley.  Add enough water to the pan to cover everything. 

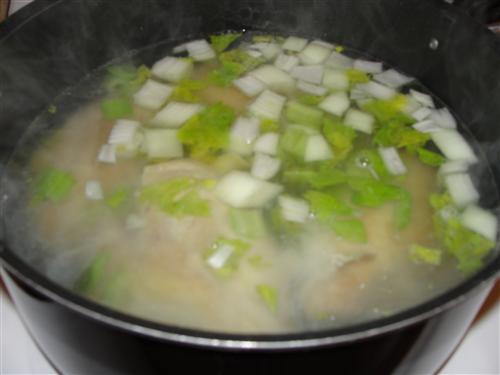
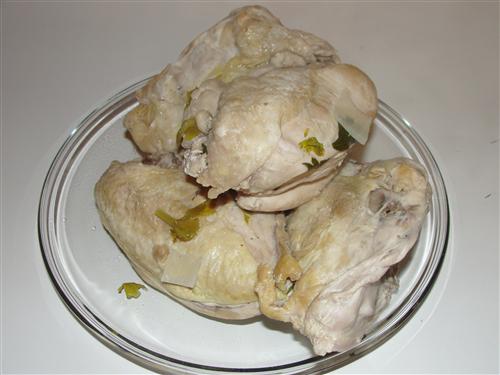
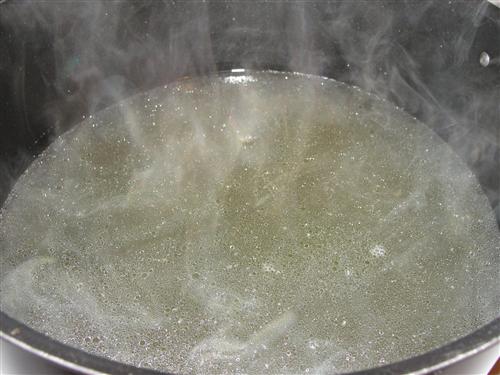
    Bring it to a boil and allow it to simmer for 40 minutes.  It’s a good time for a break.  After that, remove the chicken pieces from the pan.  Just put them aside to cool for a few minutes. 

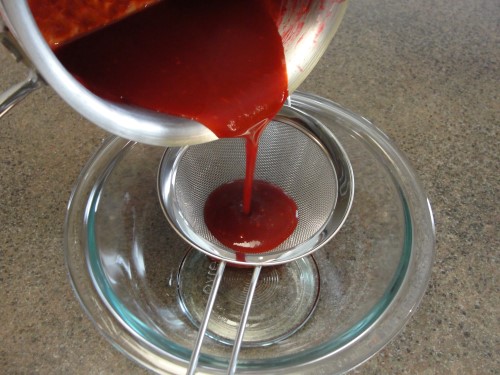
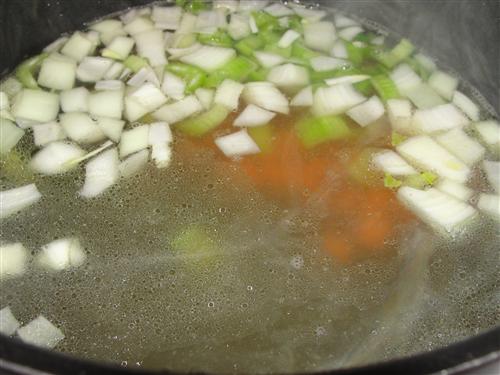
    Strain the liquid and return it to the pan. 

    Add the remaining celery and onion, and the carrots.  Allow it to simmer for about 15 minutes. 

    During that time, pull the meat off the chicken pieces, and tear it into whatever size chunks you want.  I like mine a bit on the large side. (That's what she said!!) 
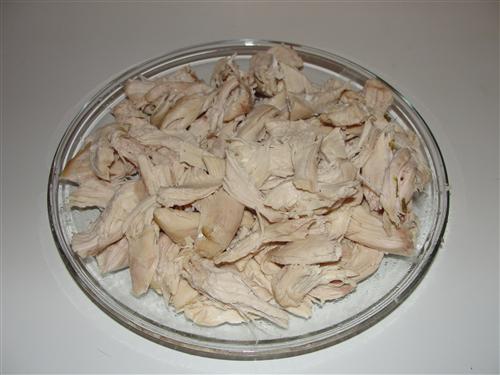
    Add it to the pot.

    Start adding your noodles a little at a time, stirring after each addition.

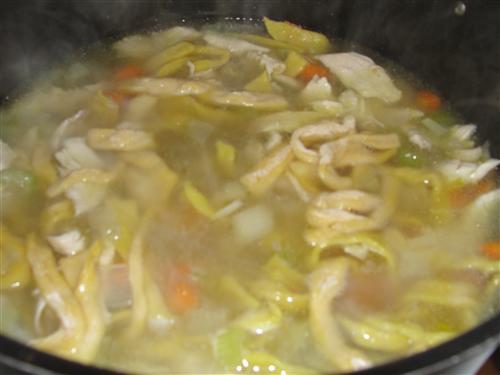
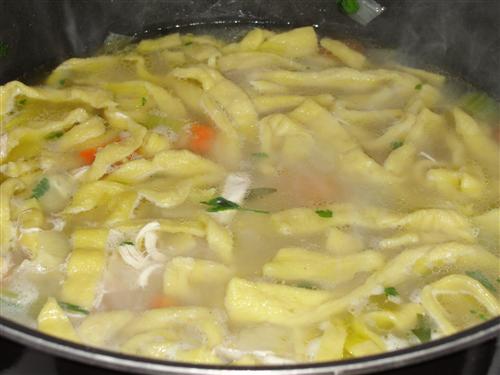
    Mmmmm… noodles.  They only take a few minutes to cook.  Now’s a good time to add another tablespoon of chopped parsley, as well.   

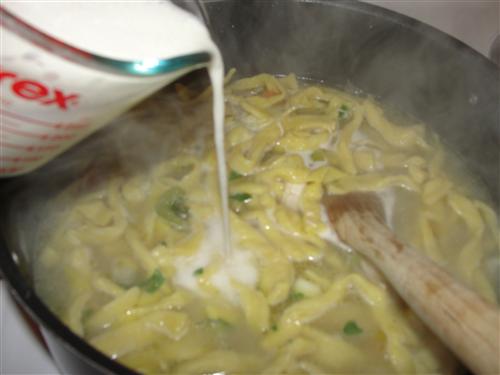
    You can serve it as is, but I like my broth to be a little thick.  Sometimes the flour on the noodles is enough, but this time I needed a bit more.  Whisk together 3 tablespoons flour and ½ cup cold water.  Stir it into the pot, and bring the whole thing back to a boil. 

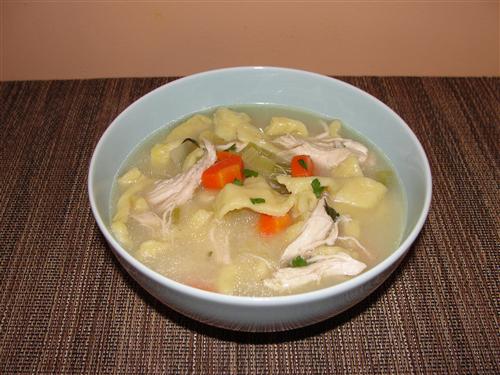
    Allow it sit for a few minutes before serving, then just ladle it into a big bowl.  Then, if your hubby’s out of town and you’re home alone, just snuggle up in your favorite spot, wrapped in a nice cozy blanket, and finally get warm.  Mmmmm.  It doesn’t hurt if you have a little furry space heater in your lap, patiently waiting for you to finish so he can lick the bowl. 

    What warms you up when it’s cold outside?   


    Wednesday
    Feb122014

    Raspberry Cinnamon Rolls

    I thought for a long time about the title of this post.  It’s my Valentine’s Day recipe and I thought it should be something special, but in the end, I decided Raspberry Cinnamon Rolls sound so good, there’s no need for anything else. Not convinced?  What if I told you they’re topped with raspberry, cream cheese frosting?  Ah, now I’ve got your attention. 

    Here’s what you’ll need: 

    • ¾ cup milk
    • ¾ cup hot water
    • 3 Tablespoons butter
    • 3 ½ cups flour
    • 1 pkg yeast (2 ¼ teaspoons)
    • 2 Tablespoons sugar
    • ½ teaspoon salt 

    Mix together the hot water, milk, and butter.  You want to end up with something warm enough to melt the butter, but not hot.  Think warm bath temperature.  If it’s not warm enough, just pop it into the microwave for a few seconds.  Set that aside.

    In a mixing bowl, combine the flour, sugar, salt, and yeast.  Stir them to evenly distribute everything.

    Pour in the warm milk mixture. 

    Stir until it looks something like this, and then put it on the mixer with the dough hook. 


    Knead for 5 – 7 minutes, until the dough is nice and smooth. The dough will be quite soft, and slightly tacky.  Form it into something resembling a ball and place it into a buttered bowl.  Put it top side down, then turn it and flip it over so that the whole surface gets lightly buttered from the bowl. 

    Cover with a damp towel and allow it to rise.  You want it to double in size, which will probably take about an hour.

    Sprinkle some flour over your work area. 

    Dump out the dough and deflate it with your fingers or knuckles. 

    It needs a few minutes to rest before you start rolling, so while it’s doing that, measure ½ cup sugar and 2 teaspoons cinnamon into a container with a lid.  Mason jars are perfect if you have one. 

    Lightly flour the top of your dough, and then roll it to about ½ inch thickness.  You should have a rectangle that’s something like 18 x 14 inches.

    You need about 5 Tablespoons of butter.  Make sure it’s nice and soft.  You can probably accomplish that just by stirring it, but I actually had to throw mine into the microwave for 5 seconds.  You don’t want it to be melted, though.

    Spread a thin layer over the dough, leaving about an inch along one of the long sides bare. 

    Sprinkle on the cinnamon sugar, again avoiding that last inch of dough. 

    It won’t be perfect, but try to make it mostly even. 

    Now for the raspberries.  Mine were huge, so I actually broke each one in half. 

    Place them on top, leaving a little space between them. 

    Hubby wasn’t sure about the raspberries, so I left some of mine as regular cinnamon rolls.  If you have picky eaters in your house, it’s an easy thing to do.  Now for the rolling.  Starting with the long edge nearest your (the edge without anything on it should be furthest from you) fold the dough over the first row of raspberries. 

    Continue to roll the dough until you have an 18 inch log.  When you reach the bare edge, wet a paper towel and wipe it along dough. 

    Pinch that together, sealing it to the side of the dough log. 

    Beautiful.

    Cut the log into one inch slices. 

    Place them into a liberally buttered pan and press down gently on the top of each one.  (as you can see, there are only 12 here, I put the other 6 in another pan)

    Cover them again with a damp towel.  You want them to become nice and puffy and begin to press up against one another.  That will probably take about 45 minutes.  Somehow, I didn’t get a picture of that.  I can’t even blame it on Elise, who was over visiting with me, because she reminded me repeatedly throughout the day to take pictures.  What can I say?  I’m scatter brained.  Anyway, preheat the oven to 350°, then bake them for 30 – 35 minutes.  They should be nice and golden on top. 

    Turn them out onto a cooling rack so the melted sugary goodness on the bottom doesn’t glue them to the pan. 

    Now for the delectable raspberry, cream cheese frosting. 

    Here’s what you’ll need: 

    • 1 ½ cups raspberries
    • 8 ounces cream cheese
    • 4 Tablespoons butter
    • 1 teaspoon vanilla
    • ⅛ teaspoon salt
    • 2 ½ - 3 cups powdered sugar 

    Pour some raspberries into a microwave safe bowl.  I poured in a whole bag, but it was more than I needed in the end, so I’d say about 1 ½ cups of berries should be plenty.  You can use either fresh or frozen for this. 

    Cover with plastic wrap and then poke a couple of holes in the top. 

    Microwave until the berries are nice and hot.  Mine took something like 90 seconds, but just watch them.

    When they’re nice and soft and juicy, pour them into a mesh strainer set atop a saucepan or some other vessel.  Using a spoon or silicone spatula, stir and press them, forcing the juice through the strainer.

    Continue working with it until the raspberries become quite thick and most of the juice is in the pan below.  Discard what’s left in the strainer. 

    Place the raspberry sauce (the technical name is a coulis [pronounced koo-lee], if you’re interested) in a pan over medium-low heat.  Stirring constantly, bring it to a simmer.  If you start to get foam on top, throw in a small piece of butter.

    Continue to simmer and stir until it has reduced by about half and has a syrupy consistency. 

    A few seeds managed to sneak through the first strainer, so I poured it through an even finer mesh at this point. 

    See, nice and smooth.  Set it aside to cool. 

    Put the cream cheese and butter into a mixing bowl.  Make sure they’re room temperature. 

    Beat them until they’re nice and soft and well combined, then add the vanilla and salt. 

    Mix, then scrape everything down, and mix again.  Sift in the powdered sugar 1 cup at a time. 

    Frequently scrape down the sides of the bowl, and continue until you’ve added 2 ½ cups of powdered sugar.  Add 2 Tablespoons of the reduced raspberry stuff.  Make sure it’s no longer warm. 

    When that is incorporated, taste the frosting and check its consistency.  Mine needed an additional ½ cup of powdered sugar.  It doesn’t need to be stiff like a buttercream for cake, but you don’t want it too runny either.  Look at that gorgeous color!   

    Turn the cinnamon rolls back into pan they were baked in and cut them apart. 

    Now slather on lot of raspberry, cream cheese goodness.  Yeah, I’ll never understand people who drizzle a tiny bit of icing on a cinnamon roll.  They’re meant to be gooey and sticky and messy. 

    There you have it.  You will be blown away by how amazing these are.  Once again, homemade beats any box of chocolates or store bought treat. 

    What do you do for Valentine’s Day?