Ice Tea Granita - Summer on a Spoon
 Taneasha
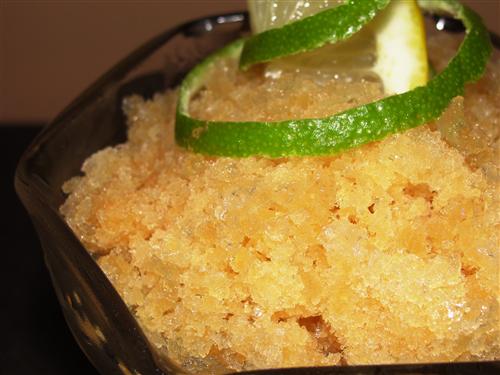
To me, nothing says summer like ice tea. When I was little, Mom always had a big glass jug of it in the fridge, or out brewing in the sun. Most people probably have childhood memories of drinking Kool-Aid or even lemonade, but not me. Ice tea was always my favorite. Sometimes Mom would make it with lemon, sometimes with mint and lime. However she made it, I loved it, and still do. So when I thought of making granita, it was only natural to use ice tea. When I told Hubby about my idea, he pretty much thought it was lame and wouldn’t look good for my post. Well, that only made me want to do it even more, of course.
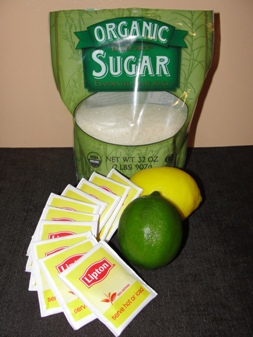
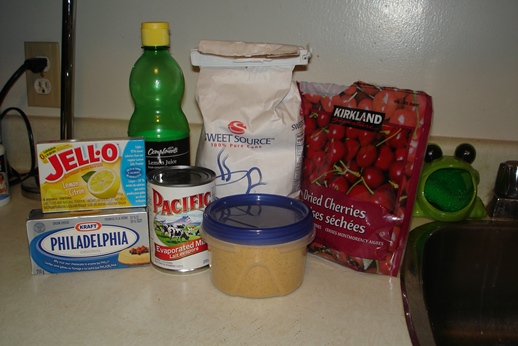
Here’s what you’ll need:
6 cups water
¾ cups sugar
10 teabags
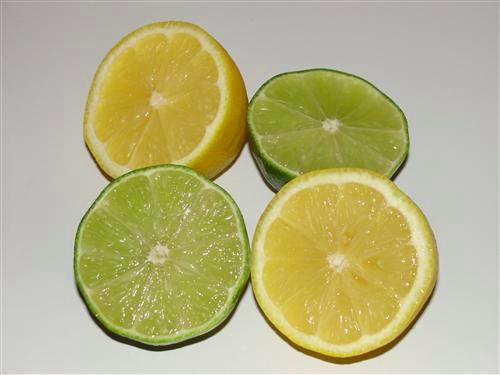
1 lemon
1 lime
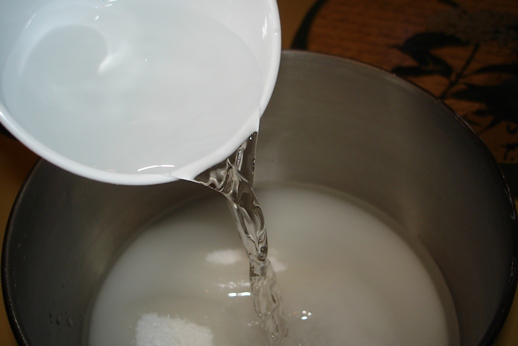
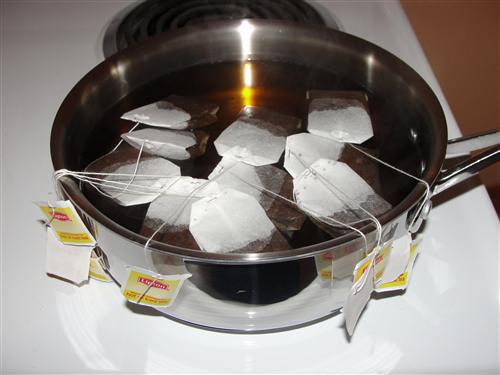
Bring the water to a boil and turn off the heat. Remove it from the hot burner and add the teabags.
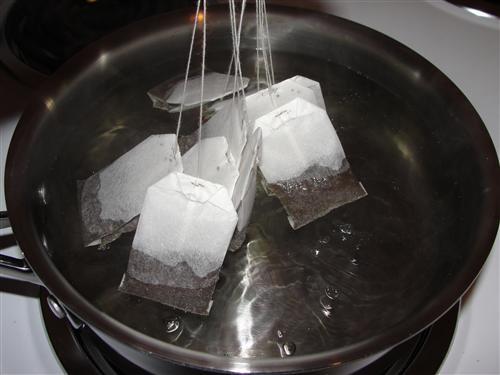
To make them easy to pull out, just drape the tags over the edges of the pan, just make sure they’re not touching any hot burners.
So, let’s talk tea. As you can see, I used Lipton. If you can find Newman’s Own, it is, in my book, the best there is for ice tea. Unfortunately, I couldn’t find any at my local grocery store, and didn’t have time to order some.
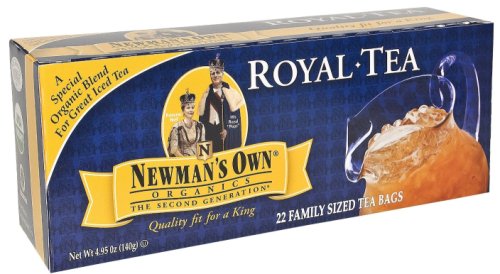
That being said, Lipton will do. I’ve found most fancy teas don’t make the best ice tea, but I’d stay away from generic brands, as well.
So, back to our tea. It needs to steep for 5 minutes. Set a timer, because if it steeps too long, it will become bitter. During those 5 minutes, you should be able to juice your lemon and lime.
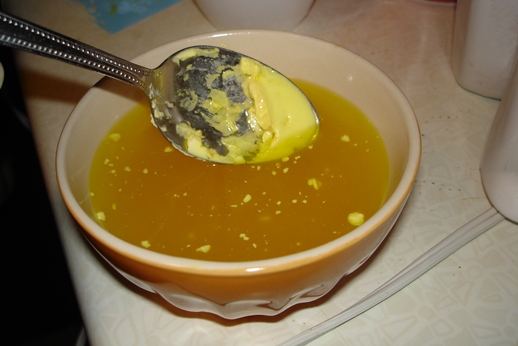
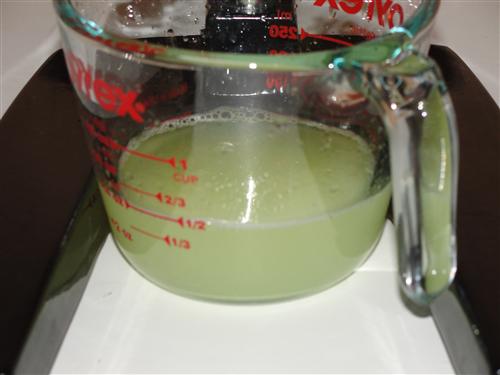
I just have to rave about my juicer once more. The first time I used it, I wasn’t sold, but I have really grown to love this thing.
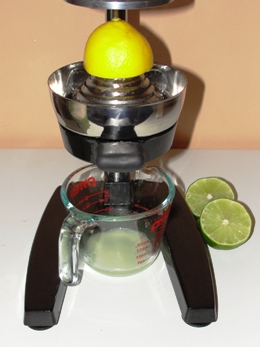
I was able to get ½ cup of juice out of 1 lemon and 1 lime. If your limes are small, you may need to use 2.
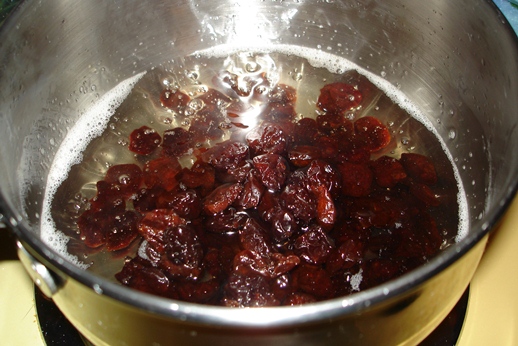
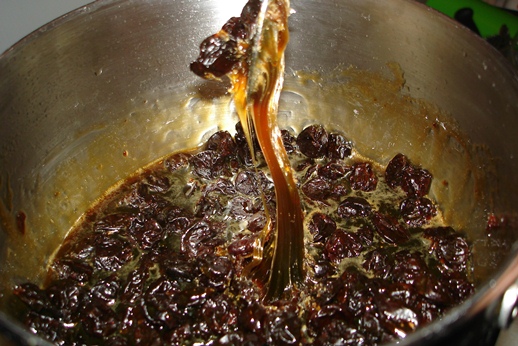
Back to our tea again. After 5 minutes, remove the teabags. It should be nice and dark. We need strong flavors that will hold up during the freezing process.

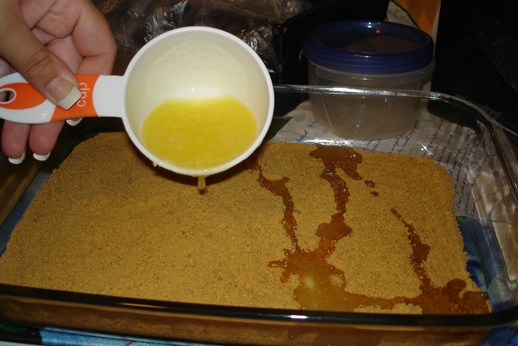
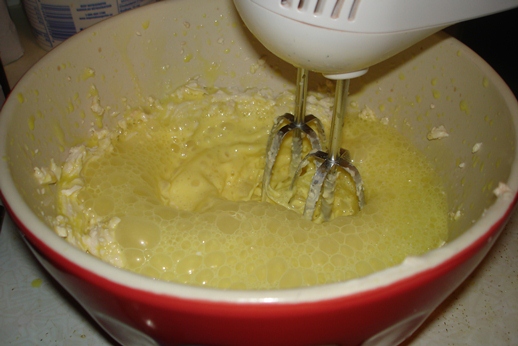
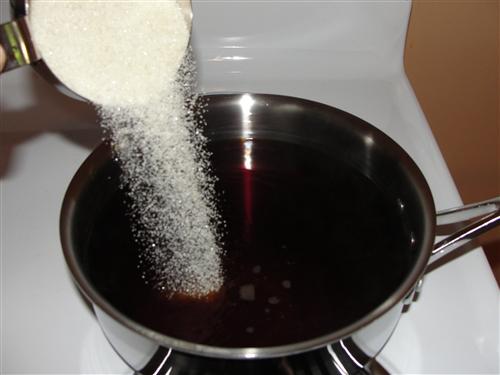
Pour in your sugar and stir, stir, stir, until it is completely dissolved.
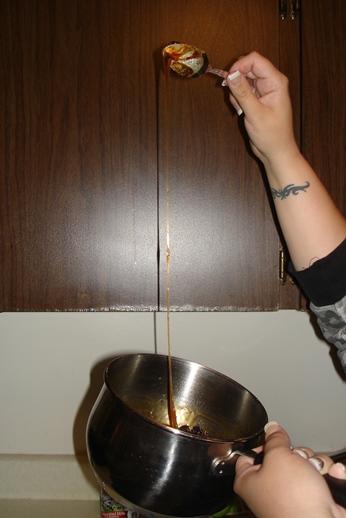
Now pour in the juice.
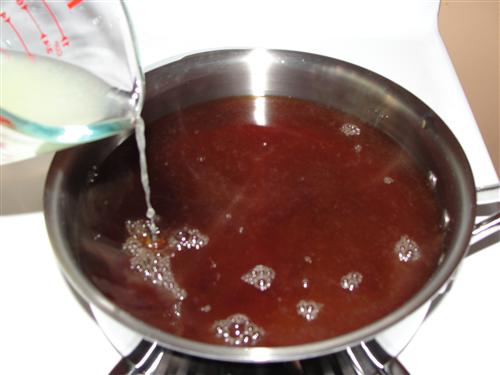
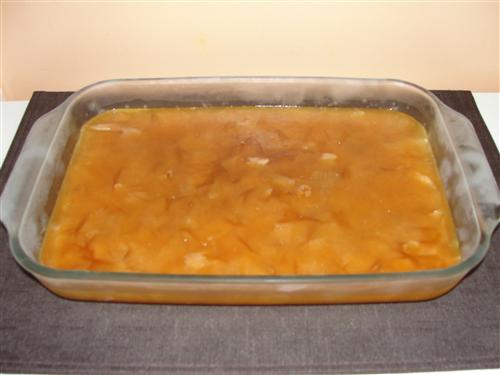
Stir once more and go relax for awhile. It needs some time to cool down. When it gets to the point that it no longer steams when you stir it, go ahead and pour it into a glass dish.
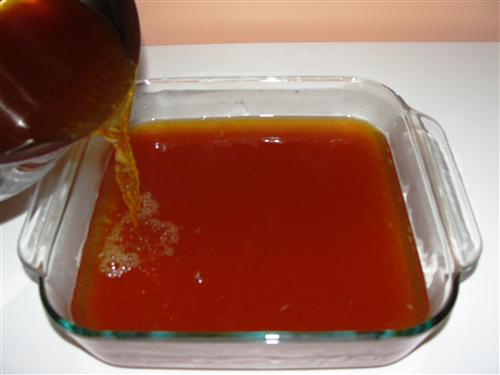
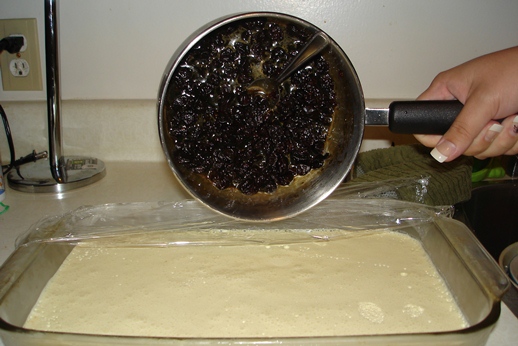
Don’t use a square pan, it’s not big enough. Go with a 9x13. Yes, I know I poured it into a square pan, but shortly after that, I realized it would have been much smarter to use a bigger pan because it would freeze faster and more evenly, and would also leave more room for what's to come. Into the freezer it goes. It’ll need several hours to freeze. I actually left mine overnight.
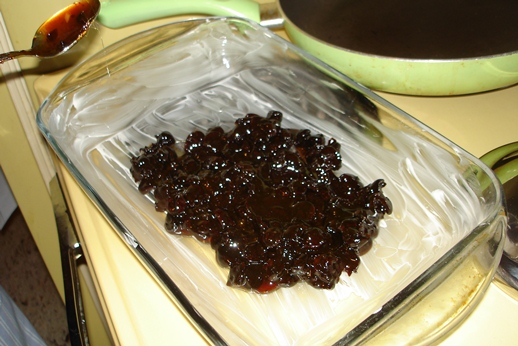
When it’s completely solid, remove it from the freezer and begin scraping the surface with a fork.
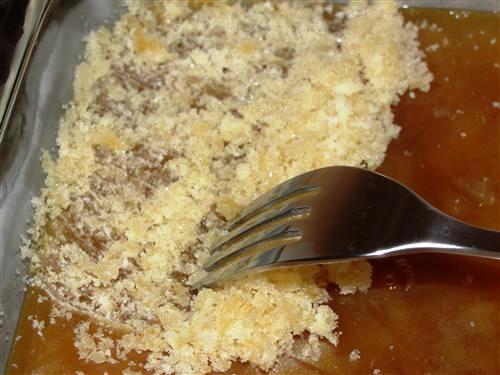
Keep scraping until you have a nice pile of tea snow.
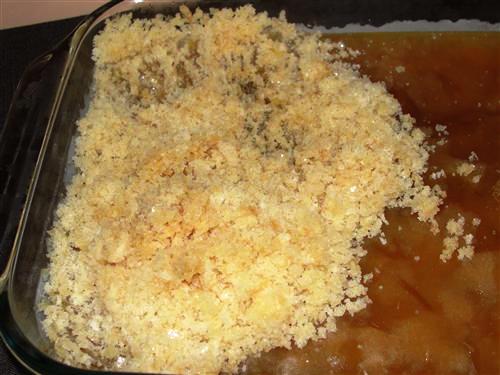
Spoon it into a dish, and serve immediately. You can leave it in the freezer in its solid form for a few days, but wait to scrape it until right before eating it.
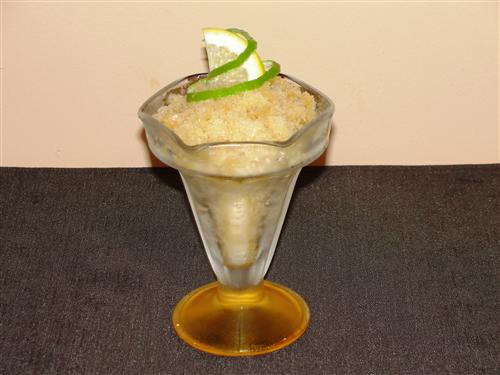
So, what did Hubby say when he tried a bite of it this morning? “That’s really good!” Not sure which one I savor more… the ice tea granita, or the satisfaction of, once again, being smarter than Hubby thinks I am.