Search
Categories
Have a request?
This form does not yet contain any fields.


    Friday
    Aug262011

    The Flying Dutch... Pancakes?

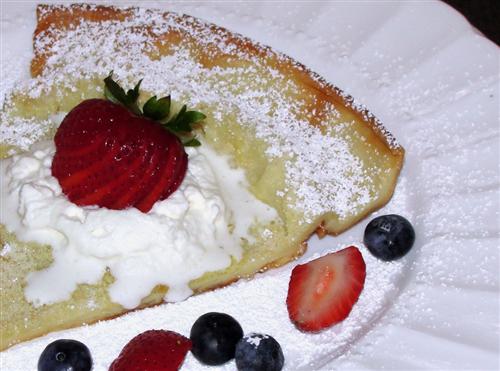
    Think you can only get a ‘Dutch Baby’ at one of those pretentious breakfast places that has a line out the door on the weekends?  Wrong.  With just a few ingredients and a little bit of knowhow, you can avoid the crowds, and enjoy fabulous Dutch pancakes with your family in the comfort of your own home, for a fraction of the price.


    Here’s what you’ll need:
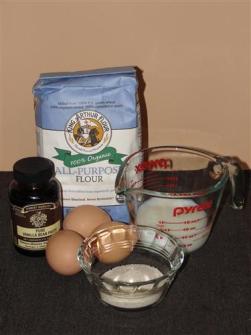
    3 eggs
    ½ cup milk
    ½ cup flour
    1 teaspoon vanilla
    2 Tablespoons sugar
    2 Tablespoons butter


    First thing, set your oven to 425°.  Crack your eggs into a mixing bowl, or a large measuring cup.  Seriously, if you don’t have one of these , you really should get one.  It’s so nice to be able to measure, mix, and pour with one container. 

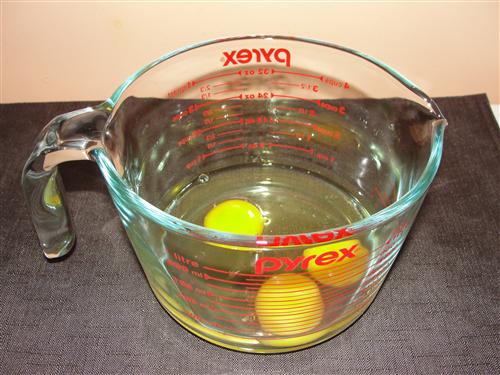
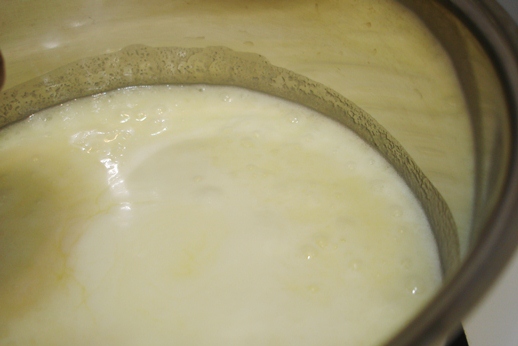
    Using a hand mixer or whisk, beat the eggs until they get nice and foamy. 

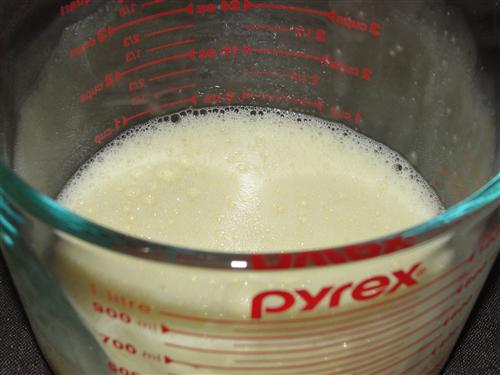
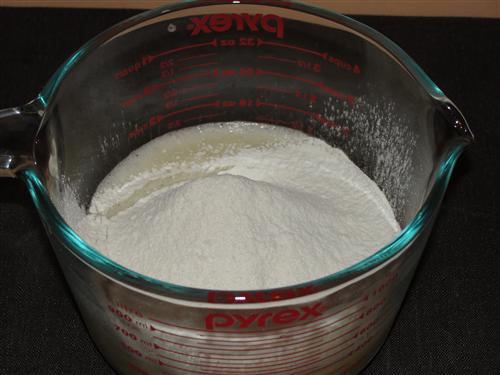
    Stir in the milk, vanilla, and sugar, then sift in the flour. 

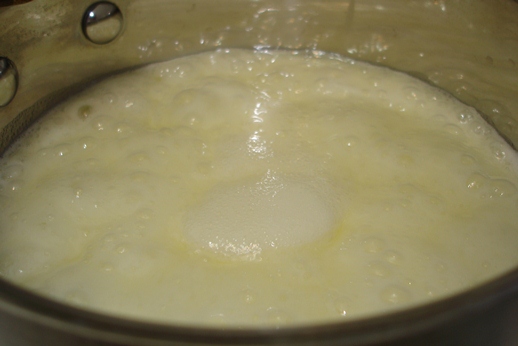
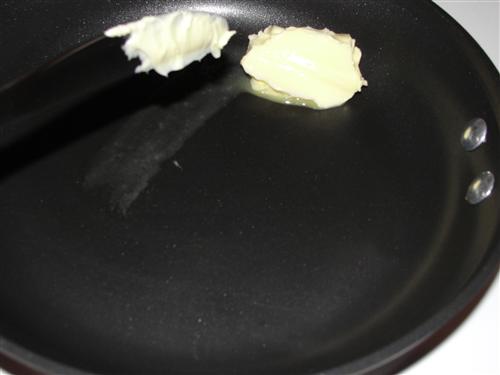
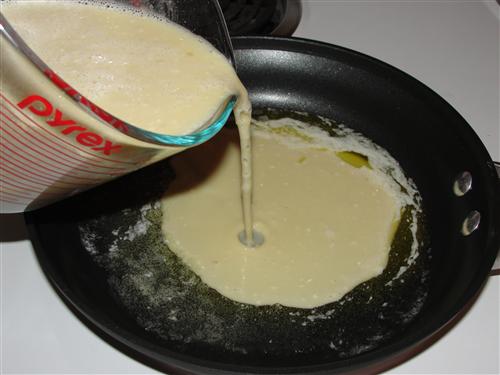
    Whisk until it’s fully incorporated with no, or at least very few, lumps.  Your pan needs to be hot before you add the batter, so throw it in the oven for a few minutes.  When it’s hot, throw in the butter and swirl around to coat the whole pan as it melts. 

    When it’s completely melted, pour your batter right into the middle of it. 

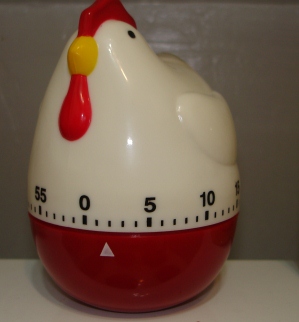
    Now pop it into the oven and set your timer for 15 minutes.  (I’m using a 10” skillet.  If you use something smaller, add a couple minutes)  While that’s cooking, I have to give a big thanks to my mom.  I just moved all the way across the country from her, but one of the very few things I brought with me was the huge bottle of vanilla she brought back from Mexico for me.  When I say huge, I mean it, which is a good thing, because I use lots of vanilla.  I put my other bottle of vanilla next to it for context. 

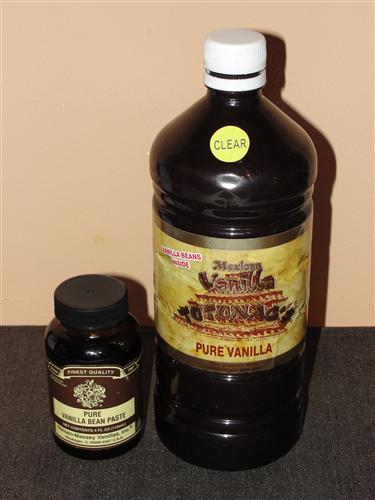
    I finally cracked into it, and my whole kitchen smells amazing now.  Mexican vanilla has such a rich, sweet flavor, and its aroma makes me tempted to try drinking it straight from the bottle.  It is my absolute favorite.  But it doesn’t stop there.  I got rid of my crocheted pot holders when I moved, and couldn’t find replacements here, so I asked her if she might make me a pair.  Well, not only did she make me a lovely set in my kitchen colors (Yay!!), but she also made two dish cloths to go with them.  What a great surprise that was when my package arrived. 

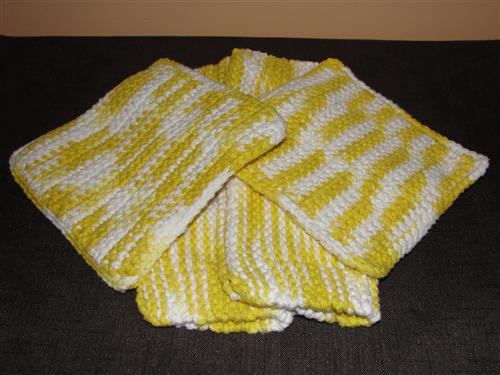
    Aren’t they beautiful?  Thanks Mom!  I miss you. 

    Ok, back to our pancake in the oven.  If you have a window in the door of your oven, you can watch the magic happen as it bakes. 

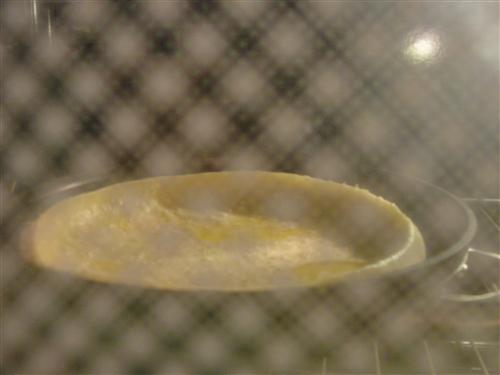
    See how it’s growing upwards on the sides?  I know, it’s a bit hard to make out through the dots on the oven door, but you CANNOT open it right now.  A cool draft could kill the whole thing.  Ok, so after your timer sounds, check on it through the window, or if you don’t have a window, you’ll have to risk a quick peek by opening the door just a crack.  It should be… well…

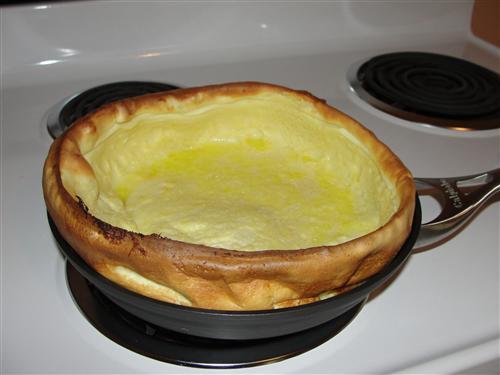
    How cool is that!!  So, aside from the amazing stunt your eggs pulled in the oven, it should be nice and brown around the edges and maybe even starting to just brown in spots in the middle as well.  Unfortunately, it will deflate rather quickly and lose some of its wow factor, but that’ll hardly matter while you’re eating it. 

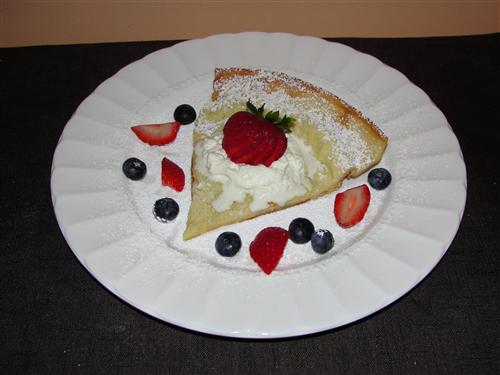
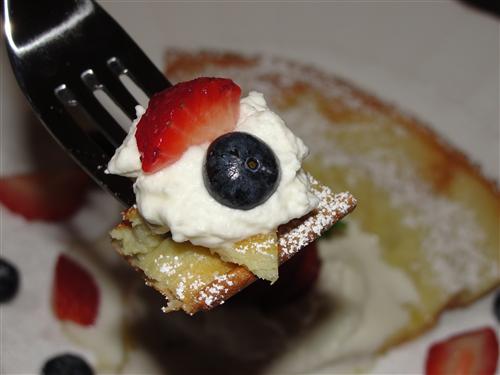
    My favorite way is just topped with lots of butter and powdered sugar.  It is traditionally also served with lemon wedges to squeeze over the top.  This time I added a dollop of fresh whipped cream and some berries.  No matter how you top it, it’ll be fabulous.  I promise.


    **If you don't have an oven safe skillet, you can also use a pie pan, or any round, oven safe pan, really.  Just make sure it's hot and buttered before you pour in the batter.          

    Tuesday
    Aug232011

    Getting it out of my system

    Last peanut butter recipe for a while, I promise. Unless Taneasha makes jelly, then all bets are off.

    I get regular requests for peanut butter cookies and for oatmeal cookies, and I finally decided to give in and make the boys what they want. Now, I’m not a fan of either, but they are popular cookies so I guess most people don’t mind having things that belong at breakfast for dessert.

    And even though it’s cooled off a bit lately, I have been thinking lots about the no bake sort of cookie. My mom used to make something that she called “macaroons” as her usual no bake treat. I’ve since learned that this is a Canadian name for what most people call Haystacks, and what other people call macaroons are not what I call macaroons, though both contain coconut.

    Anyway.

    I decided to kill two birds with one stone, and save myself having to make one or the other at a later date. Less painful for me, and the boys at work get what they want. Happiness abounds.

    No Bake Peanut Butter Cookies


    What you need:

    • 2 c sugar
    • ¾ c milk
    • ¾ c butter
    • 1 tsp vanilla
    • 1 ½ c peanut butter
    • 3 c quick cooking oats
    • 1 ½ c rice crispies (gotta love the individual serving size... too bad my kid doesn't)

    What you gotta do:

    So, I used the Teddy Bear peanut butter (and I can almost see Taneasha cringing at seeing it again) which is a fairly sweet one. If you use an all natural, peanuts only one, you might want to increase your sugar a bit, maybe to 2 ½ cups.

    In a good sized pot (bigger than you think you’ll need) combine the sugar, milk and butter over medium heat.

    While that heats, measure out your peanut butter into a large metal or glass bowl. Something heatproof.

    Keep an eye on your pot o’ milk. This will boil eventually, even on medium. Stir it as it’s heating though, you don’t want it stuck to the bottom of the pan.

    Mine looked a little bit curdle-y just as it was starting to boil,

    but that disappeared once the boil was good and rolling. And by rolling, I mean it won’t stop or fall if you stir it.

    When it gets to that point, just set the spoon aside and set your timer for 2 minutes.

    It will rise up a bit as it boils. This is why you need a bigger than you think you need pot. You really really don’t want this boiling over onto your stove.

    This is the beginnings of a creamy caramel. Butter, milk and sugar. Freaking tasty.

    After your two minutes are up, slowly pour the almost caramel over the peanut butter

    And add a dribble of vanilla. Yes, I know I seem to have reverted to just eyeballing ingredient amounts. At least I gave you a volume in the ingredient list. Feel free to actually measure, if you want to.

    Once again, stirring stuff into peanut butter looks weird at first,

    But eventually it all comes together.

    Dump in your oats and cereal.

    And start stirring.

    I left out the third cup of oats and started with 2 cups of oats and all the cereal; it’s better to have to add dry ingredients than to try to figure out how to hydrate a dry cookie batter (Is this batter? Dough? What exactly is in my bowl??)

    Eventually though, I did add the last cup.

    That brought the consistency to something I was confident would hold some kind of shape if I dropped it by blobs onto paper.

    If you’re not sure of yours, drop a spoonful onto paper. It should mostly hold its shape and not spread too much.

    If it’s good, keep blobbing.

    And blobbing.

    And then add more paper at the end so you can get the last of the blobs out of the bowl.

    Build yourself a rag tag army of blobs.

    69 of them in fact. Don't believe me? Count 'em.

    They need a bit of time to set. And fridging them will definitely help with that process. Just make sure you don’t put them all on one big sheet of parchment if you think you may need to relocate them.

    These are gooey and sticky and caramelly in texture, and since they contain peanut butter, oatmeal, milk, and rice crispies, they make for a perfect breakfast cookie.

    What's your favourite breakfast cookie??