So, the other day at school, I heard a classmate tell a friend he'd just turned 24. The friend began pontificating on age... "after 24 is 25, and 25 is almost 30, and 30 is that much closer to dead."
This week I made a cake to celebrate my upcoming death.
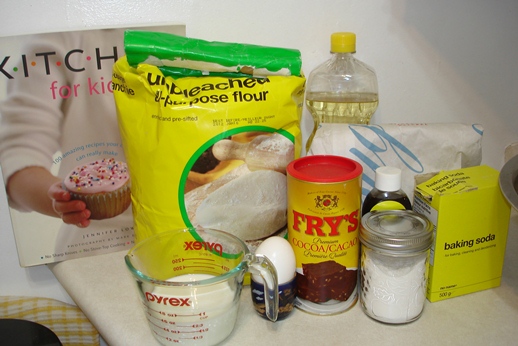
The recipe is from one of my favourite cookbooks, Kitchens for Kids.
I love this thing. All of the recipes are scaled down to make small amounts. Granted that's because kids want to make chocolate chip cookies today and shortbread tomorrow and don't care that there are still 3.5 dozen chocolate chips ones left, but it's also handy if you're only cooking for one or two. And the cakes! They're tiny! Adorable!
Also, the cookbook has a no knives and no small appliances. Again, intended for small children and their safety, but, well, some day I'll show you all the scars on my hands...
Mini Black Forest Cake
What you need:
For the cake:
- 2/3 c flour
- 1/3 c cocoa
- 1/4 tsp baking powder
- 1/4 tsp baking soda
- sprinkle of salt
- 1/2 c sugar
- 2 tbsp vegetable oil
- 1 tsp vanilla
- 1 egg
- 2/3 c milk
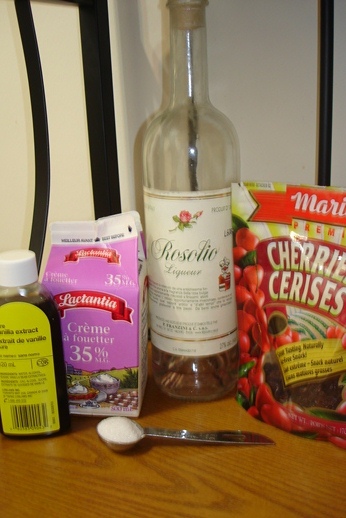
And for the topping:
- 1/2 c dried cherries
- 1/2 c your favourite booze (or simple syrup)
and
- 1/2 c whipping cream
- 1/2 tsp vanilla
- 1 tsp sugar
What you gotta do:
My method differs slightly from the one given in the book. The original recipe follows the three bowl method for cake making where you mix the fat and sugar in one bowl, the dry in another, and the wet in a third, then alternate additions of dry and wet into the first bowl.
I was feeling particularly lazy and so took a variety of short cuts.
In a larger, fancier recipe, shortcuts can cause some serious texture problems, but this is a robust recipe for a dense chocolate cake with an intended baker between the ages of 6 and 16. It can handle a little mucking about.
Preheat the oven to 350.
Grease and flour a 6 inch ramekin.
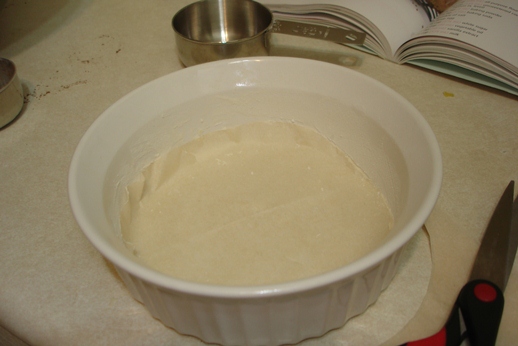
I've got a small Corningware dish that works perfectly. Line the bottom of the dish with a round of parchment. This makes it really easy to get the cake out of the pan.
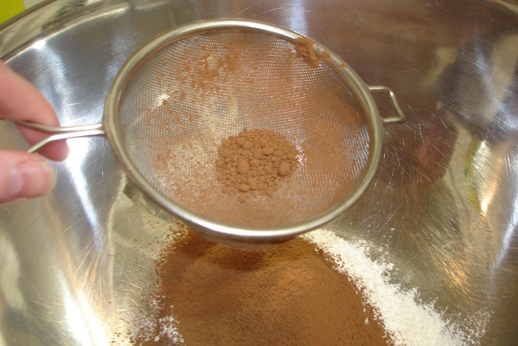
Sift the dry ingredients into a large bowl. For flour and leaveners, sifting's not a big deal, but cocoa? Sift the cocoa so you won't have little lumps like these in your cake.
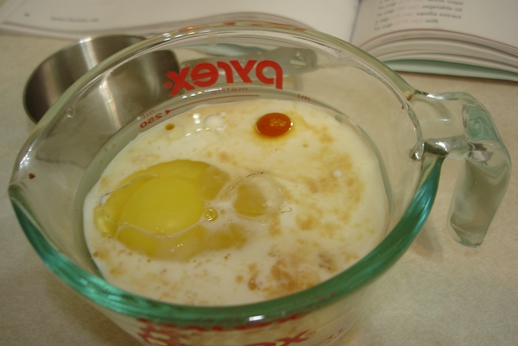
You can measure the wet ingredients into another bowl, or you can save a dish and mix them in the measuring cup.
Start with the milk, then add the oil, egg, and vanilla.
I think that in my corner-cutting spree, I actually put the sugar in with the wet. Well, it's supposed to go with the fat, and the oil was in there...
(see, this recipe can really take a beating and still turn out tasty!)
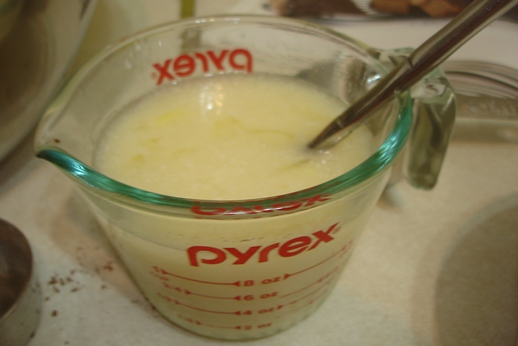
Mix all the wet up with a fork or whisk. Make sure the egg is well beaten.
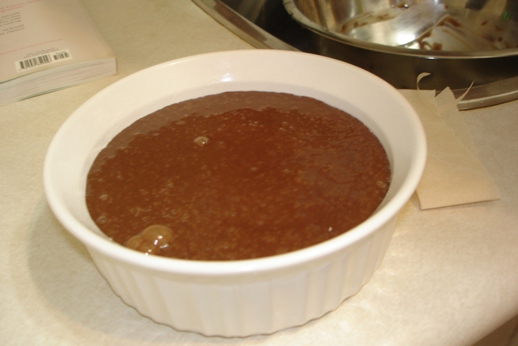
Dump the wet into the dry
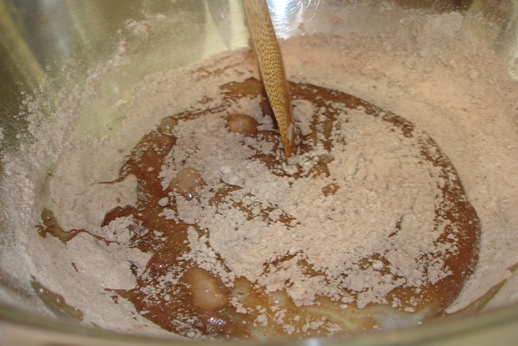
and whisk until you have no more lumps, and then pour it into your greased-floured-parchmented pan.
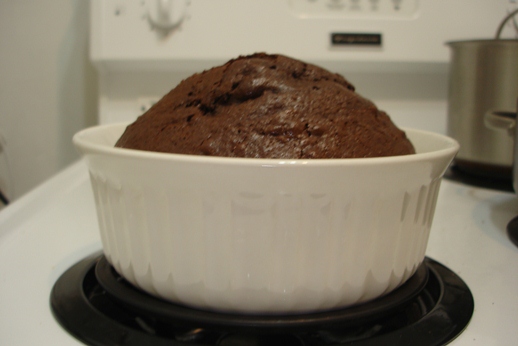
Bake this little doll for 40 minutes.
It rises for all it's worth.
Let it cool in the pan for a bit, then turn it out onto a rack and let it sit until it's completely cool.
This cake is moist and dense and you can slice wedges and eat it by hand just like this if you want.
Or, if you're nearing death, dress it up a little and dance around your already dug grave.
Don't use maraschino cherries for this. Those things are strange, and much too red, and I've yet to find any that don't taste horribly artificial.
If you've never had dried cherries you are missing out. These things are luxurious! There's something delectibly indulgent about them despite the fact that they're little more than fancy raisins.
They're even better if you rehydrate them in booze.
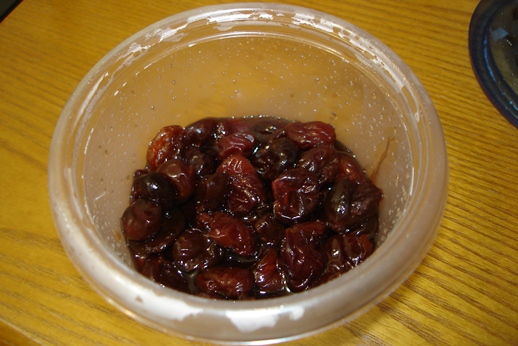
I used some of my rose liqueur, but kirsch or brandy would work too. Or, if you're not into the booze, use a simple syrup made by boiling 1 c of sugar in 1 c of water for 5 minutes.
The longer you soak them, the more hydrated they'll get. This took about a week or so.

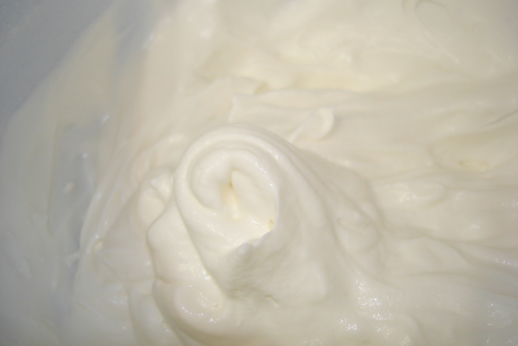
Add the sugar and vanilla to the cream
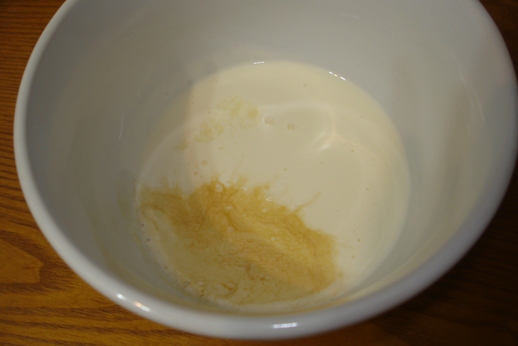
and whip to soft peaks. If you're Taneasha, you've got a fancy stand mixer to do this. If you're Seeley, you've got a whisk and forearms like Popeye.
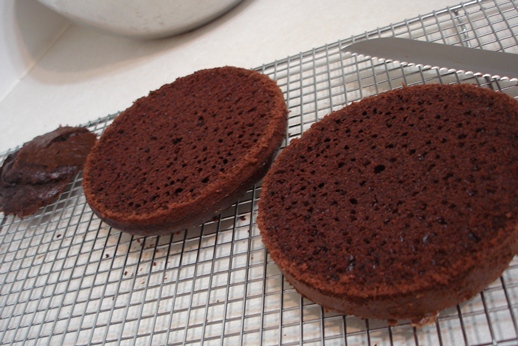
I cut a bit off the top of the cake to level it out. Cut the cake in half.
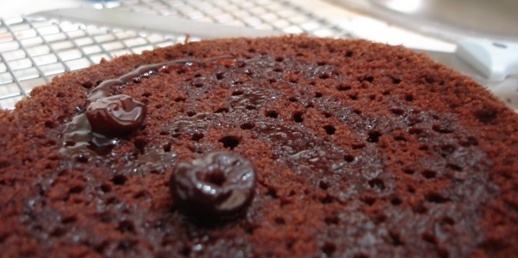
These little "worm holes" are the result of not using the three bowl method to mix up the cake batter. They're caused by the proteins in the all purpose flour stretching and allowing larger air bubbles to form.
You know what those holes are good for though? Filling with booze. Drizzle the liquid from the cherries over the cake.
Make a layer of rehydrated cherries, then top them with about 1/3 of the whipped cream.
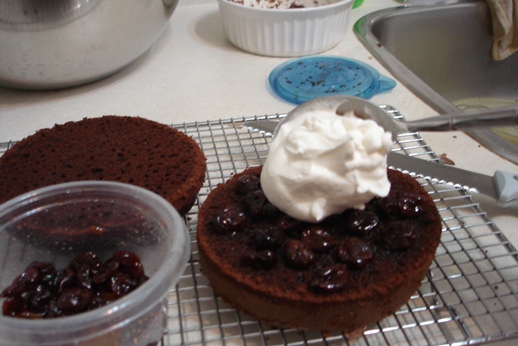
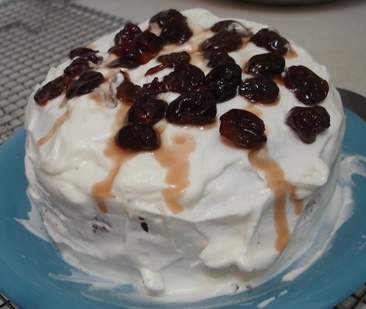
Put the top half of the cake onto the whipped cream and cover it with the rest of the whipped cream.
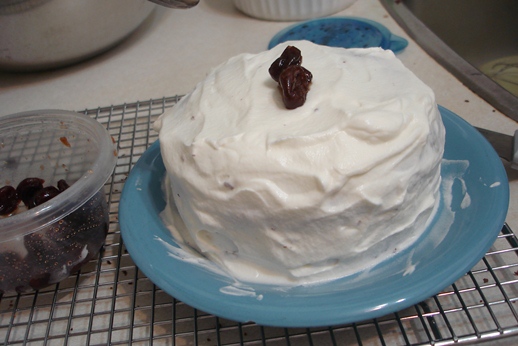
I know scale is a little tough with this, but that cake is tiny. It's on a salad plate, not a dinner plate.
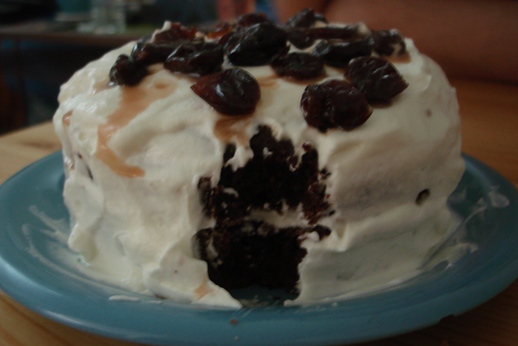
Decorate the top with the rest of the cherries. If you're willing to bother with another step, a bit of grated chocolate would look lovely.
Chill the cake for a little while to make sure the whipped cream is set in place before you try cutting it.
Or, just grab some forks and dig in!
Save the leftovers for breakfast. It goes perfectly with coffee.
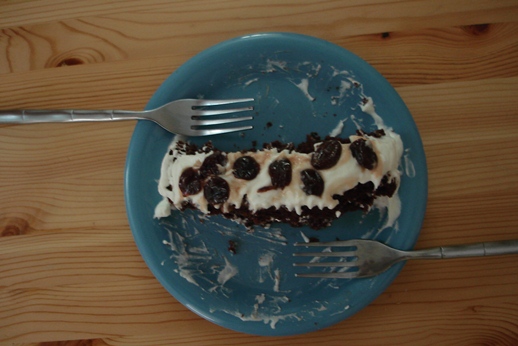
When's the last time you had cake for breakfast?
 Taneasha