Perfect Pumpkin
 Taneasha
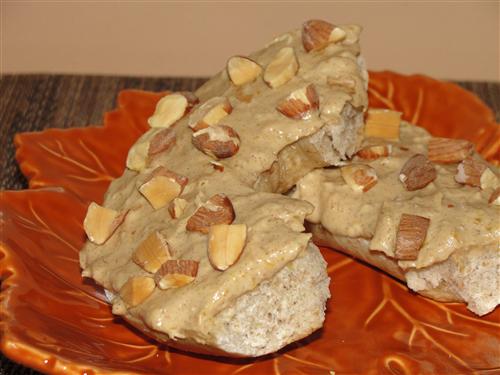
Making my own pumpkin puree is something I’ve wanted to do for a long time. I don’t know how many times I’ve read or heard how much better it is than the canned stuff. The trouble is, it always seemed like such a daunting task to me. I certainly didn’t want to put in all that time and effort on the same day I was going to make a pie or something. Well, I came up with a solution. Set aside a day at the beginning of pumpkin season to make your own puree, make lots of it, and freeze it in “can portions” for later use. But you can’t spend half the day filling your house with the aroma of pumpkin and end up with just freezer bags full of puree, so I’m also going to show you a super simple, pumpkin cream cheese spread. It’s the perfect way to enjoy the fruits of your labor.
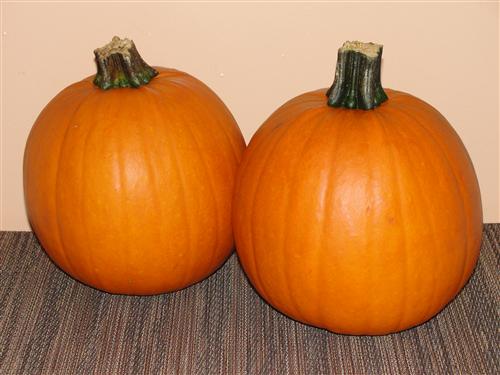
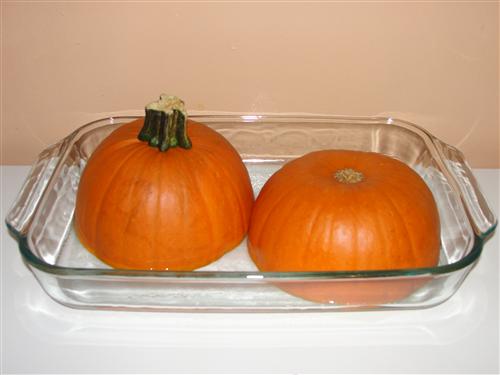
You don’t want to use jack-o-lantern pumpkins for your puree. The pumpkins you’re looking for are about the size of a cantaloupe and will be sold as sugar pumpkins or pie pumpkins. They’ll look like these guys.
So, since this is my first time making homemade pumpkin puree, I had to do my homework to find out exactly how to go about doing it. Most sources said to cut the pumpkins in half, but one person said she leaves the pumpkins whole, only cutting a small hole in the top. Well, sounds like experiment time to me. Two pumpkins, I’ll do one of each. We’ll start with the cut in half method. First things first, though. Preheat your oven to 375° and wash your pumpkins. Once clean and dry, cut the pumpkin in half.
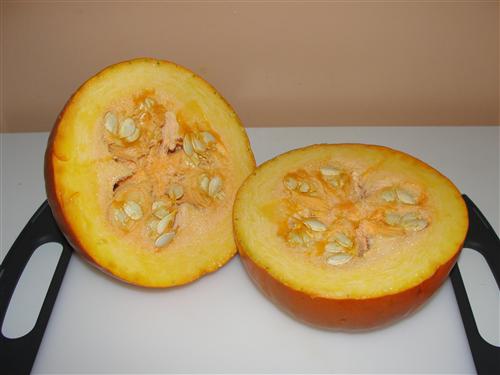
This is easier said than done, so BE CAREFUL!! Next, scoop out the seeds with a spoon.
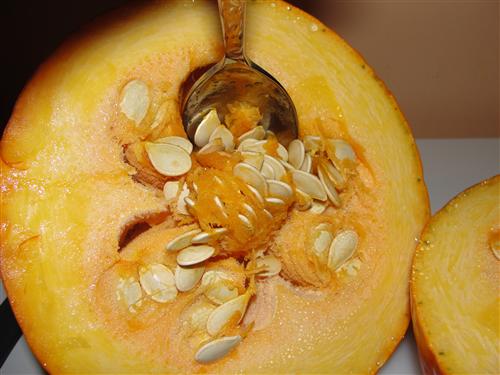
I’ve heard an ice cream scoop works well for this task, but apparently I haven’t bought an ice cream scoop yet. I wonder how long it will be before I stop running into items I haven’t yet thought to replace. I even checked the drawer, just in case. Nope, no ice cream scoop. Oh well, a spoon works fine. Scrape the walls as clean as you can get them.
Pour a cup or two of water into the bottom of a glass pan and place the pumpkin halves in, cut sides down.
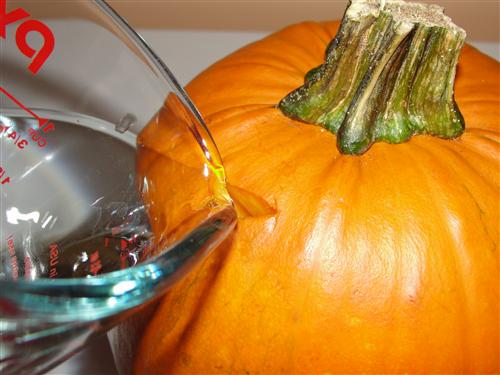
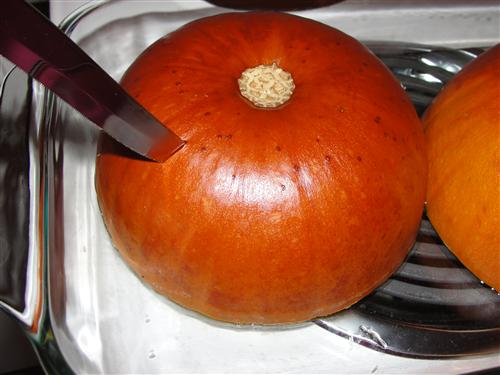
For the leave the pumpkin whole method, cut a small hole near the top of the pumpkin. I think an apple corer would probably work perfectly for this, but… I don’t have one. A steak knife works too. Once you’ve made your hole, pour in about ¼ cup of water.
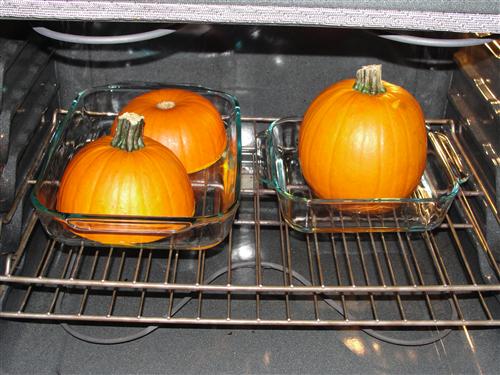
Place that pumpkin in a pan with a small amount of water, as well, and slide both pans into the oven. Well, that’s what I did. You’ll probably only use one method.
After about 45 minutes, stick a knife into the halved pumpkin. If it slides in and out easily, it’s ready. (That’s what she said! Wait, only Seeley’s allowed to go there in posts.)
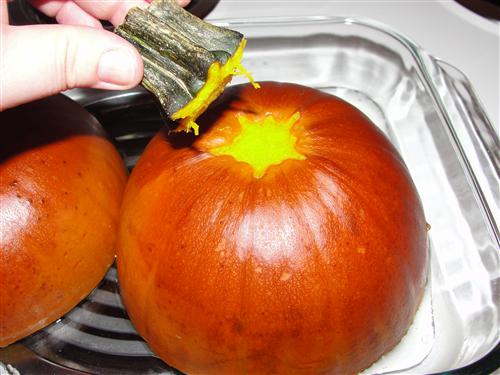
Ahem. Where were we? Oh yes, pumpkins. So, they’re very soft at this point, so let me just pass along this little piece of advice no one gave me. Don’t try to pick it up by the stem. If you do, the stem will just come right off, and you’ll be splashed with really hot water.
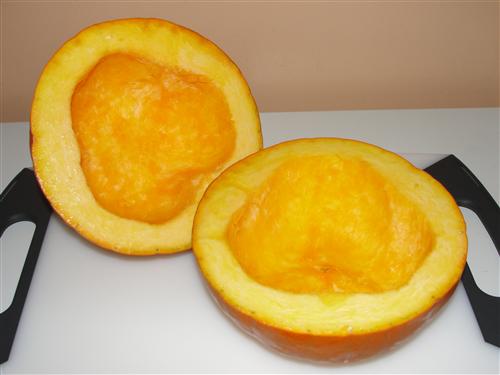
Allow the pumpkins to cool, then scoop out the flesh.

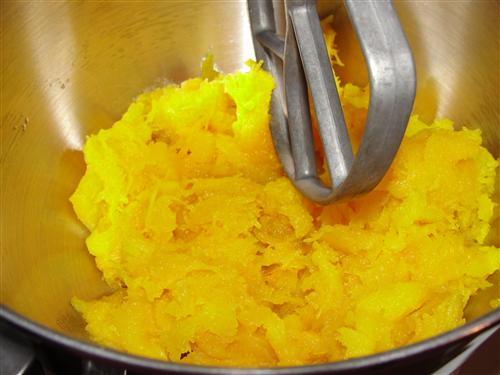
A cooked whole pumpkin is much easier to cut in half than a raw one, but that’s the only advantage. Next time, I’ll just cut them both before starting. It’s easier to get the seeds out, and it cooks and cools faster. Now for the puree part. The ideal tool for this task is a food processor, but… you guessed it… I don’t have one. So, I went ahead and just used my mixer.
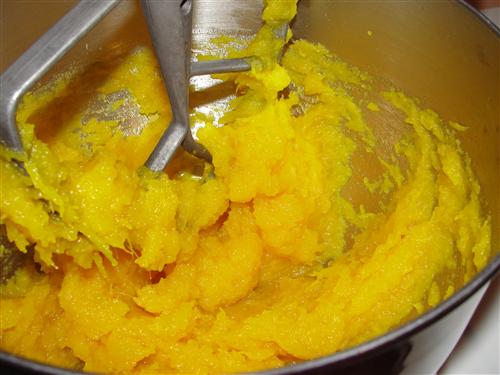
It’s left with a bit more texture than if I’d used a food processor, but it’s mostly smooth.
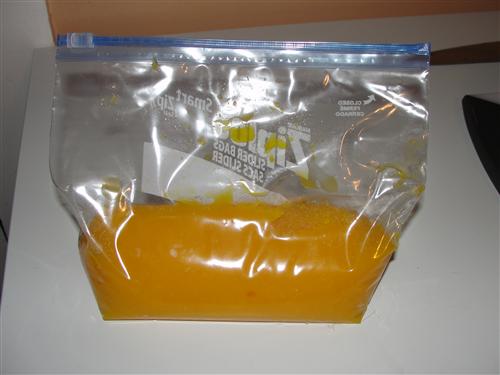
Once you’ve pureed, mixed, or mashed your pumpkin, measure out 1 ¾ cup portions (that’s how much is in a 15 oz. can), put it into freezer bags, and get all the air out. Then just pop them into the freezer to thaw and use in your favorite pumpkin recipes.
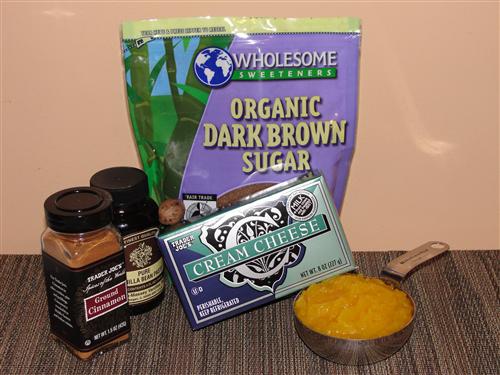
Now for the spicy pumpkin cream cheese spread. Here’s what you’ll need:
8 oz. cream cheese, softened
½ cup pumpkin puree
¼ cup dark brown sugar
2 Tablespoons sugar
1 ½ teaspoons cinnamon
½ teaspoon nutmeg
2 teaspoons vanilla
Ok, I said this was super simple, so let’s make it quick. Throw the cream cheese into the mixing bowl.
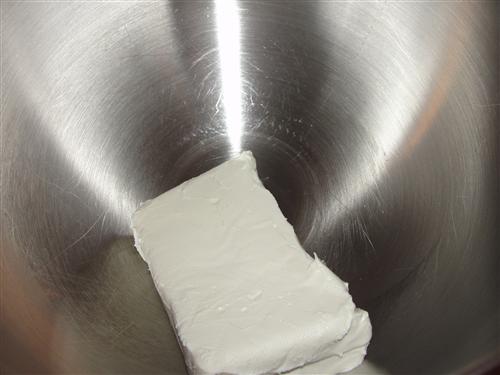
Mix until it’s smooth and fluffy.

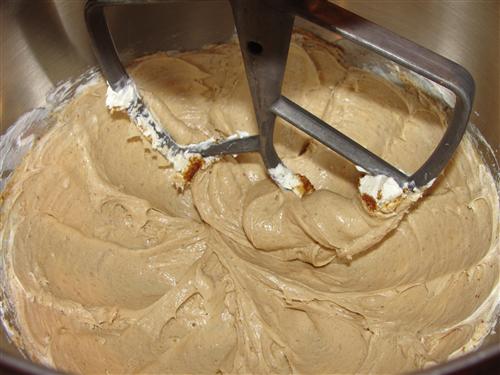
Add the sugars.
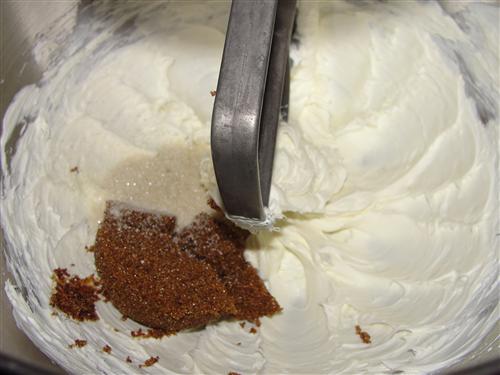
Mix them in. This picture is your reminder to scrape down the bowl and paddle.
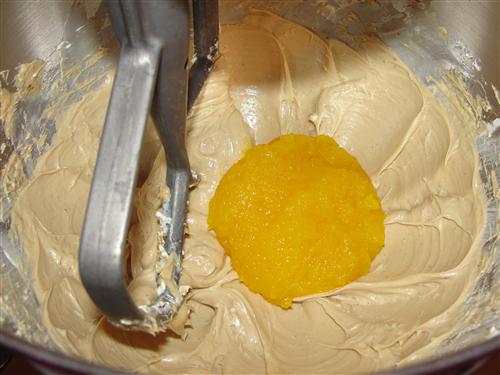
Add your pumpkin puree. Mix.
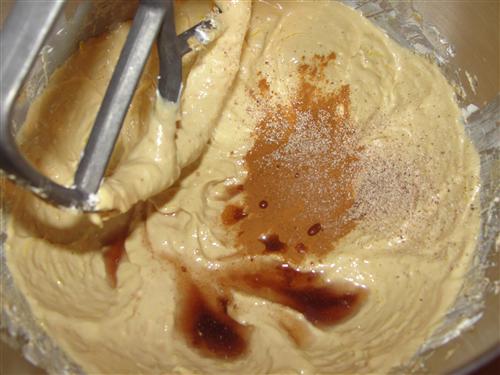
Sprinkle on the cinnamon and fresh grated nutmeg and measure in the vanilla.
Mix and scrape one last time and you have the most amazing cream cheese spread you’ve ever tasted. It was hard not to just grab a spoon and dig in.
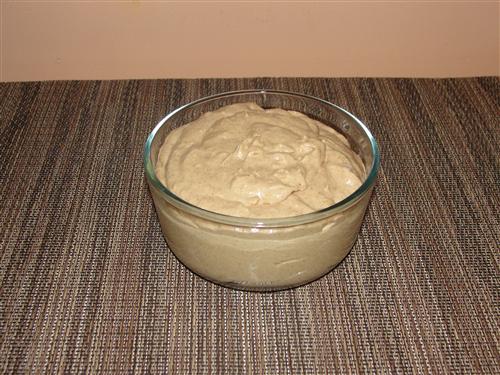
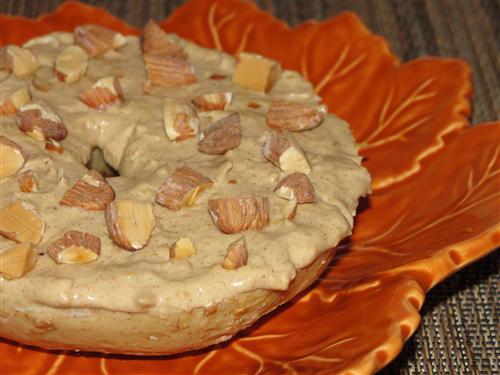
Place it in the fridge for a few hours so it can get nice and cold. For a delicious breakfast, spread it on a bagel and top with some chopped almonds.
You could also use it as a dip for pretzels, ginger snaps, or even apples. I think I’ll be putting it on pancakes or waffles soon. It is seriously to die for. It might just be worth the effort of making your own after all.
As for the rest of that pumpkin, I will be posting other recipes that make use of it, but what’s your favorite way to use it?