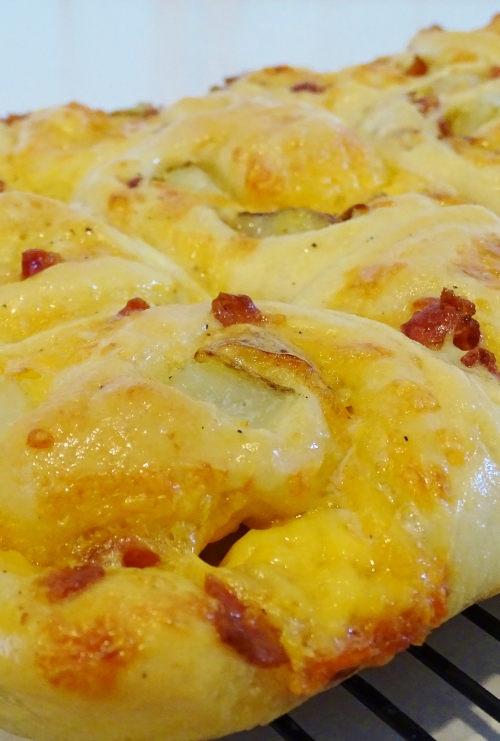
After all that pizza mayhem, I’m somewhat pizza’d out. That being said, I still had half of my pizza dough in the freezer. As I mentioned in that particular post, it wasn’t as chewy as I’d have liked for a pizza crust, but it still made fantastic bread. I wasn’t about to just let it go to waste, so what could I use it for? Well, we have a bakery here called Great Harvest. They actually have lots of franchises all over the country, but they have a very mom and pop, local feel about them. You may remember the name from back when I did my version of their Mazurka Bars. Well, some of their locations make what they call Breakfast Rolls. Think the shape of a cinnamon roll, but savory rather than sweet, with egg, potato, and bacon. Well, mine have bacon in them. I’m not entirely sure what the meat product is in theirs. That’s not a criticism, I just really don’t know what the little pink bits of “meat” are. Their rolls are fantastic, and I love being able to drop in and pick one up on the go. They’re so good, in fact, that they inspired me to make my own version.
Here’s what you’ll need:
- ½ of this dough recipe
- Potatoes – diced and cooked until soft
- Bacon – cooked and crumbled
- Grated cheese
- 1 egg
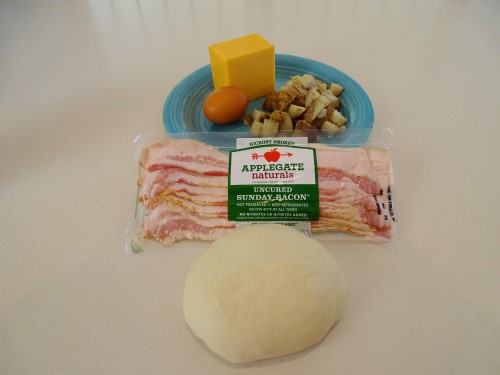
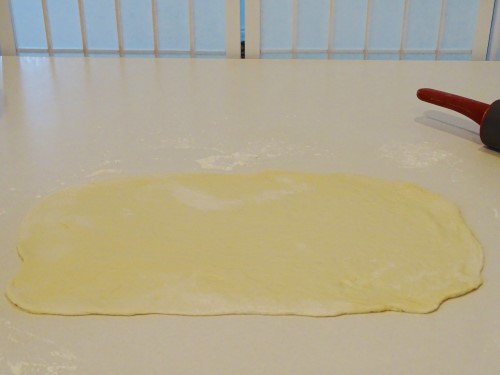
This is a great recipe because you can pretty much make everything in advance and then just throw it together, or roll it together, as the case may be, whenever you feel like it. I made pan fried potatoes to go with dinner one night, and bacon for breakfast one morning. I just made sure to make extra and put it aside for my rolls. So, first up, you need to roll out your dough into a rectangle. Something like 15 inches wide is what you’re shooting for.
Scramble an egg with a teaspoon or so of water and lots of freshly cracked pepper. Seriously, go heavy on the pepper, you won’t regret it.
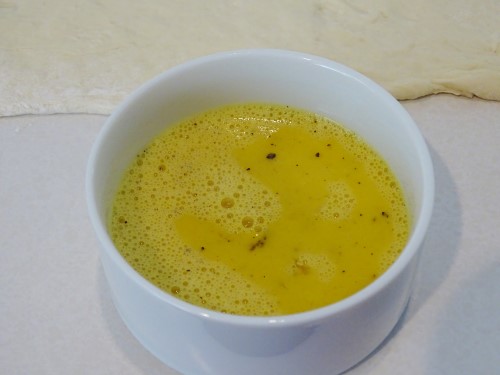
Brush it on the dough.
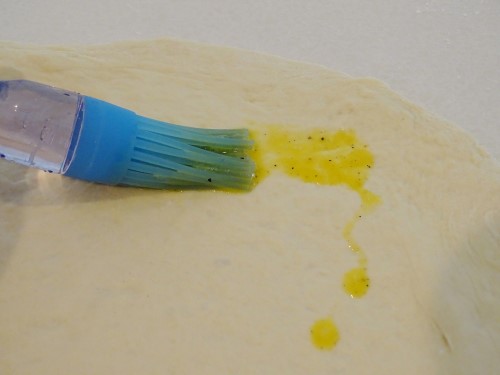
Be sure to liberally cover every inch. Unlike the butter you would use on cinnamon rolls, the egg acts as glue, so you don’t need to leave a border.

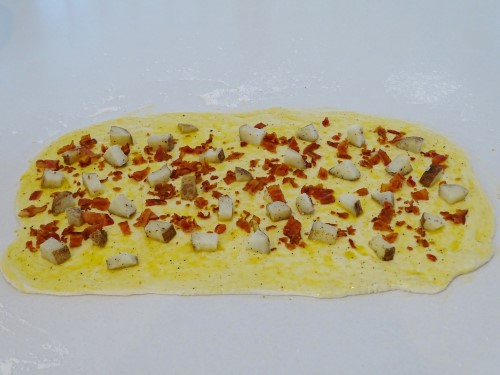
Spread the potato and bacon around, this time leaving a half inch or so on the top and bottom.
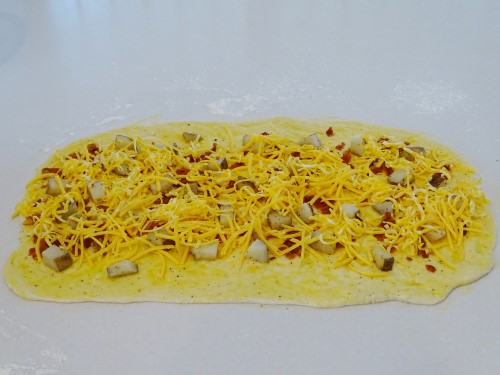
Cover that with grated cheese. I used a combination of extra sharp cheddar and Colby jack.
Then, just roll the whole thing into a long log.
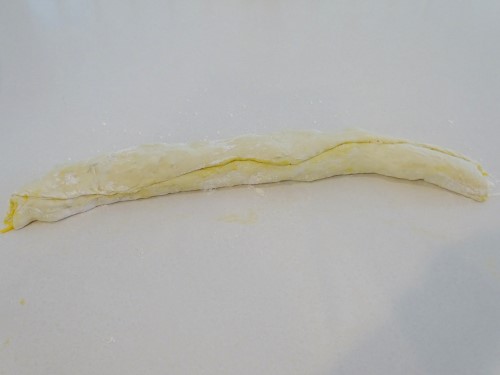
Pinch the seam together with your fingers.

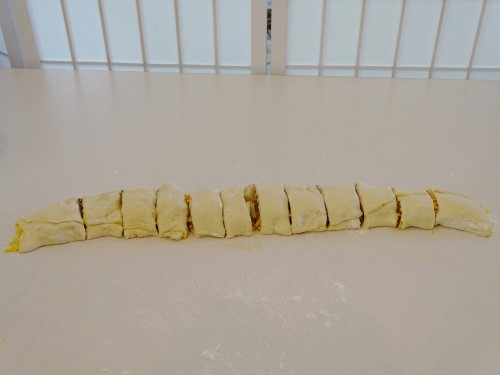
Slice the log into 12 equalish pieces. I like to make the ends bigger because they are smaller around.
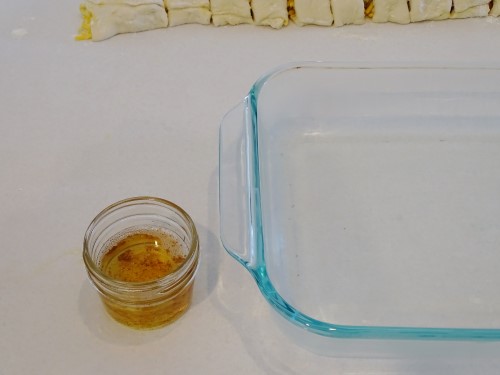
Grease a 9x13 pan. I saved the grease from cooking the bacon and used that, but if you prefer, you can just use butter.
Place the slices into the pan and press them down a bit to help them spread.
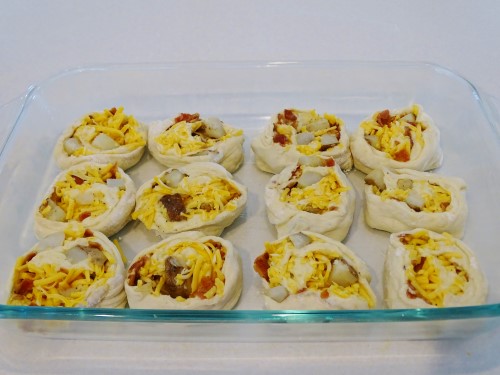
Cover the pan with a damp towel and allow them to rise. It will probably take something like 45-60 minutes. They’ll be nice and puffy and their edges should be touching.
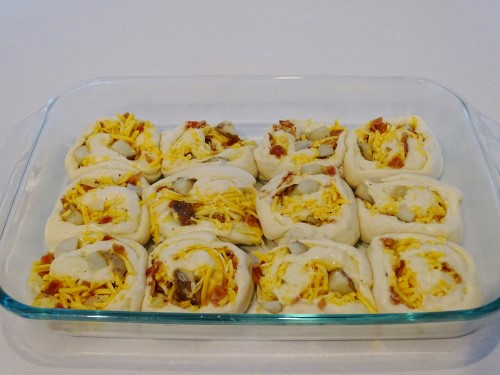
While they’re rising, preheat your oven to 350°. Bake the rolls for 30-35 minutes. When they’re done, they’ll be nice and golden, and the cheese will be bubbly and well…
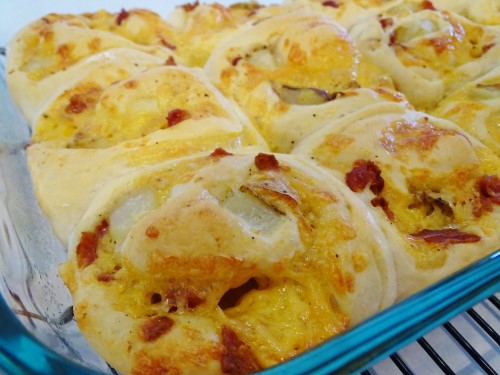
Using a spatula, loosen the rolls and make sure they haven’t attached themselves to the pan, then dump them out onto a cooling rack.

It’s not entirely necessary, but I rubbed the entire surface with butter to make them tender and shiny. I highly recommend it.
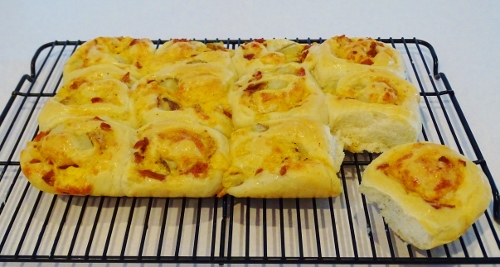
If you eat them while they’re warm, they’ll be gooey, cheesy, deliciousness with bits of tender potato and crispy, salty bacon. Drooling yet?
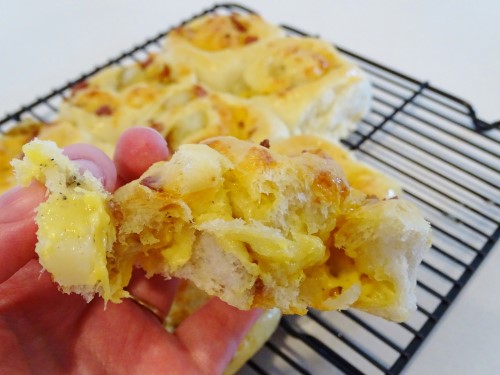
With the leftovers, allow them to cool completely, then place them in ziplock bags and pop them into the freezer. They reheat beautifully in the microwave. They are a seriously fabulous breakfast that you can just grab and go.
Thank you, Great Harvest for the inspiration, and for providing them whenever I don’t happen to have any in the freezer or don’t have the time and/or motivation to make my own.
 Wednesday, July 8, 2015 at 4:00AM |
  Taneasha
ones because they’re all one piece so there’s no seam to collect germs or anything.
 chocolaty goodness,
  crackable,
  homemade is best,
  naturalness in
  Taneasha,
  dessert,
  quick and easy

