Limeys and Gingers
 Seeley deBorn
 Yikes! I'm late!
My laptop cord was shooting sparks at me last night, and the battery in this thing has nearly no juice. So after I recovered from total panic at not being able to get access to my life, I found one of those awesome little computer places. You know the ones: they have a bare minimum store front in a light industrial area, and there's virtually nothing in there but a counter, some computer guts, and a couple of geeks. I love these geeks. They are gods of hardware, and now I am no longer waiting 5 - 7 business days for a part, I have one plugged in and charging my dried up old hag of a battery.
And that means that I can not only do schoolwork and maintain contact with the other humans, I can post recipes!
And since I was so late for this very important date, I'm offering up treats for tea.
"Tea" is an actual meal in some areas of the world, a light-ish lunch in the late afternoon that could be baked beans on toast, or fried eggs with chips. Me, I prefer the version that includes sweets and baked goods. Though, I do crave beans on toast, and egg and chips sometimes. My mom's family was from England, my step-dad is also from the UK, so to me things like Spotted Dick are perfectly normal.
And one of my favourite cooking shows will always be "Two Fat Ladies." Their regular calls for moah buttah, and moah crrrream (that's a rolled r, btw) are regularly repeated in my kitchen. Though it was amusing when I had to translate their pronunciation of "scones" to RecipeGuy, who, despite being somewhat gingery, is not a Limey.
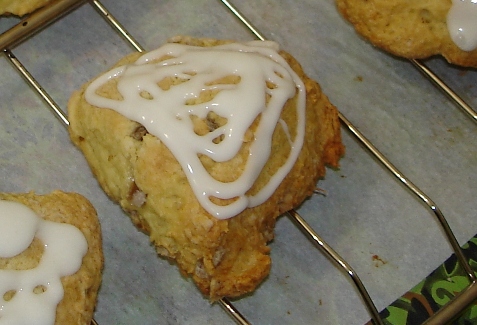
Ginger Lime Scones
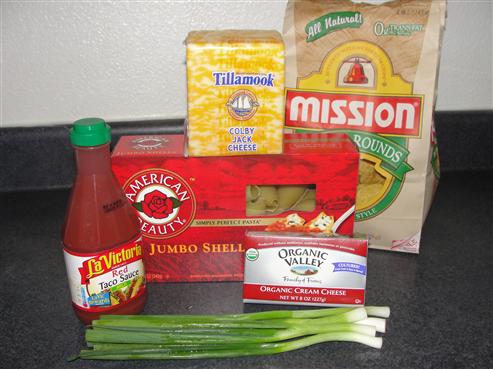
(totally forgot the pic of all the ingredients together, you'll have to use your imagination for the moment)
1/2 C. butter, cold
2 1/2 C. whole wheat pastry flour
2 tsp. baking powder
1/2 tsp. baking soda
1/2 C. sugar
1/2 C. candied ginger**, diced into 1/4″ pieces
1 tbsp lime zest
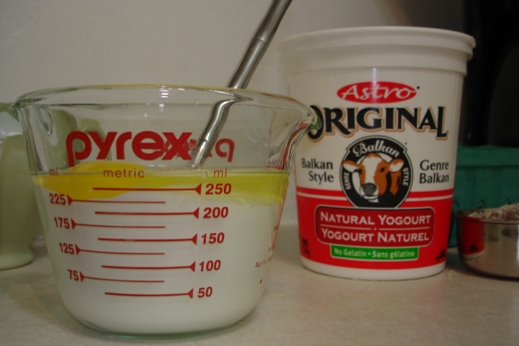
3/4 C. (6 oz.) plain yogurt
1 large egg
**you can get this in the bulk area of the grocery store, or make it yourself! I'll post the recipe soon.
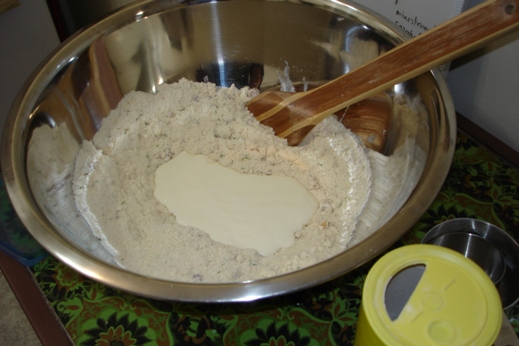
In a large bowl, combine the flour, baking powder and baking soda.
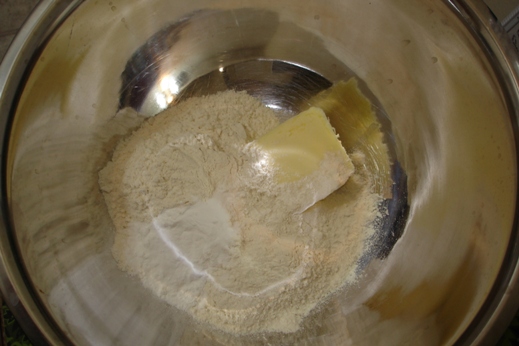
Using a pastry cutter, cut in the butter until it looks like fine crumbs.
There should be no large chunks of butter, and if you squeeze and handful it should hold it’s shape, kinda like wet sand, but fall apart if you poke it.

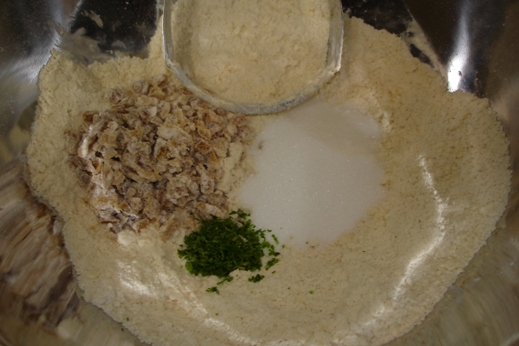
Add candied ginger pieces, sugar and lime zest to the bowl and give it a stir.
Make a well in the middle of the mixture and pour in the yogurt/egg stuff that you’ve already mixed together... didn’t I mention that?
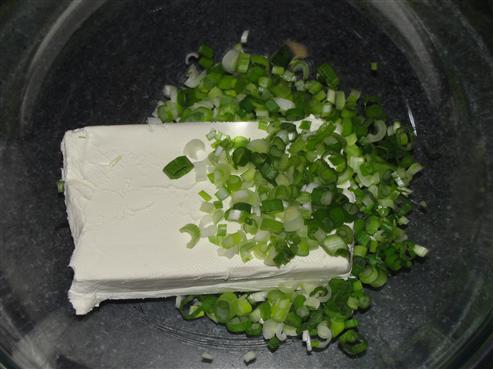
Oh, well, mix the egg and yogurt together (if you combine it in the measuring cup, you’ll have one less bowl to wash).
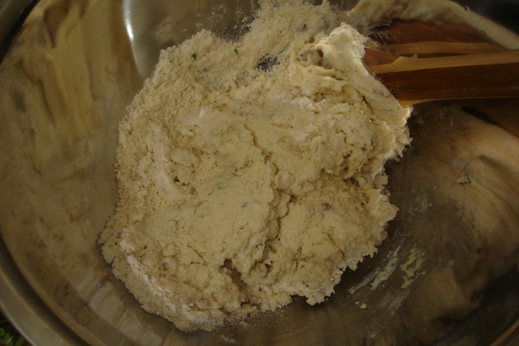
Gradually stir the flour/butter/ginger into the yogurt/egg. A soft sticky dough will eventually form.
Turn the dough out onto a floured counter, and sprinkle a little flour on top. DO NOT KNEAD. You’re making pastry, not dough. If you knead it, it will get tough. All you have to do is pat it. It’s a nice kitty... nice kitty... Pat the flour into the dough so you can work it, and pat the dough into a somewhat symmetrical shape.
Cut the shape in half.
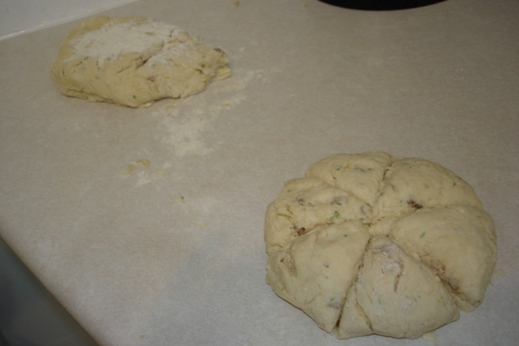
Take half and pat it gently into a nice little disc about 6 inches in diameter and one inch thick.
Cut the disk into 6 wedges.
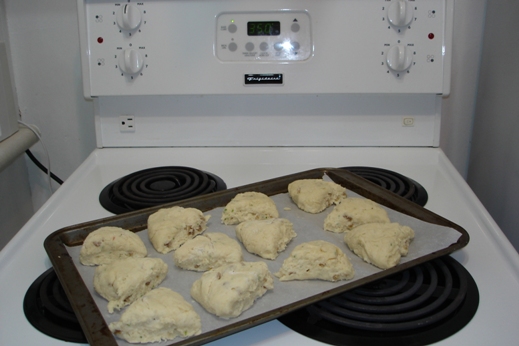
Do the same with the other half so you have 12 wedges.
Do your best to get them all onto one cookie sheet so you only have to bake one batch/wash one pan. If you hate washing pans, line the sheet with parchment.
If you don’t plan on icing or glazing them, now is when you should brush them with an egg wash (one egg and about a tablespoon of milk, beaten together) or with milk, and then sprinkle on a bit of sugar. I totally forgot to do this so I’m going to glaze them. Yeah, bummer, I have to put icing on something.
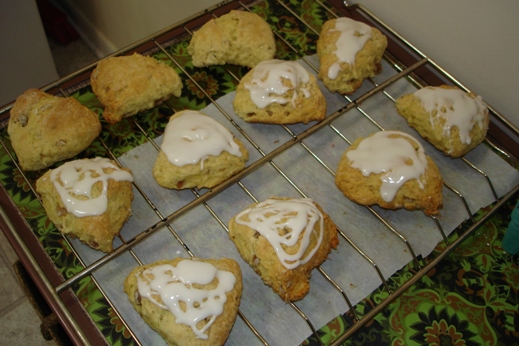
Bake them at 350 for about 20 minutes. The bottoms and sides should be golden, but not brown. These are delicate lady-like things. Just like me. Stop laughing.
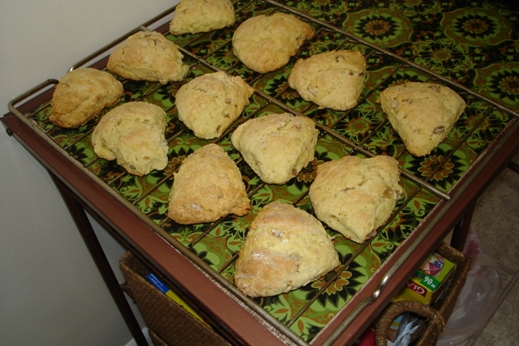
Transfer them to a rack to cool before glazing. Yup, that’s an oven rack. My oven’s so small I can barely fit a cookie sheet in there, I have no idea why anyone thinks I’d need two racks, so I repurposed the second one for cooling.
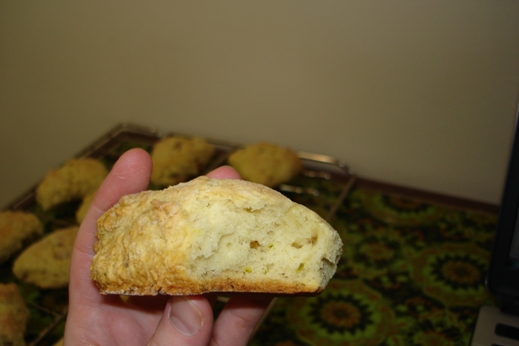
And because I'm impatient (a very lady-like trait) I ate one.
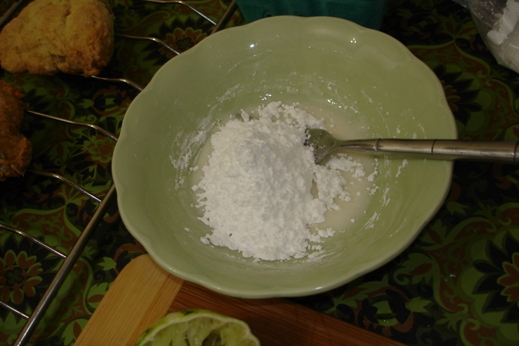
So, for the glaze, I’m going to suggest you juice that lime you zested, and mix the juice with icing sugar until you’re happy with the consistency.
I’m not fond of pouring glaze and letting it run over the sides. It makes a mess (though, that piece of parchment you baked the scones on is handy for this) and then it never seems to set enough. And since these are going to be wrapped individually and frozen for breakfast and snacks for the next two weeks, I’m going with the glob and spread approach.
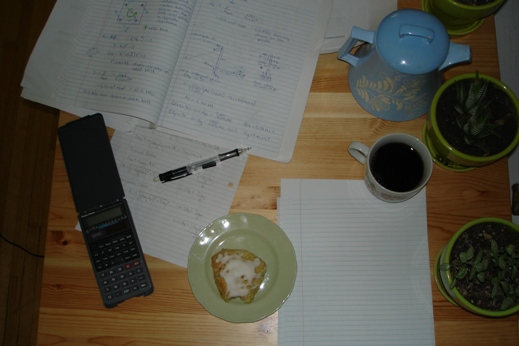
And since school is everpresent, tea time for me includes various and assorted kinds of math. Actually, most meals do. Too bad my calculator never picks up the tab. Sure would make it a better dinner date.