Undressed Stuffing... Unstuffed Dressing?
 Taneasha
So, my Thanksgiving theme continues. I’m trying to be helpful. Plus, it gives me an excuse to enjoy all of my favorite sides on the lead up to the big day. Besides, who decided we can only partake of stuffing (or is it dressing… since it’s not actually stuffed into anything?) on turkey day? I happen to know I’m not the only one with a fondness for the stuff. Let me show you how I make mine.
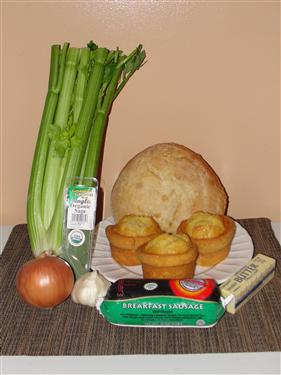
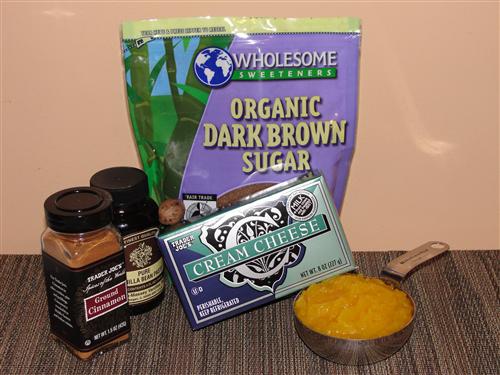
Here’s what you’ll need:
White bread
Cornbread
Sausage
1 medium onion
1 ½ cups diced celery
Sage
4 cloves garlic, minced
½ cup butter
1 cup chicken stock
1 egg
Cranberries (optional)
Salt & pepper
The first thing you need to do is get the white bread cubed and dried out. I like to do that in the oven, especially with the humidity the way it is here. Spread the cubes out on a baking sheet and bake them at 250° for about 20 minutes.
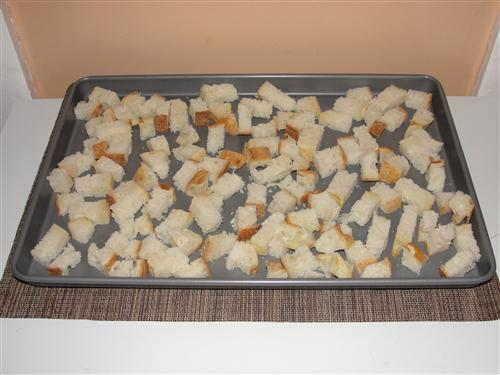
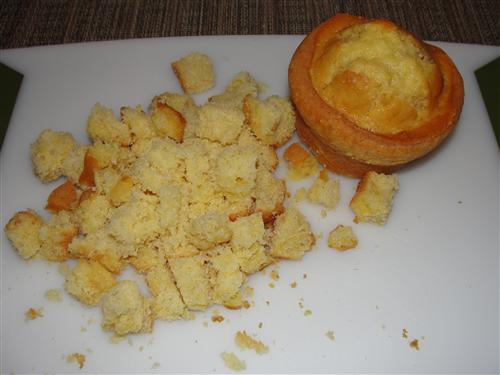
The bread should be crispy on the outside, but not browned. Can you use already dried bread cubes from the store? Sure! I think it’s worth the effort, though, so that I can choose what kind of bread it is. While those are cooling, we’ll move to the cornbread. My local grocery store had these fabulous corn muffins, so I just used those. If you want to make your own cornbread, knock yourself out. Either way, just cut it into cubes. It’s going to crumble somewhat in the process, but that’s fine.
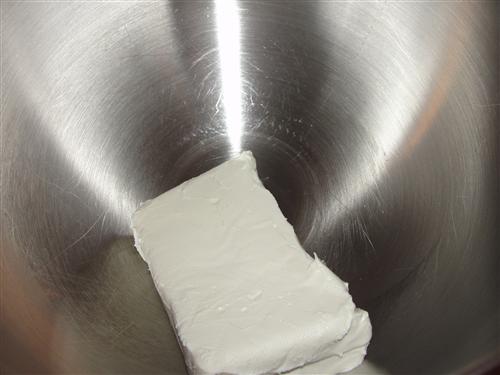
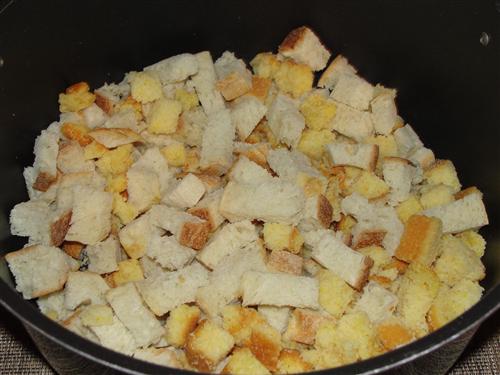
Place the cooled white bread and the cornbread into a bowl with plenty of room for adding more ingredients and stirring them all together. In my case, I had to use a pan because I didn’t have a bowl big enough.
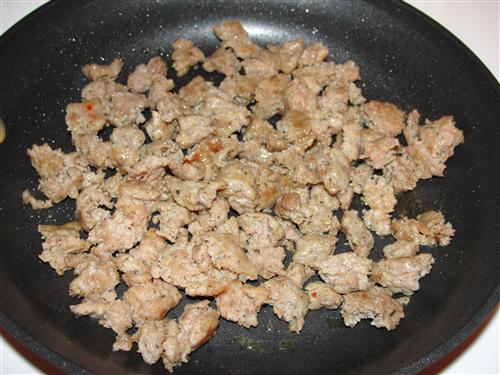
Next comes the sausage. I use Beeler’s breakfast sausage. In my book, there’s nothing better. Not to mention, it’s all natural and they take good care of their pigs, and their customers. If you can’t find it locally, you can order from them directly here. (and if you do, be sure to get some of their Li’l Bites smoked sausages. OMG they’re good!)

I had already used a third of the package for biscuits and gravy, so I had about ⅔ of a pound, which was perfect. Go ahead and cook the sausage, breaking it up into smallish pieces in the process.
When it’s done, remove it from the pan and put in your onions and celery.
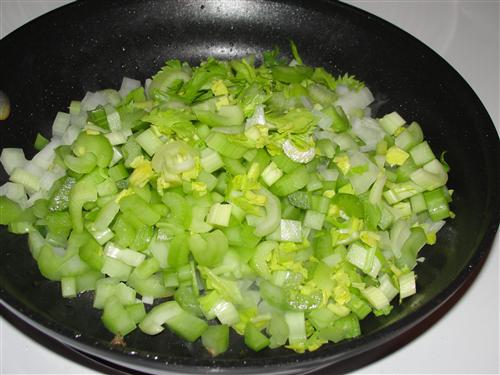
Cook them until they are soft and translucent, then add the garlic.
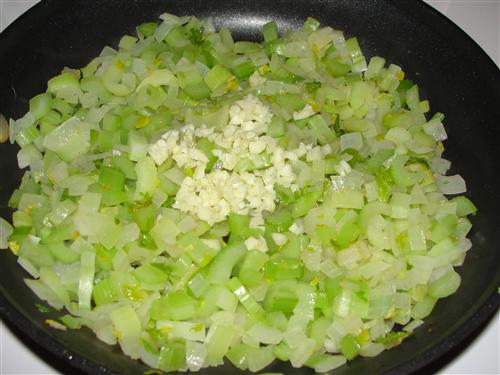
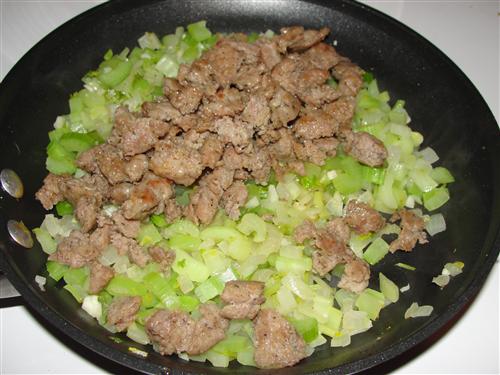
Just stir it in and cook it for about a minute or so before returning the sausage to the pan. Stir that in, and then turn off the heat.
Now comes the most important part. The thing that makes stuffing stuffing. (or dressing dressing, if that’s what you call it) Either way, you need sage. It is what gives this dish its distinct flavor.
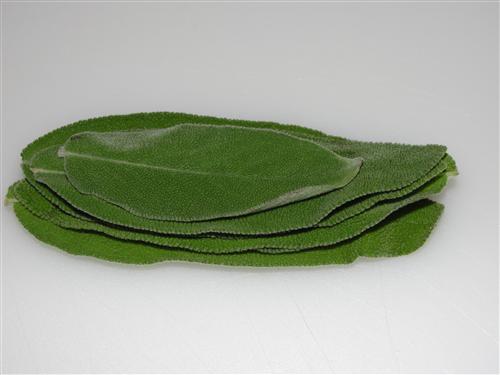
Sage is a pretty potent herb, though, so you want little, tiny pieces distributed throughout. Cut the leaves in half along the spine, then stack them up and slice very thinly.
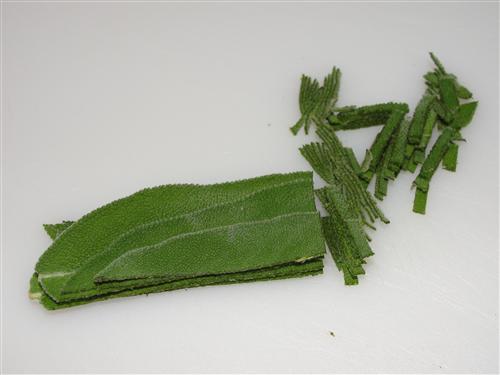
Separating the pieces with your fingers, sprinkle them over the sausage mixture.
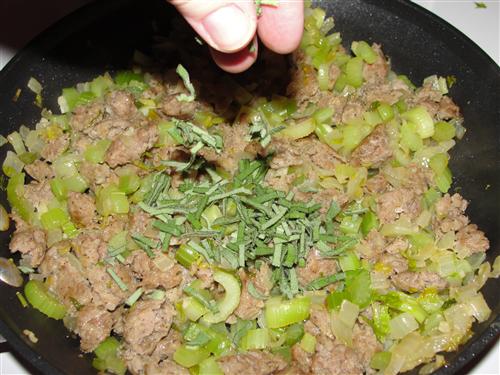
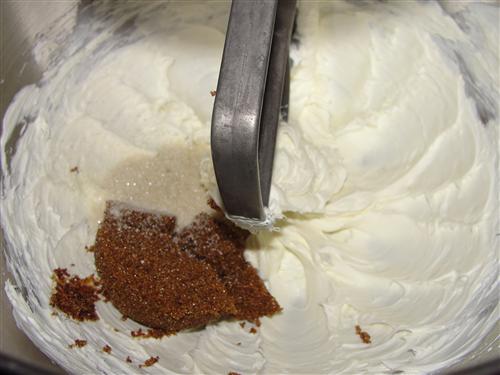
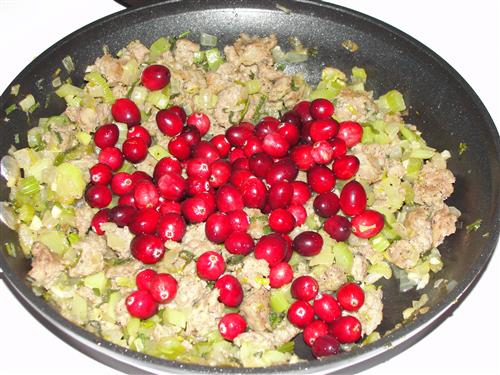
Now, smell your fingers. Oh, don’t even go there. Trust me, in this case, it’s a very good thing. As you stir the sage into the hot mixture, your kitchen will suddenly begin to fill with the aroma of stuffing, rather than just sausage and onions. Not that there’s anything wrong with those. Ok, I got off track. Allow the mixture to cool for 20 minutes or so. I had leftover cranberries from making cranberry sauce last week, so I threw some in. It added a beautiful color and a bit of tang, which was nice.
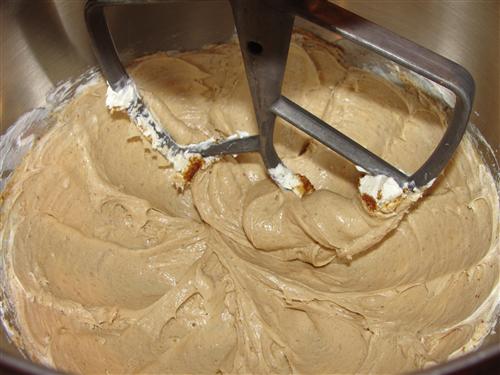
Once everything is cooled and stirred together, melt the butter and mix it with the chicken stock. The mixture should end up being right around room temperature so you can whisk in the egg without cooking it. Pour the whole thing over the sausage mixture.
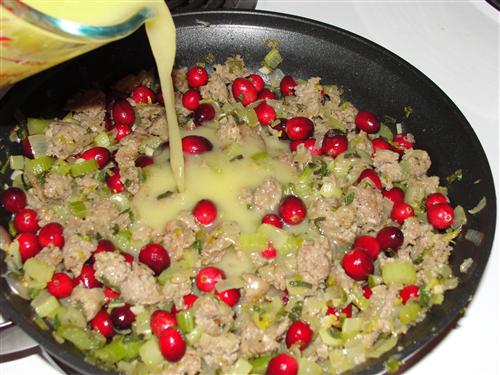
Stir everything together, and pour that over the bread.
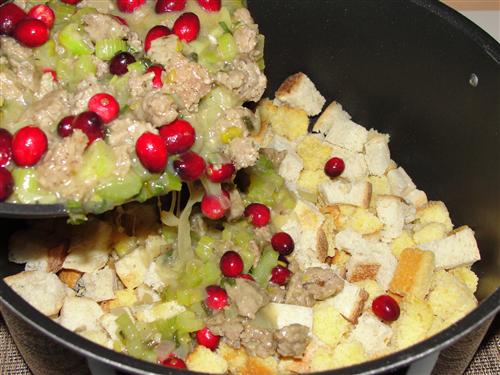
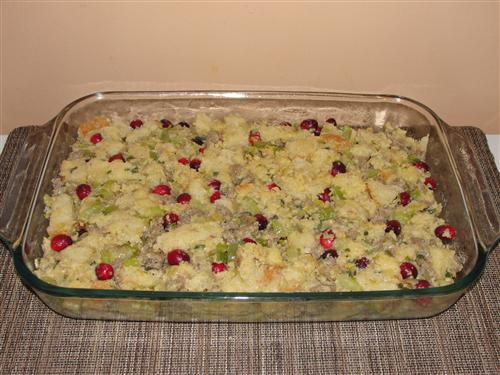
Toss until everything is evenly coated and distributed, then walk away. Give the bread at least five minutes to absorb the liquid before pouring it into a 9x13 pan. Press gently to even out the top and get rid of air pockets.
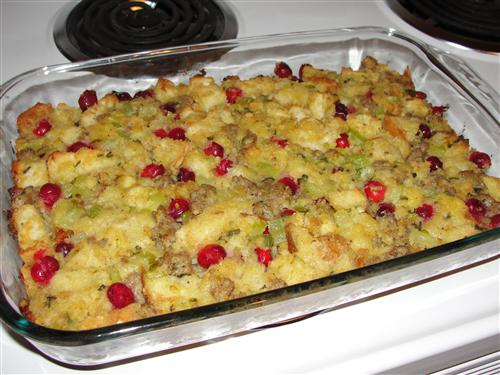
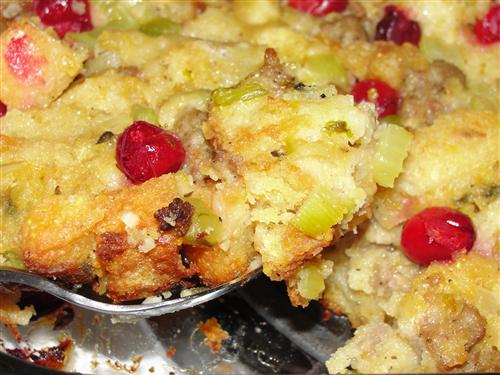
Cover and bake at 350° for 45 minutes. Yes, I know I forgot to tell you to preheat your oven. It should be pretty obvious by now that Seeley and I are horrible at remembering to mention that step and completely incapable of getting all the ingredients into the “ingredients” picture. Oh well, no one’s perfect, right? So, back to the stuffing. After 45 minutes, remove the foil and bake for an additional 15 minutes. It should be browning around the edges and lightly golden on top.
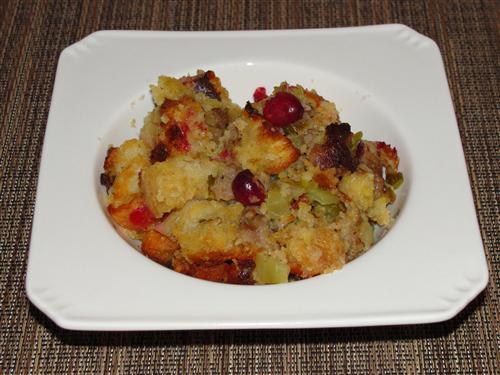
Give it 5 minutes or so to cool and set, and then dig in.
Me? I had it in a bowl, for dinner. No turkey, no mashed potatoes, just stuffing. Who says it can’t be a main course?
So, dressing or stuffing? Which is it in your house?