Search
Categories
Have a request?
This form does not yet contain any fields.


    Entries in grow your own (8)

    Tuesday
    May242011

    Mayhem is Almost Over! Bread Pudding Part II

    Yes, I know Taneasha posted Bread Pudding on Friday, but this isn’t the same thing at all. Bread pudding is one of those infinitely flexible dishes, like my biscuits or Taneasha’s baked potato. You can do just about anything with them.

    Case in point: She cleaned out her fancy baking ingredient cupboard, and I dug wild things out of the dirt.

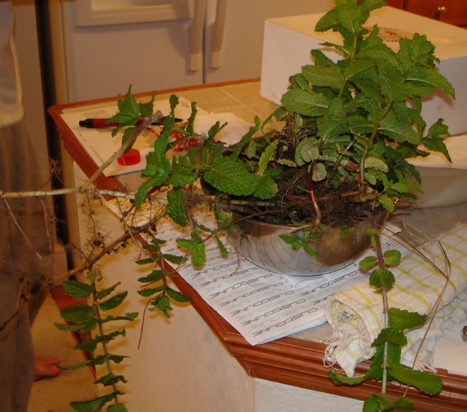
    Recipe Guy and I got a ton of wild onions when we went digging in the yard, and that was just from one bunch. There were bunches all over the place. Until Mowing Man drove the John Deere into the front pasture, that is. Dammit. There goes the free food. Technically, it’s still there, but it’s no longer likely to reproduce and it’s a lot harder to spot. I mean, something that looks like this:
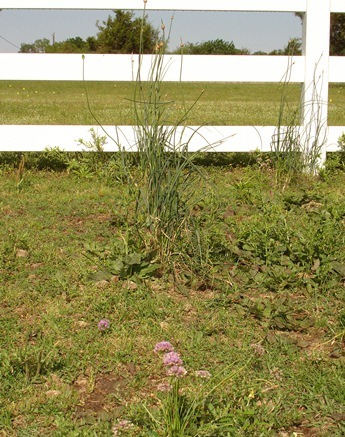
    Kinda hard to miss.

    When it’s hacked down to ground level? Not so much. Oh well, there were still berries in the back of the house and at the base of the power pole out front. Not to mention the herb garden. Herb gardens are lovely, fragrant, perennial and self-seeding. Very handy and very low maintenance if you’re looking for something to pretty up the front yard.  

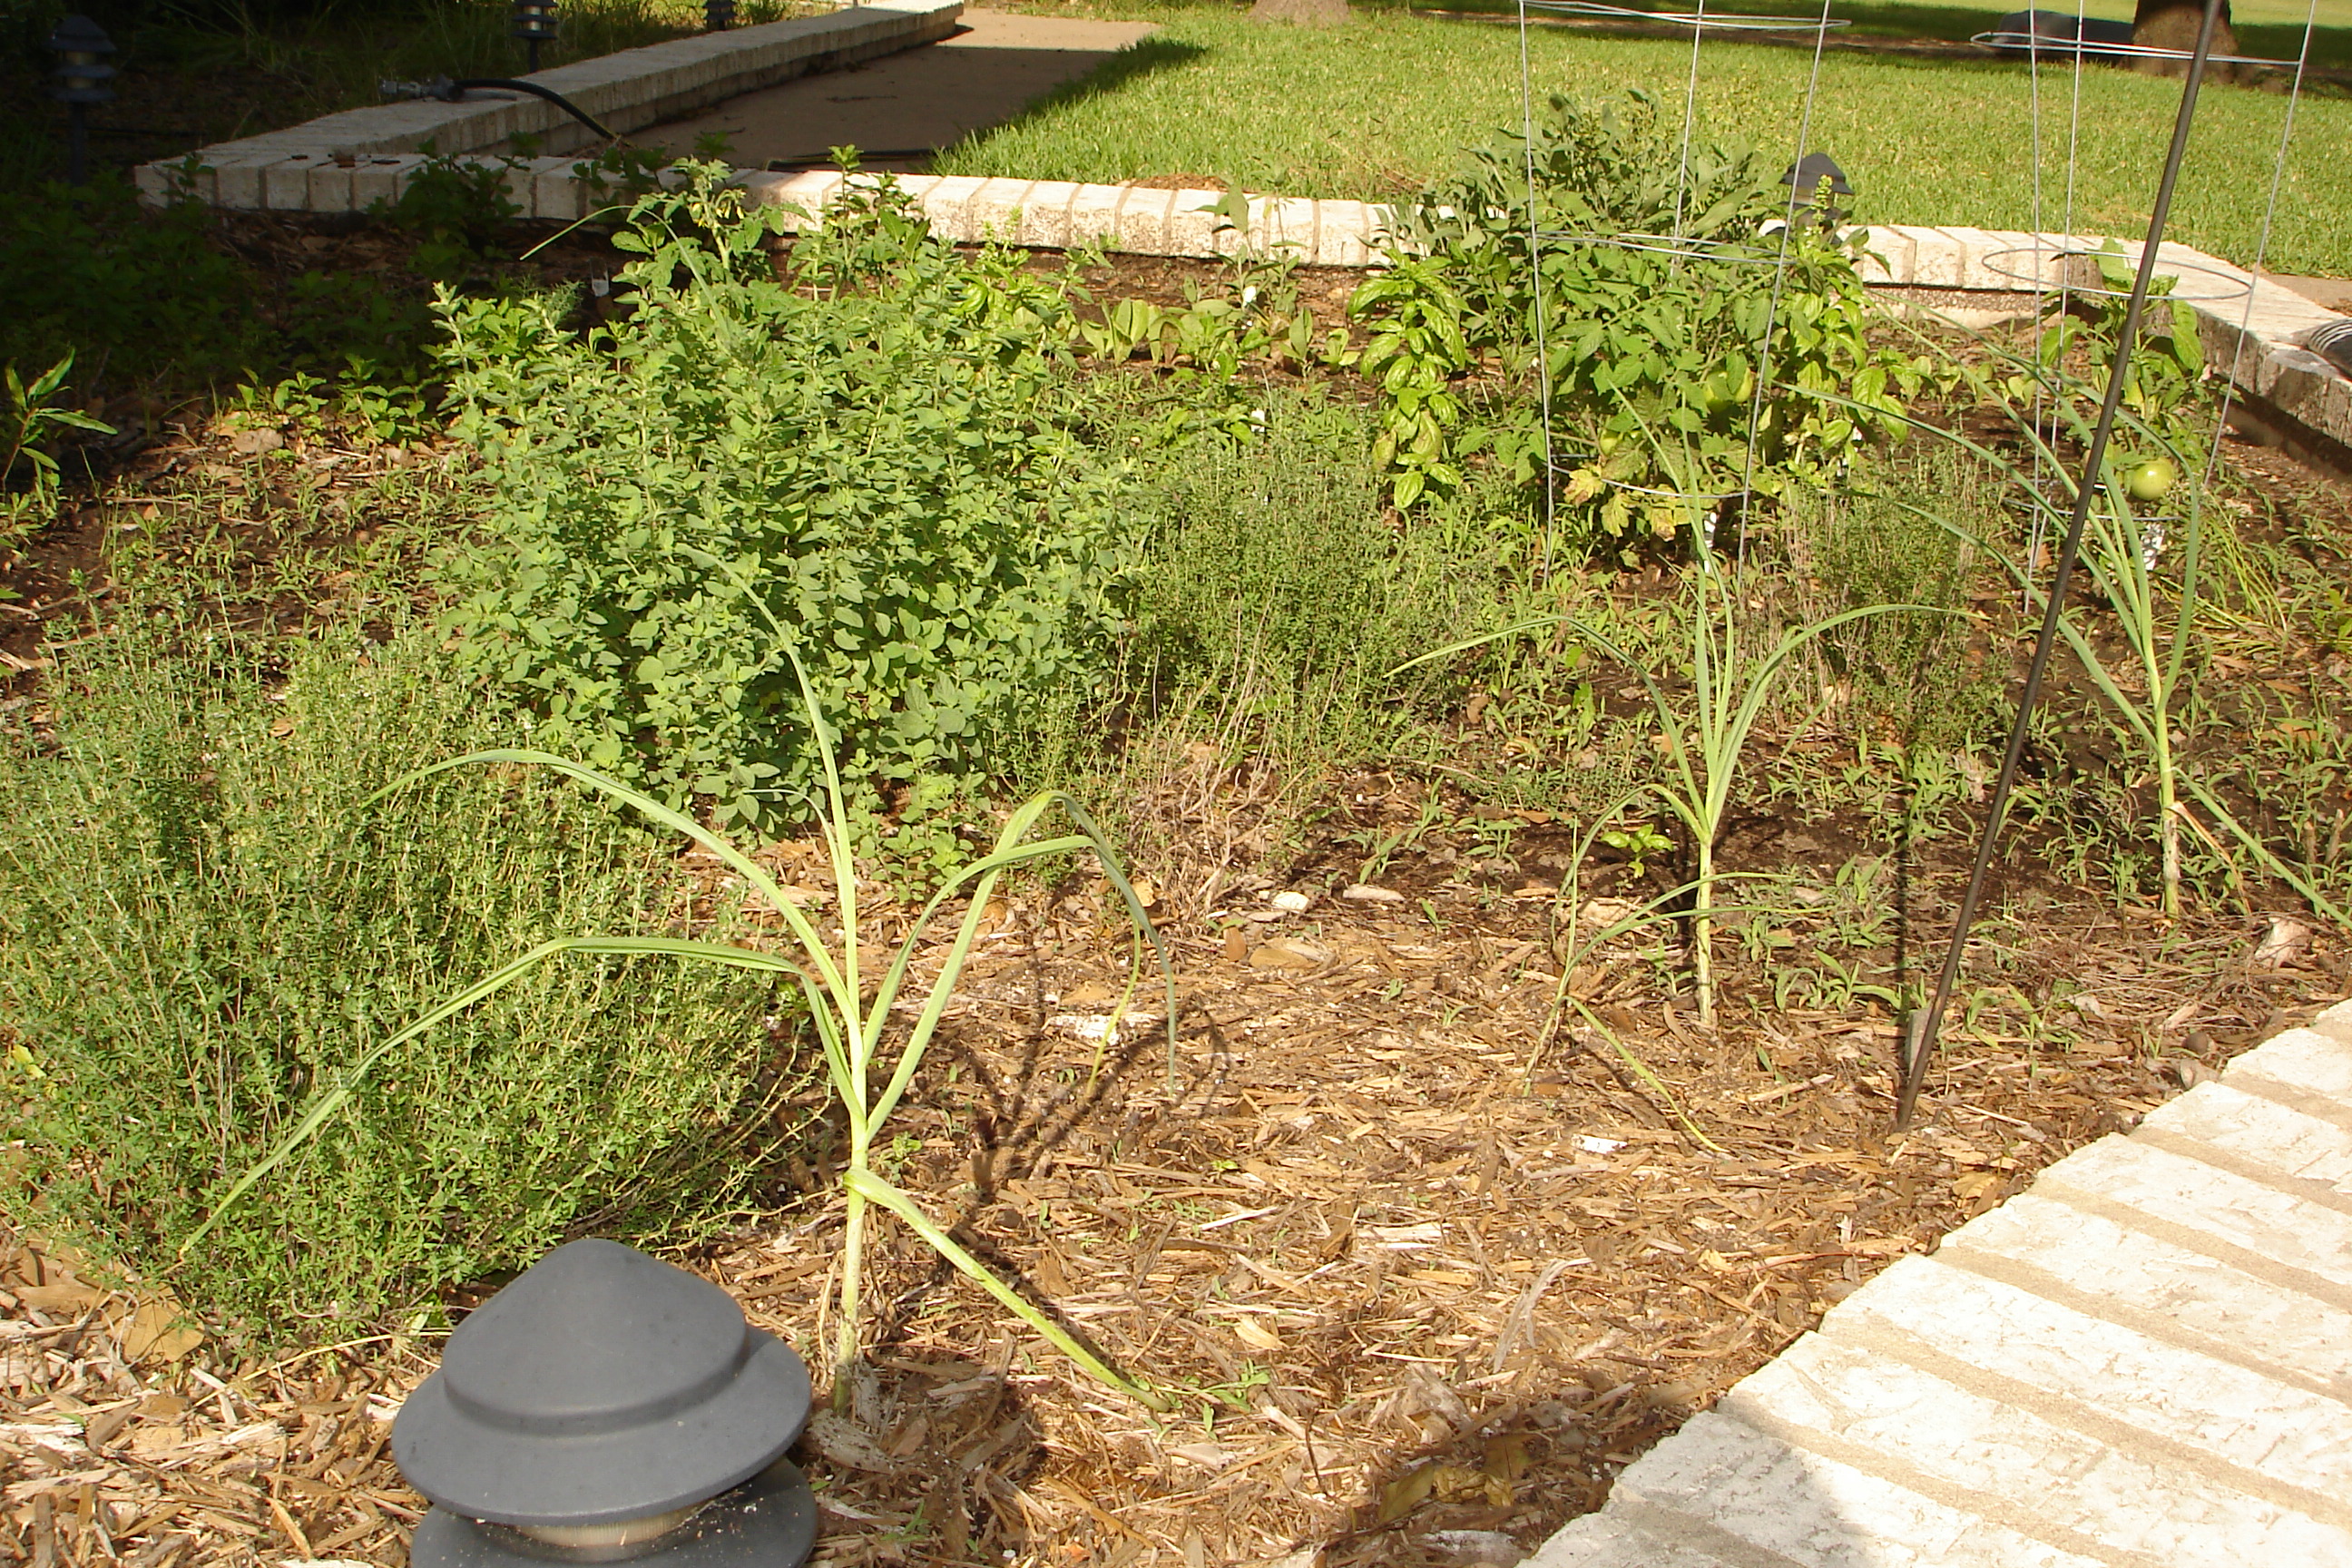
    And of course, you always have fresh herbs on hand. Like the dill we used in this recipe.  (No, there’s no dill in the pic above, the dill is on the other side and I don’t seem to have a pic of that side. You’ll just have to trust me that it’s there.)

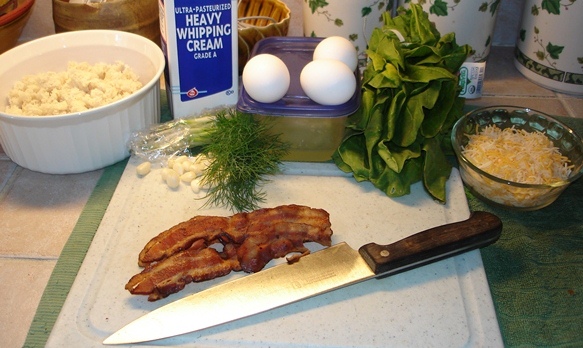
    Savoury Bread Pudding

    What You Need:

    • 1 large bunch of spinach
    • 2-3 slices of cooked bacon
    • 1 shallot or a few wild onions
    • 1 tbsp bacon fat, butter, or olive oil
    • 2 tbsp chopped fresh dill
    • 4 eggs (or equivalent)
    • 1 c cream
    • 3 c bread, chopped or torn into chunks
    • 1 c grated cheese

    What You Gotta Do:

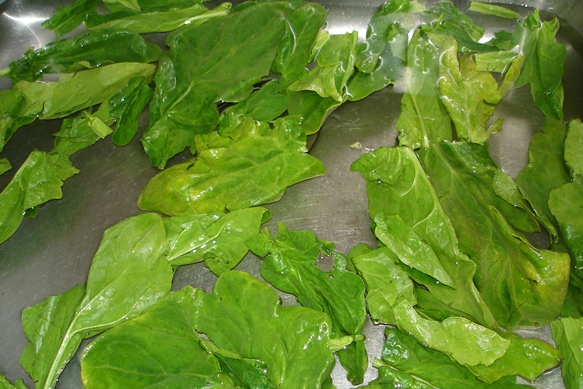
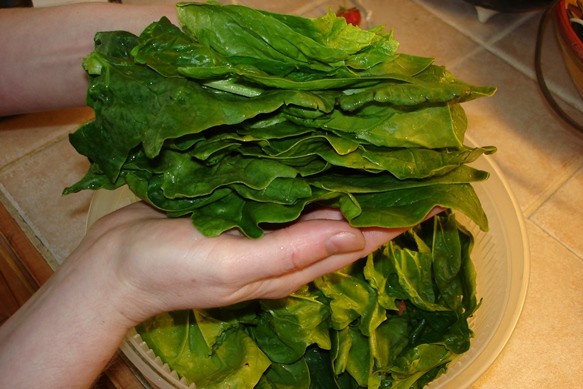
    You’ll want your spinach clean and ready to go before you heat the pan. The best way to get rid of any remaining dirt on the spinach is to put it in a sink full of cold water. The leaves will float, the dirt will sink. Plus, if your spinach is starting to look a little old and limp, a few ice cubes and a teaspoon of vinegar added to the water will perk it up nicely.

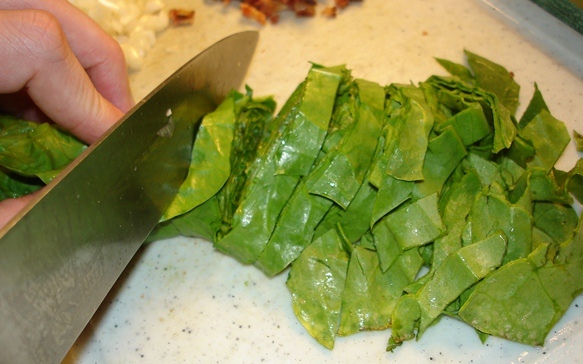
    Once you’ve rinsed and dried your spinach leaves, stack a few of them on top of each other

    and roll them up.

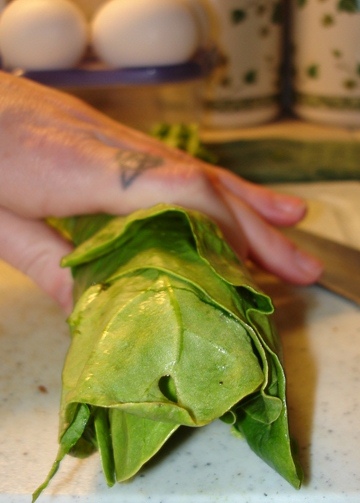
    This works best if you put the biggest ones on the bottom. Now that you’ve got a nice little spinach burrito, slice it. Lovely shredded leaves. This technique works for any leafy green, from tender basil to mature romaine.

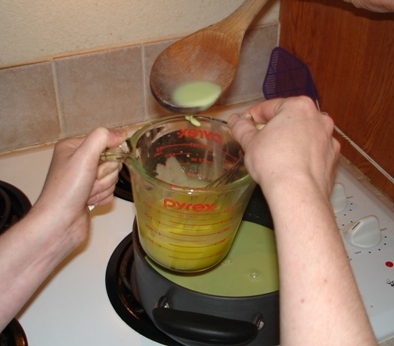
    Dice the onions (or shallot, if you don’t happen to have wild onions in your yard) and the bacon, and drop them into a pan over medium heat. We started the pan with a tbps or so of bacon fat in it, but you could easily replace that with butter or olive oil.

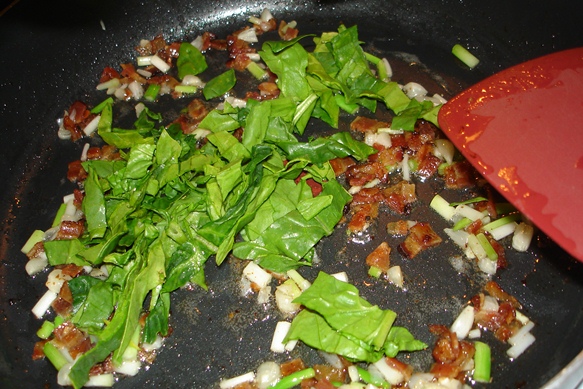
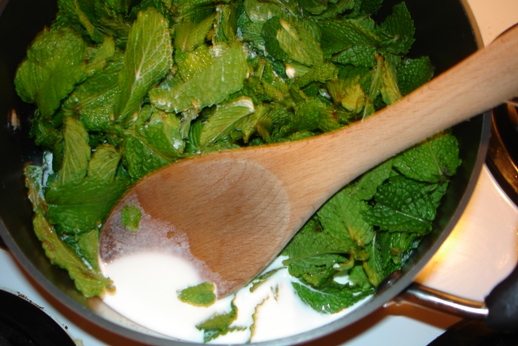
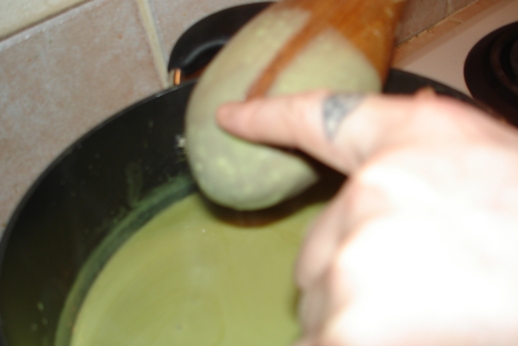
    It’ll take a few minutes for the onions to soften and the bacon to start sizzling again. Add the spinach and dill to the pan.

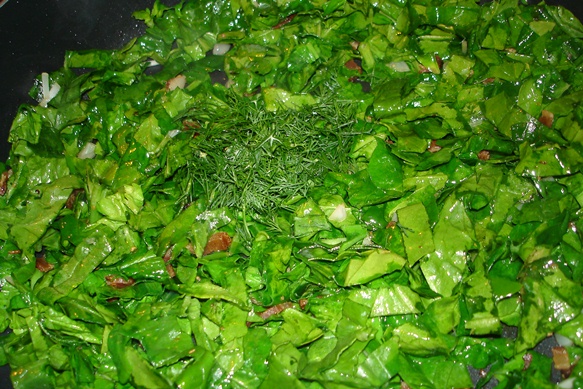
    Cook until it's nice and wilted.

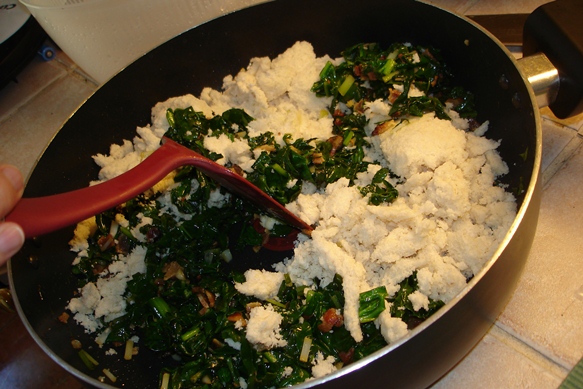
    Assembling the pudding can be done any way you’d like.

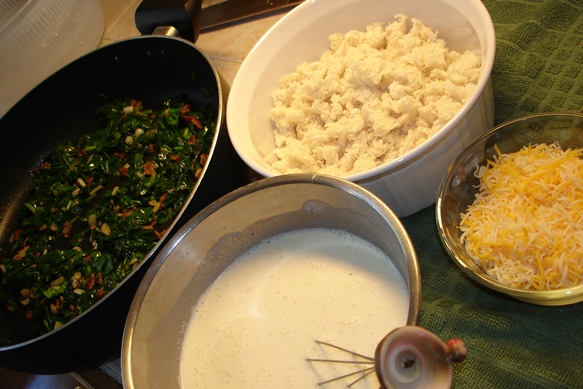
    Mix the bread, veggies and cheese all together; keep them separate, in layers;  any way you’d like… We mixed the bread and veg.

    Any kind of bread will work for a pudding. A dense whole grain rye, a crusty baguette, or as we used, the soft centre bits pulled out of a giant loaf that we turned into a mufalletta sammich. Each will give the pudding a slightly different flavour and texture, and each is perfect for a savoury bread pudding.

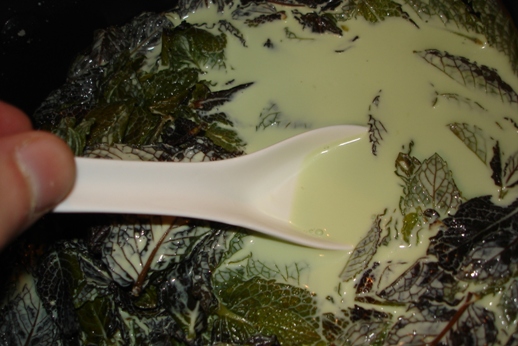
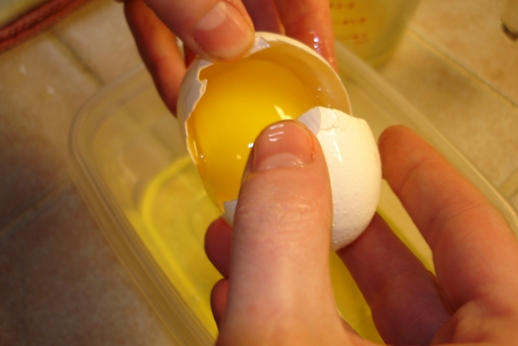
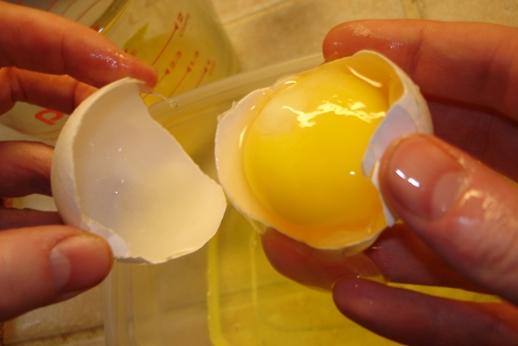
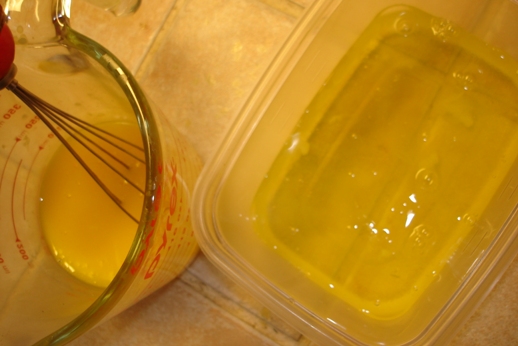
    Whisk together the eggs and cream.

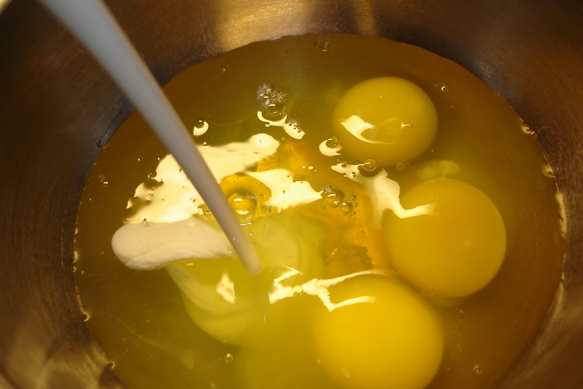
    The ingredient list says 4 eggs, but I had some egg whites in a container, so I used 3 eggs and the whites. Any combination will work, as long as you have the volume of about 4 eggs.

    The custard for this pudding is pretty much exactly like the custard you’d use for a sweet bread pudding, only difference is in the seasoning. Taneasha used sweet vanilla, I added some nice hot cayenne.

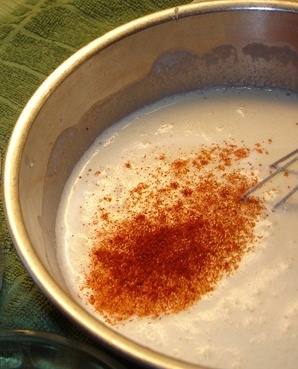
    Sugar and Spice, that’s what this is all about. ;)

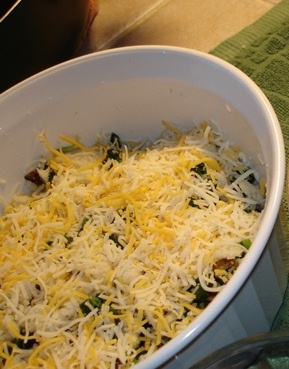
    Put half of the bread and veg mixture in the very well buttered small casserole dish and start sprinkling on the cheese.

    Until it looks kinda like this:

    Then the other half of the bread and veg mixture.

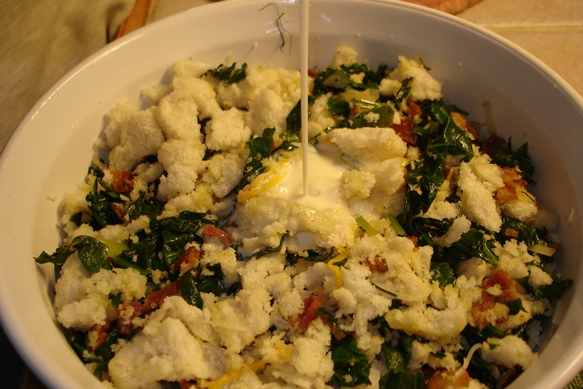
    Now pour on the spicey custard (really, I’m so used to heat in my food that the tiny dash of cayenne wasn’t even discernable to me, but others noticed it, so I’m calling it spicey). The custard will soak into the bread, but you should have enough custard that it completely saturates the bread and squishes out if you poke it.

    And then top with the rest of the cheese.

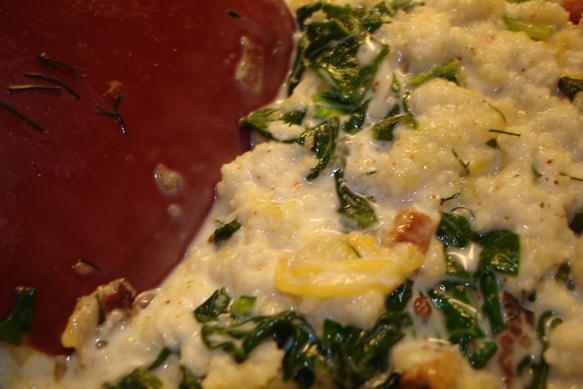
    After it bakes in a 350 degree oven for about 50-60 minutes, a piece of spaghetti stuck in the middle will come out nearly clean (spaghetti’s longer than a toothpick and lets you actually test the centre) and the pudding will be golden brown and nicely puffed up.

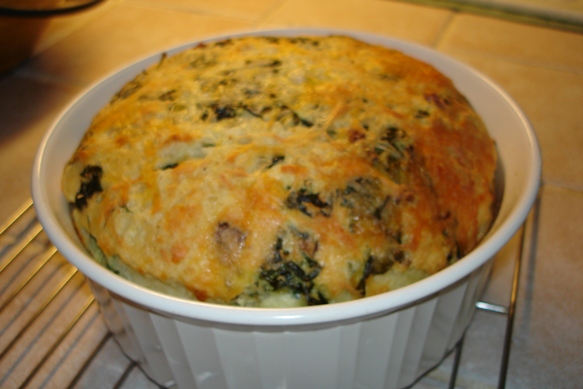
    The puff will soften as it cools, but it shouldn’t fall too much. If you’re planning on serving this to guests, I recommend doing it warm, fresh out of the oven while it’s still impressive and fluffy. It goes perfectly for dinner with a green salad, or as the centrepiece of a casual brunch.

    For us, it was a handy little lunch that used up the almost wilted spinach.

    It’s also the perfect thing to eat by the forkful right out of the fridge as you’re trying to decide what to have for a snack.

    What do you eat straight from the container as you stand with the fridge door open?

    Tuesday
    May102011

    Where the fuck is my autosave??? - The Mayhem strikes again!

    I was nearing the end of writing this post (at 3 am I might add) when an internet disconnect and modem reset totally fucked me. Squarespace claims to have autosave, but I'm not seeing my post anywhere. Fuckers. Now, instead of a fun post about how Recipe Guy and I realized tonight that we both list mint chocolate chip ice cream as our favourites, you get a toad.

    ...

    ...

    Okay fine, ice cream.

    His parents have been clearing out the lake house recently and brought back two ice cream makers. Two. And a Corningware percolator (holy fuck they make awesome coffee).

    But it was the realization that we both love mint chocolate chip ice cream that prompted us to weed out a bunch of the mint from the garden and start making ice cream at 10 at night.

    Mint Chocolate Chip Ice Cream

    What You Need:

    • 3 cups fresh mint leaves, packed
    • 2 cups cream
    • 1 cup milk
    • 2/3 cup sugar
    • 1/2 tsp salt
    • 6 egg yolks
    • 4 oz dark bittersweet chocolate

    What You Gotta Do:

    Haul up a bunch of mint. Lots of it. Three cups is quite a bit of mint. Fortunately, it's a freaking weed and makes for excellent ground cover. It was getting a little too friendly with the basil though.

    Let the mint float around in a sinkful of water (the dirt will sink to the bottom), and pull all the leaves from the stems.

    If you compost the stems etc. you're likely to end up with another mint garden, so you might want to just chuck what you don't want into the garbage.

    Combine the 3 cups of mint leaves with 1 cup of cream (other one comes into play later), and the cup of milk in a medium sized pan, over medium low heat. Three cups is a lot of leaves.

    That pan is tilted and I'm pressing the mint back. Don't worry, like most green leafy things, it'll shrink considerably once it's heated.

    And heat is all you want to do. Just until it's nice and steamy. You do NOT want to boil this.

    Once it's steaming, turn the heat off, cover it, and run to the store to get a whole bunch of ice. Ice cream, on a whim, late at night, does not always start with all required ingredients in the house.

    After 30 minutes of steeping, you are going to have a lovely pale green milk-cream mixture.

    Reheat the milk-cream to steaming, and then let it steep again, but for only 15 minutes the second time. By then, all the leaves will be darkened and softened.

    Now that you've infused your milk-cream with the lovely minty flavour and colour, you'll need to strain out the leaves.

    If you press it all through the sieve you'll end up with the full two cups of fluid, and only a scant cup of mashed leaves.

    Return the milk-cream to the pot, and add the sugar and salt.

    Put the milk-cream-sugar on the medium low burner and warm it until just steaming again. That should be all you need to get the sugar completely dissolved. Once again: do NOT boil it.

    If you didn't have to drive to a corner store in rural Texas while the mint was doing its first steep, you could have done this step then. But we did, so we just turned the heat off while we separated all six eggs. Six. We will be having egg white omelets for breakfast tomorrow.

    To separate your eggs, break the shell as evenly in half as you can,

    and then gently pour the yolk from side to side as you let the white fall into a container below.

    If you accidentally break a yolk, you can just drop it in with the whites and your omelet will be slightly less white.

    Gently beat your yolks a bit, and put the whites in the fridge (freezer? are these things freezable??) for tomorrow.

    Okay, back to the heat. We're almost done cooking. Soon we can start freezing. But first, to finish the custard. You don't want to go dumping raw yolk into hot green milk-cream. You'll end up with scrambled eggs (samIam). What you need to do is "temper" the yolks. A few spoonfuls of the warm green milk-cream mixed into the yolks

    will warm them enough that you can pour them into the pan, still on medium low.

    Once they're in you need to stir. And stir and stir. It'll only take of few moments of stirring and genlty scraping the bottom of the pan with the wooden spoon before it starts to thicken. It should not only coat the back of the spoon, but it shouldn't fill in the space if you run your finger through it either. The pic is unfortunately fuzzy, but I think you'll be able to see what I mean.

    Okay, now that the custard is cooked, we need to start cooling it.

    Remember that other cup of cream? It's going in now, nice and cold. And, if we put the bowl that it's in into a bigger bowl with icewater in it...

    your custard will cool even faster.

    Pour the warm steamy custard through the sieve into the cold cream.

    You'll have to add a bit of ice to the ice bath to keep the cooling going. You could also put the custard in the fridge for an hour or two, but this way only takes about 10 minutes.

    While that's cooling, get the ice cream maker ready. We opted for the super retro, real wood, barrel model.

    The rock salt will lower the melting point of the ice and instead of having the tin at 0 to -4 degree Celsius, you'll be able to get it to the -10 to -15 degree Celsius range. At least, when I did the ice-salt experiment in junior high, that's how cold we got it. The rest of the world uses Celsius, you'll figure it out eventually. ;)

     Pour the cooled custard into the tin. Doesn't look like much now, but the volume will increase as it crystalizes.

    Set it into the maker and start layering in the ice and salt.

    Once you've got it all filled and chilling, and managed to get the motor set into place, head outside to the porch. Apparently making ice cream on the porch is a bit of a Southern tradition. Plus, holy crap the thing was freaking loud. We feared not only for our hearing but also for our lives. Rural Texas, late at night, making one hell of a screaming fucking racket. If the neighbours come out, they just might come out shooting!

    The other things that were out... junebugs. Dumbest fucking insects ever. Not only do they think that flying directly at people's faces is a good idea, they also are unable to flip themselves over if they land on their backs.

    Their continued existence is some kind of evolutionary wonder.

    After about 15 minutes of horrible wailing, the motor on the ice cream maker gave out. *cue crickets*

    Fortunately, there were two ice cream makers around. The second one wasn't quite the same size so Recipe Guy had to hold it in place as it ran.

    This meant that refilling the barrel with ice and salt became my job.

    That dumb fuck got a very cold bath. Seriously, what kind of creature dives into a box of salt? Why are these things not extinct??

    The new engine was much quieter, and faster, and after a rousing game of "smack the dumb bug out of the air" we had smooth, creamy, minty ICE CREAM!!!

    Scrape the velvety goodness out of the tin and into a container. Top it with the chocolate that you shaved and grated earlier (you did do that, didn't you?).

    Gently fold the chocolate into the ice cream, and spread it out into the container.

    Right now, it'll have the consistency of a very soft soft-serve. You're going to have to put it in the freezer for a while and let it harden a bit.

    To keep ourselves occupied, we headed out to the barn. The horseys were all tucked in for the night, but the light was still on. Attracting the dumbfuck bugs. And ...

    toads!!

    Cute chubby little toads. And guess what cute chubby little toads love to eat?? Finally, we see reason for the continued existence of junebugs. Dumb fuck bugs. Awesome toads.

    So, after a while of chasing toads, smacking bugs, and saying goodnight to the horseys, we headed back in to have our nearly-set ice cream.

    It was still pretty soft, just starting to harden around the edges, and yeah, another half hour would have been ideal, but dammit, we wanted ICE CREAM!!

    Mint chocolate chip is our favourite... what's yours?