Cinnamon Bread with a Purpose
 Taneasha
I spent the first 30 years of my life in Utah. When I moved to the east coast, I knew I’d miss my friends and family. What I didn’t know was how many unexpected things would creep up that I’d miss. In Massachusetts I missed having good roads, close shopping, and trash cans on wheels. I was shocked to find out there are still places where guys jump off the truck and dump your trashcans. I hadn’t seen that for like 20 years. Anyway, here in Virginia all of those things are much better, but there are still things I miss. Good Mexican food for starters. They put queso on everything here. I’d like to know in which region of Mexico they cover all their food with cheese sauce. Next up, donuts. I don’t know who Dunkin’ thinks they’re kidding, but the things they sell don’t deserve to be called donuts. I miss my favorite local grocery store soooo much. Oh Harmon’s, let me count the ways I love thee. This bread, however, is inspired by a delicious bread sold at a place called Kneaders. Panera just doesn’t compare. Kneaders has fresh roasted, hand pulled turkey sandwiches on 12 grain hazelnut bread. Pardon me while I wipe the drool off my keyboard. Ok, back to cinnamon bread. Well, let’s just get started.
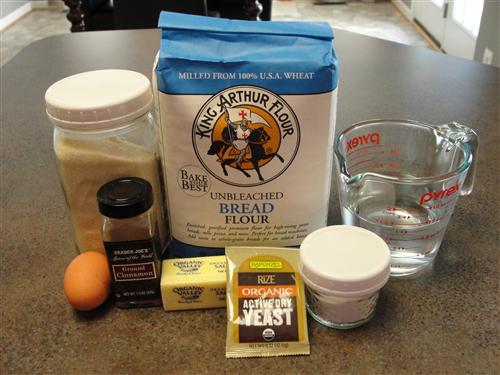
Here’s what you’ll need:
- 1 ⅓ cups warm water
- 2 Tablespoons sugar
- 1 pkg yeast
- 3 cups flour
- ¼ teaspoon salt
- 1 egg
- 1 Tablespoon water
- ½ cup sugar
- 1 Tablespoon cinnamon
- 1 Tablespoon flour
Put the sugar into a mixing bowl and pour over the warm water. It should be nice warm bath temperature.
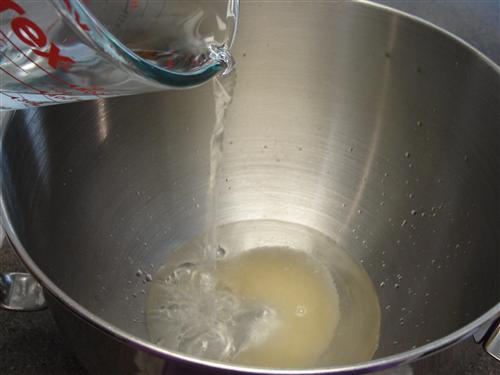
Stir it around to dissolve the sugar, then sprinkle the yeast over the top.
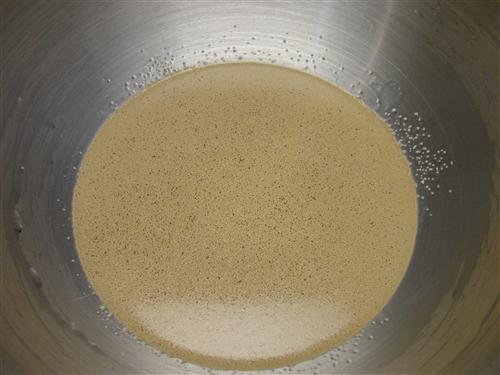
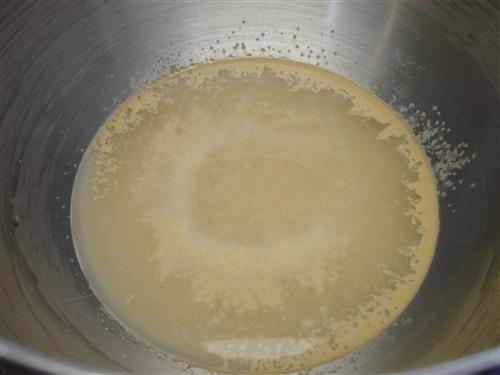
Give the yeast 10 minutes to do its thing. It should start to create bubbles. That’s how you know it’s alive.
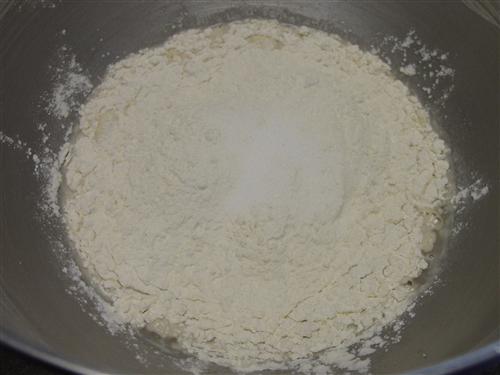
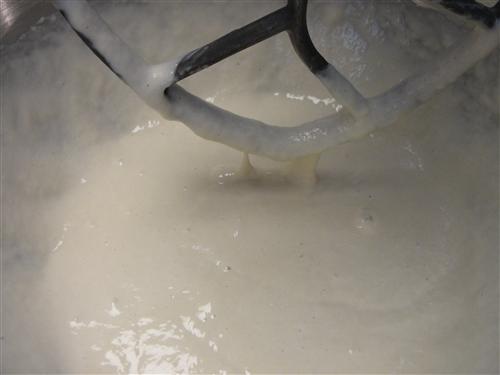
Add 2 cups of flour and the salt. I like to use bread flour, and in my opinion, King Arthur makes the best. All purpose flour will work fine. The quality of the flour makes a bigger difference in the end result than whether it’s bread flour or not.
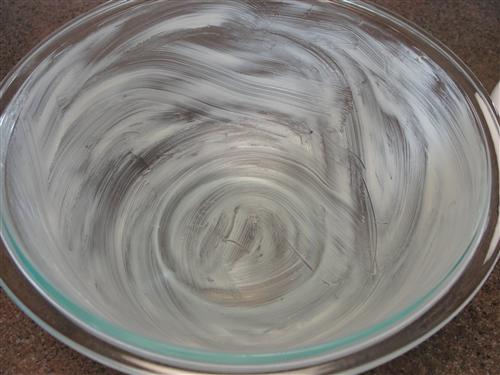
Turn on the mixer and let it run on medium speed for two minutes or so. While you’re waiting for that, go ahead and butter a bowl.
You’ll see the mixture start to change texture. Even though it’s still more like a batter than a dough, it will start to get a bit of stretch about it.
When that happens, go ahead and add the last cup of flour and switch to the dough hook.
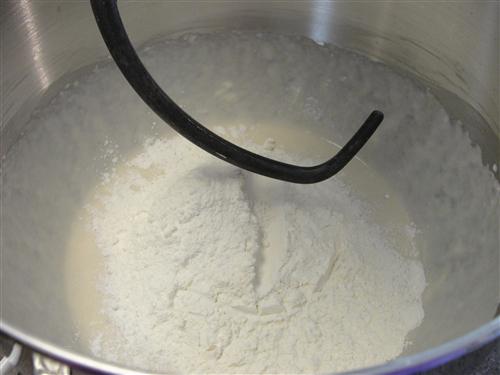
Mix on low until it comes together into basically a shaggy mess.
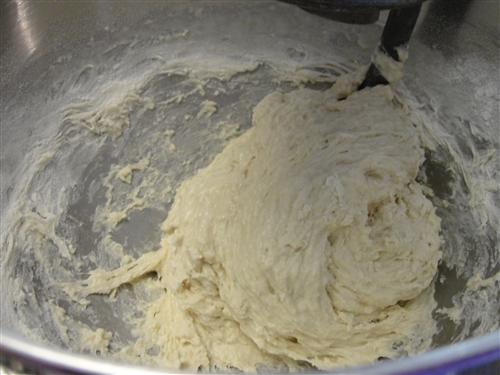
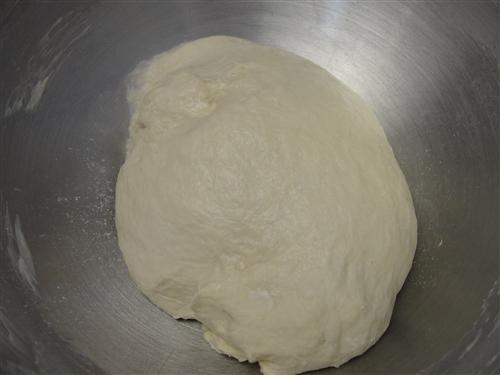
Then turn the speed up a step or two and allow it to knead for 7 minutes. If you’re kneading by hand, it will take quite a bit longer, but you can certainly do it. After all, bread has been around a lot longer than stand mixers. When it’s ready it will have cleaned itself from the sides of the bowl and will be a nice smooth ball.
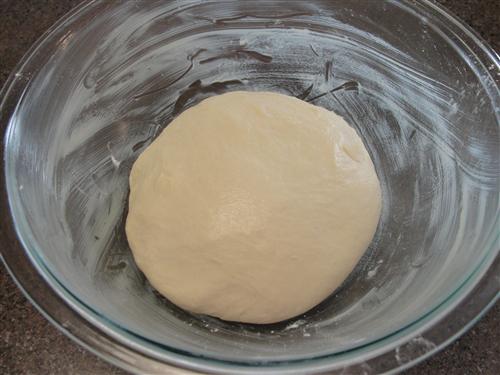
It’ll be pretty sticky still, so flour your hands before touching it. Move it to the buttered bowl and then turn it over so it has butter on both sides.
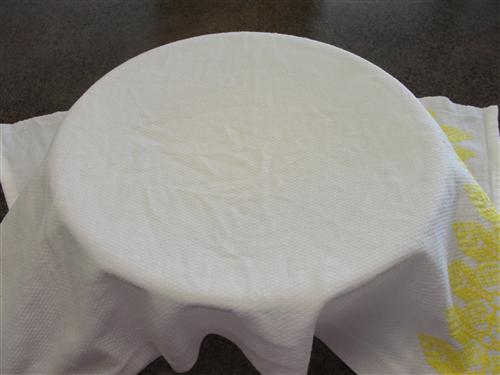
Cover the bowl with a damp towel and leave it to rise for awhile.
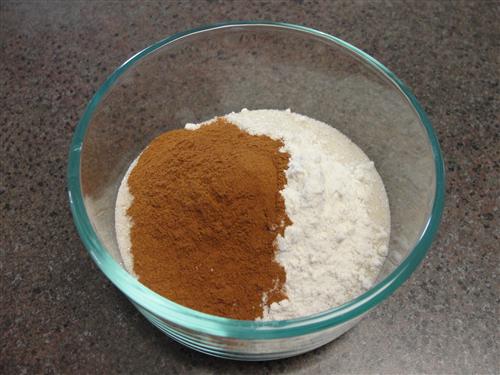
How long that will take depends on the temperature of your house. It’ll probably be somewhere around an hour, though. During that time, go ahead and put together the cinnamon mixture. Put the sugar, cinnamon, and flour into a little dish.
Something with a lid works great.
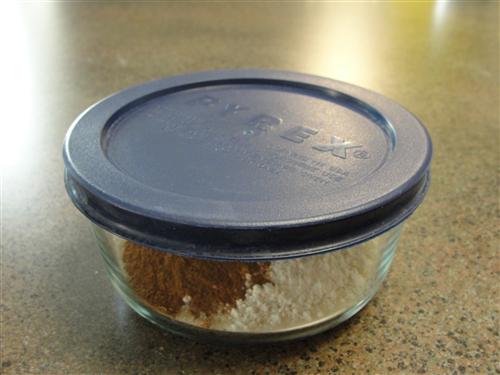
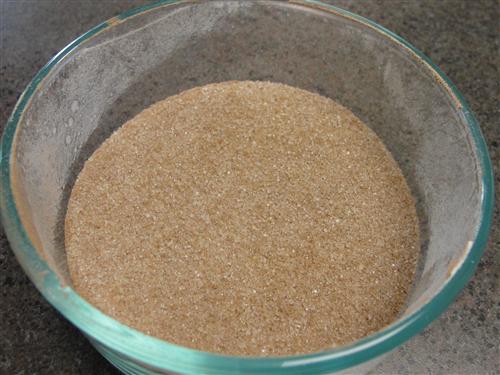
Just pop the lid on and give it a shake until everything is evenly distributed.
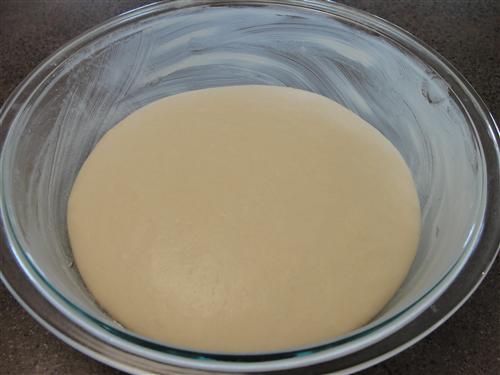
When your dough is ready, it will be roughly double in size.
Liberally flour your work surface.
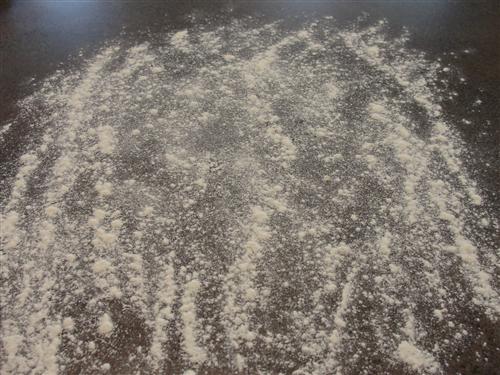
Then dump the dough out and sprinkle flour over the top of it as well.
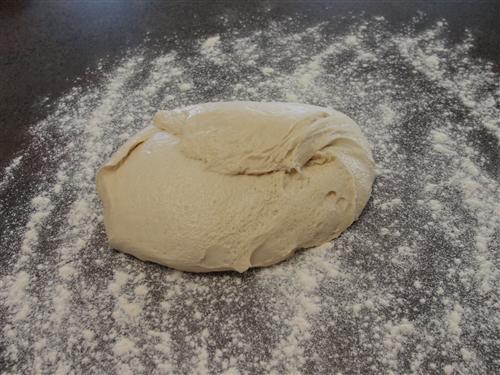
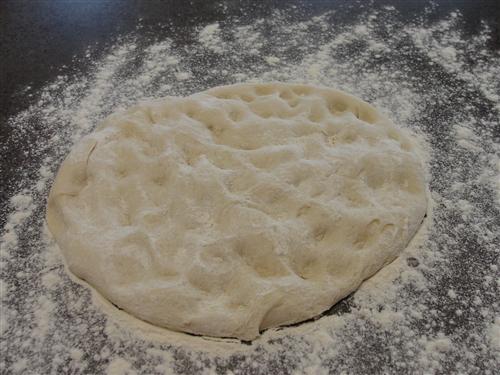
Poke it with your fingertips or knuckles to deflate the majority of the big bubbles.
At this point, it needs a quick 10 minute meditation. While you’re waiting, go ahead and whip up some egg wash. Crack an egg into a small bowl and add 1 Tablespoon of water.
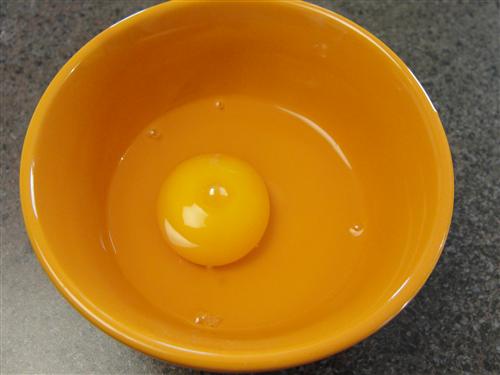
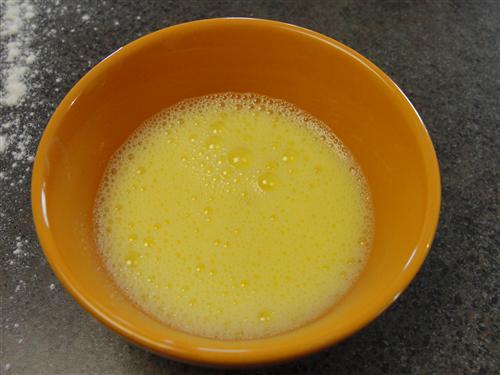
Then just give it mix with a fork or a whisk.
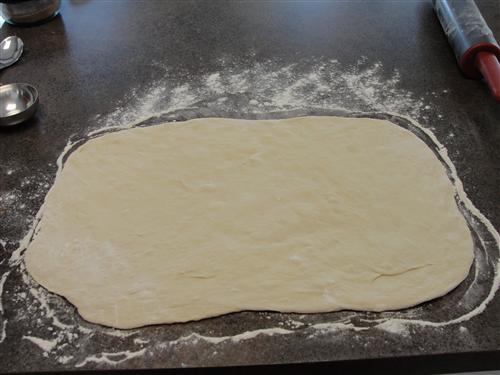
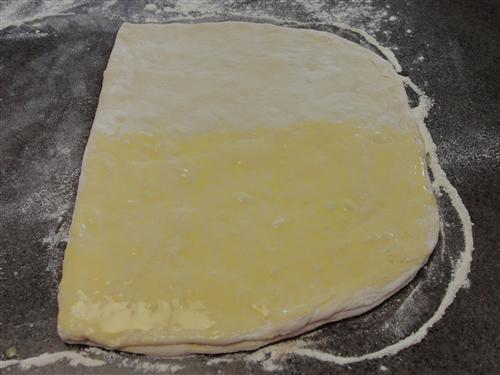
Ok, now that the dough is relaxed, pat or roll it into something resembling a rectangle. The shape doesn’t really matter, but you want it to be somewhat symmetrical.
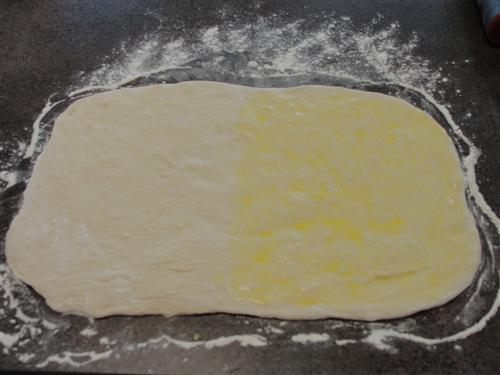
Brush egg wash onto half of the dough.
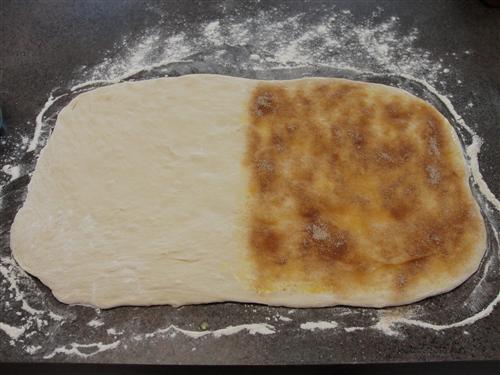
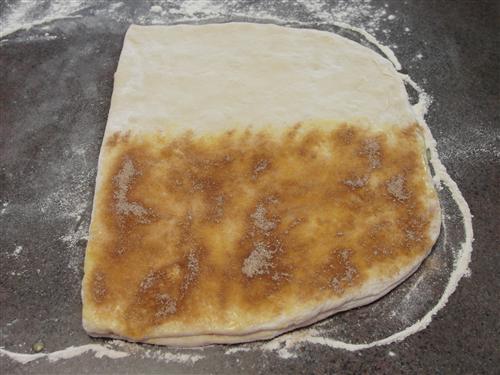
Sprinkle on some of the cinnamon mixture. I used about 1 ½ tablespoons.
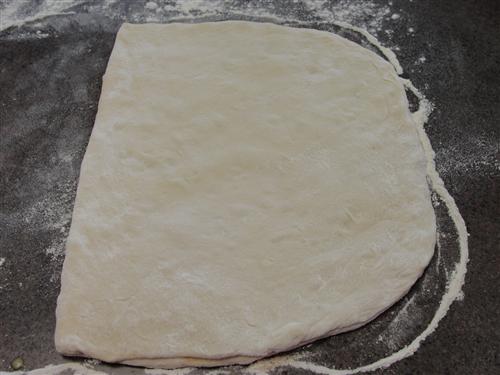
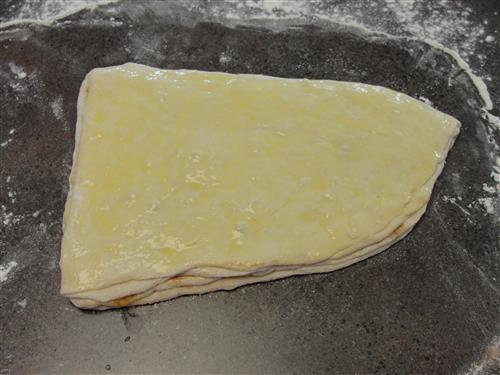
Fold the dough over, matching up the edges as best you can, then press it down slightly to make sure the layers have good contact.
Then repeat. Egg wash.
Cinnamon.
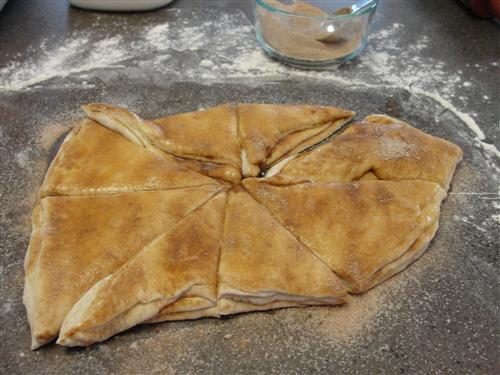
Fold. And for this last bit, spread egg wash and cinnamon over the whole surface, but don’t fold.
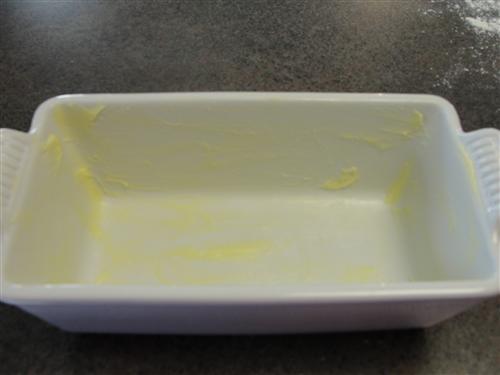
Liberally butter a bread pan.
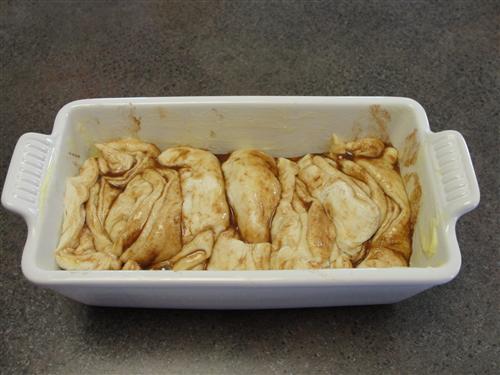
Cut the dough into fairly large pieces.
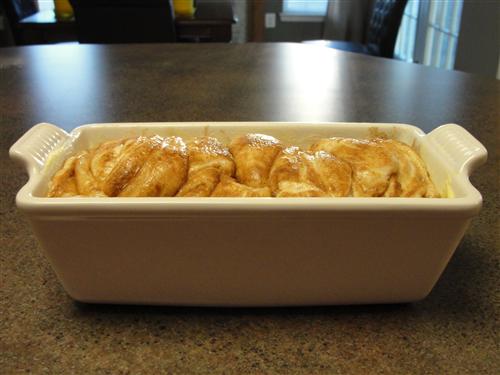
Place them side by side into the buttered pan. They’re just going to be a crumpled heap of a slimy mess, but believe it or not, that’s exactly what we want.
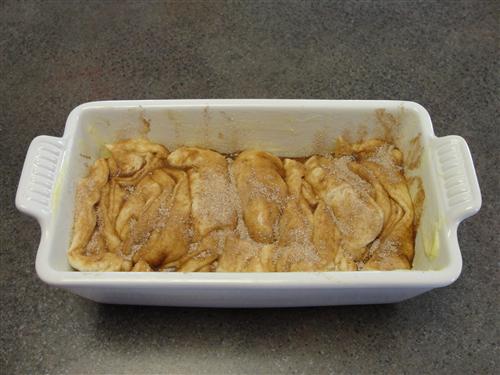
Sprinkle on a bit more cinnamon sugar and cover it again with a damp towel.
It’ll probably take about an hour again. Just keep an eye on it, and when it’s getting close, go ahead and preheat your oven to 350°. When it’s ready it’ll look something like this.
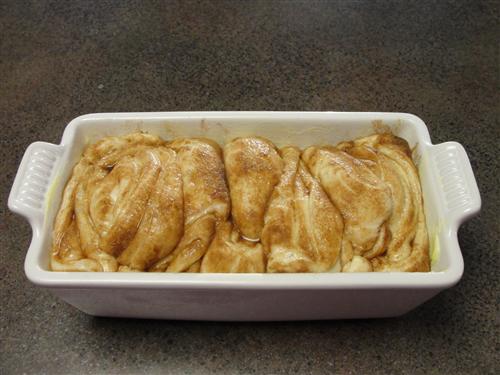
It will just barely start to stick up above the pan.
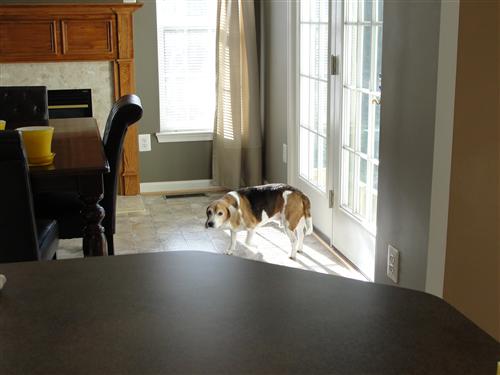
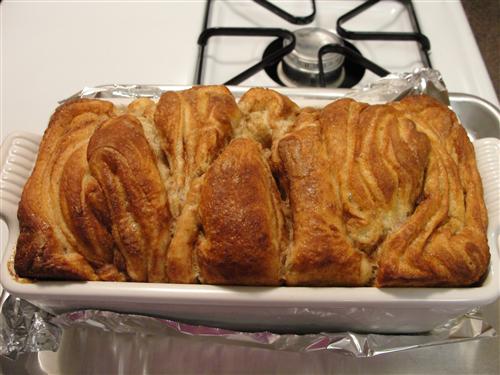
Into the oven for 45 – 55 minutes. After 20 minutes, lay a piece of foil over the top of the bread. That will help keep it form browning too much. During that time, your house will start to smell amazing! Otto started to just mosey around the kitchen hoping he might get a bite of something.
When the bread is ready, it will be nice and brown on top. If you have a thermometer, it should read 190° in the center of the loaf.
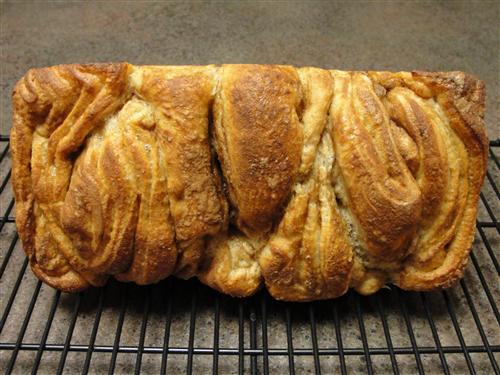
Run a knife along the edges to make sure it’s not attached, and then turn it out onto a cooling rack. Don’t wait to do this, or the sugar will glue the bread to the bottom of the pan.

I like to let it cool on its side so that beautiful top doesn’t get lines in it. Does that look good or what?
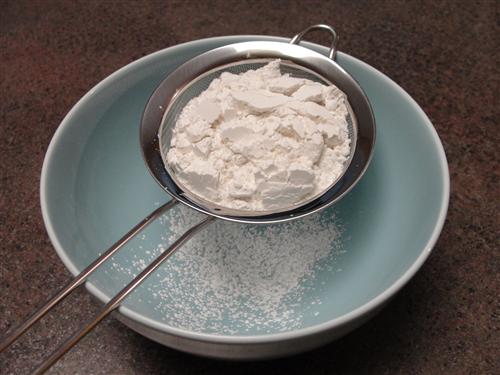
Allow it to cool completely, then start on the icing. Sift ½ cup powdered sugar into a bowl.
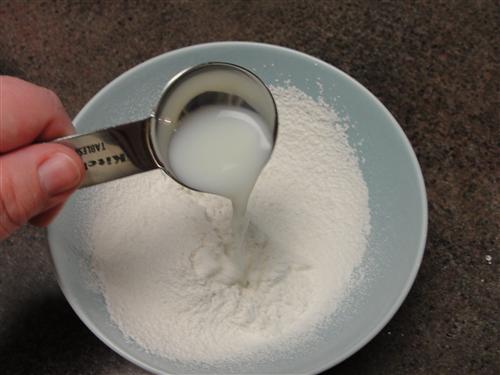
Add 1 tablespoon milk.
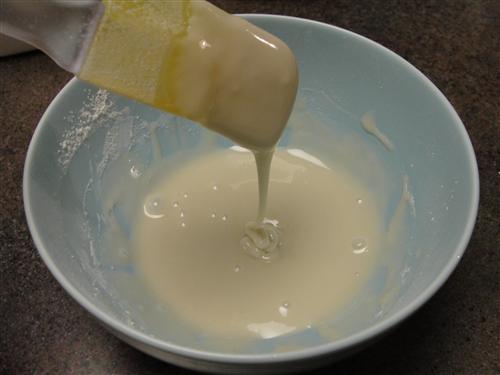
Stir until it’s nice and smooth. It should be thin enough to pour, but thick enough that it won’t just all run off.
Place the bread on a piece of parchment and drizzle the icing all over the top.
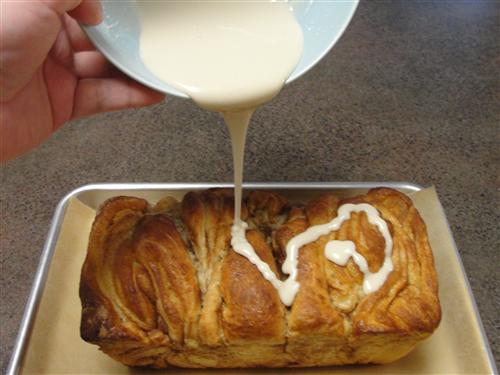
Don’t worry if some of it runs down the sides. That’s what the parchment is for.
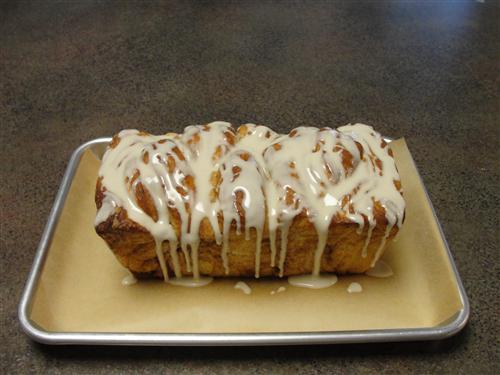
Allow the icing to set for an hour or so, then slice and enjoy.
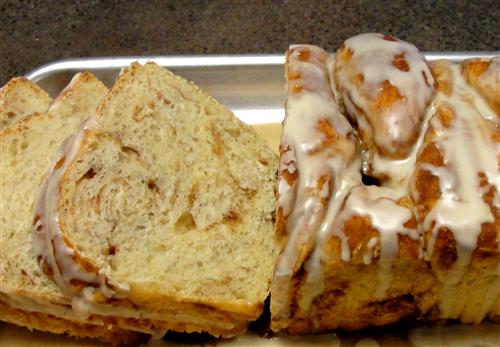
This bread is seriously amazing, but I have a confession, I actually made it for another purpose. Next week, I’ll show you what I’m going to use this amazing bread for. In the meantime, just enjoy it as is.