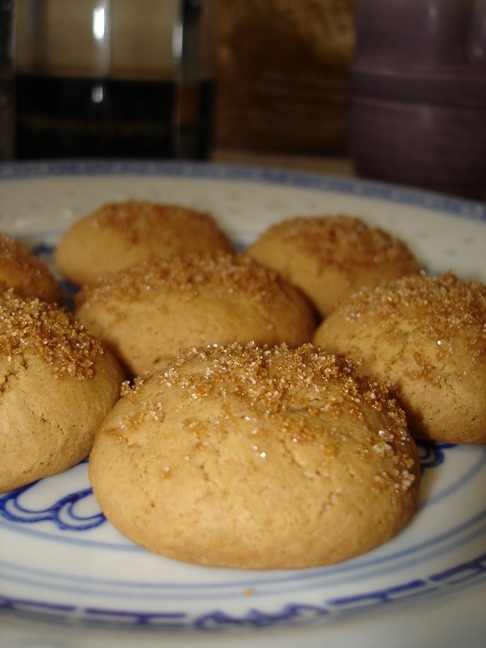
Butterscotch Cookies
 Seeley deBorn
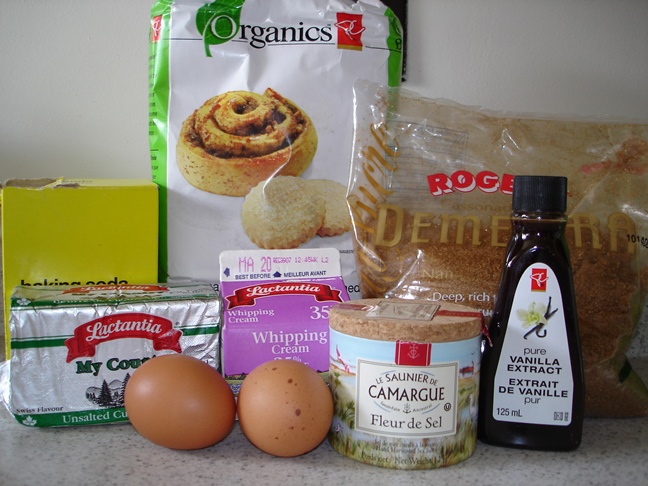
 I’ve got all the ingredients on the counter, all stacked up nicely, and I’m thinking to myself “What am I missing??”
Um, camera. Right. Cooking requires pictures, remember?? In particular, a portrait oriented pretty one of the final product for our Pinterest page. You did know we have a Pinterest page, didn’t you?
Not sure if you remember me, but I used to cook here a while ago, until I went totally crazy with school and got so bad at cooking that I barely managed to make cereal for dinner 3 days a week (the other 4 were cheese and crackers). But, I’m done with the 5 classes a semester thing, and I’m now mere months away from a degree, and someone at work asked me to make Butterscotch cookies.
So I found my camera, bought a hand mixer (it’s been a while, my Popeye arms are out of practice) and started cooking!
Butterscotch Cookies
- ¾ c unsalted butter
- 1 ¾ c darkest brown sugar you can find, like Demerara
- 2 tbsp cream
- 1 tbsp vanilla
- ½ tsp sea salt
- 2 eggs
- 2 ¾ c flour
- ½ tsp baking soda
We’re going to do something a little different than the usual old “cream the butter and sugar and then beat in the eggs” with this one. Butterscotch originated as a hard candy of cooked butter and sugar, so that’s where we’re going to start.
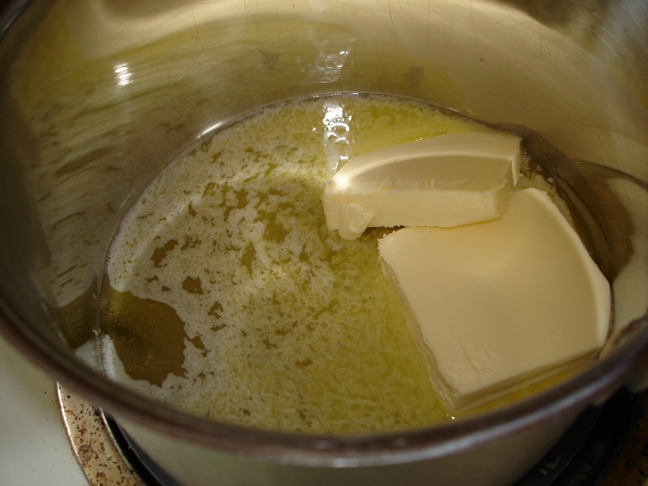
Melt the butter in a pot over medium heat, and let it get all foamy and bubbly.
We’re going to *cook* the butter a bit before we add anything to it. After a minute or two the foam will subside (lifting the pot and gently swirling the butter from time to time will help
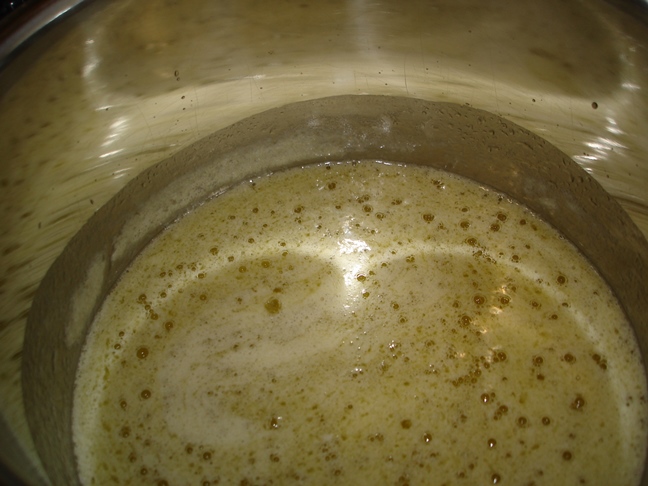
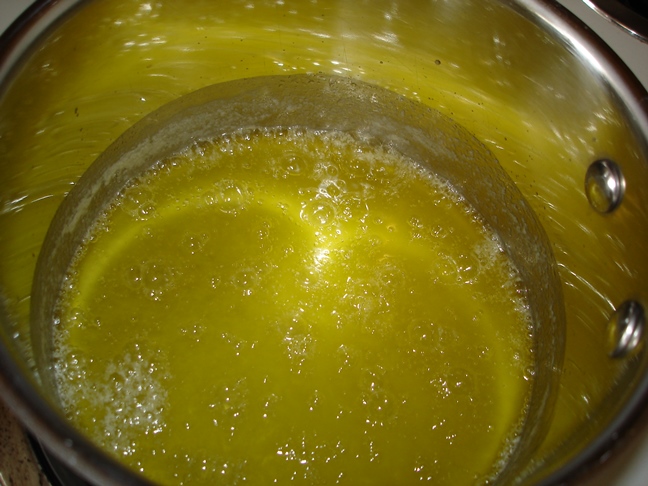

Once you’ve got a nice clear top, swirl the butter every 30 seconds or so until you start to see little brown spots on the bottom of the pan. Remove the pan from the heat and the burner off.
What you’ve just done is made “beurre noisette” or browned butter. It’s called noisette, the French word for hazelnut, because the aroma gets a little nutty as it browns. You know how when you sauté something until it gets that delicious golden brown colour to it? You just did that to butter.
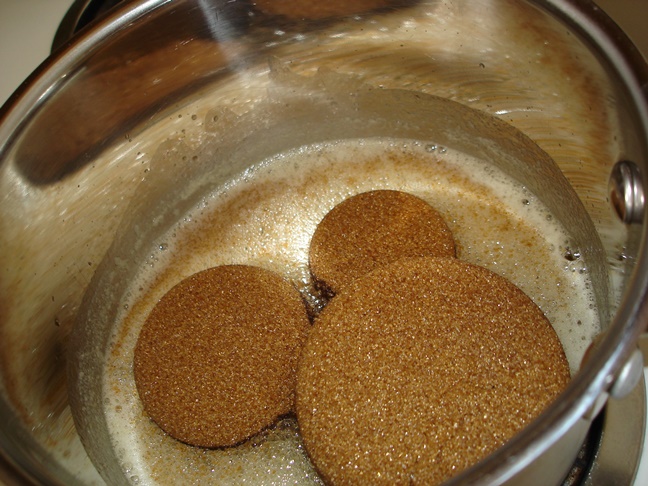
Dump in the brown sugar and the cream and start whisking. I put mine back on the burner as I whisked, and let the residual heat from the burner help melt the sugar as I decided whether or not I wanted to be risky in the next couple steps.
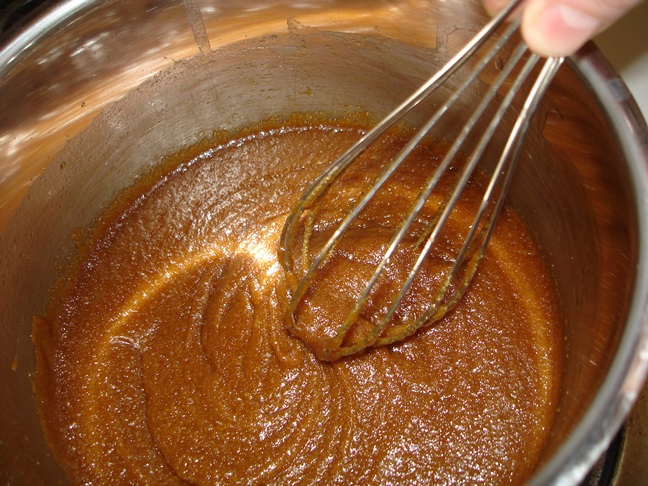
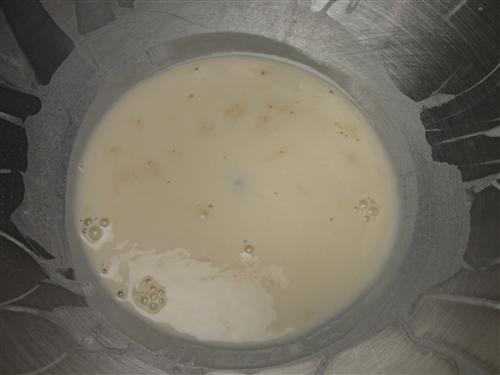
I was considering proceeding as if making a pate a choux like Taneasha did with the cream puffs. Dump the flour into the hot butter mixture and then add the eggs later. But my Popeye arms are out of practice, and I’m not sure my new little hand mixer can deal with that serious a pastry, so I took the safe route, and dumped the almost butterscotch sauce (add more cream, cook it 10 minutes, pour it over ice cream) into a big bowl.
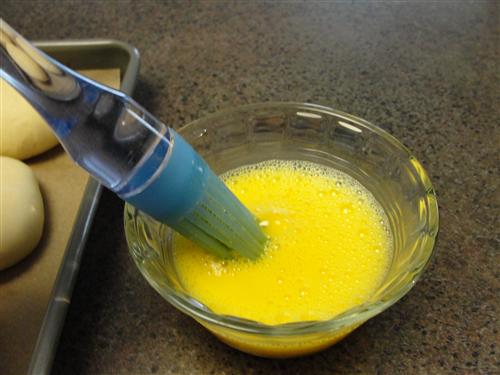
Beat in the vanilla and salt.
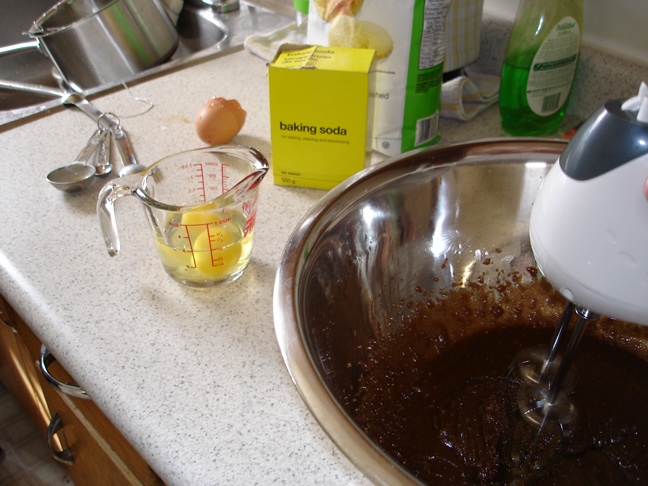
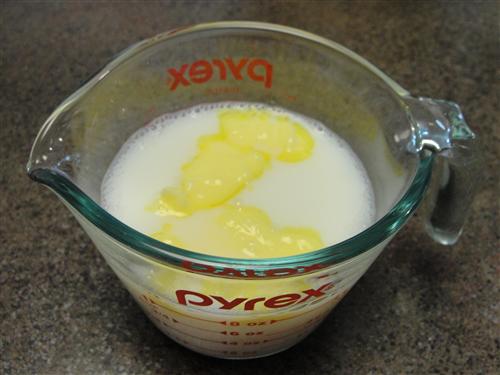
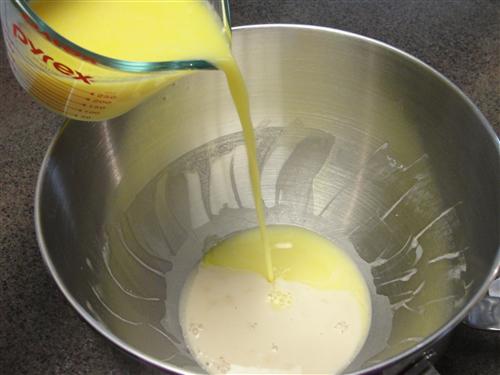
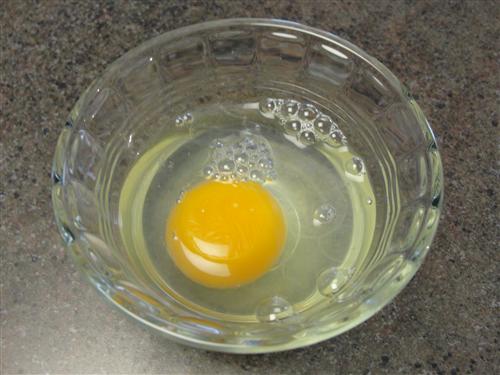
Once it’s cool enough that you can hold your hand on the bottom of the bowl, add the eggs one at a time. Cracking them into a measuring cup first lets you pour them in without risking shells and without stopping the mixer.

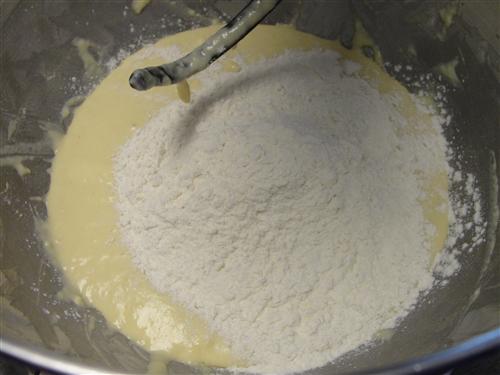
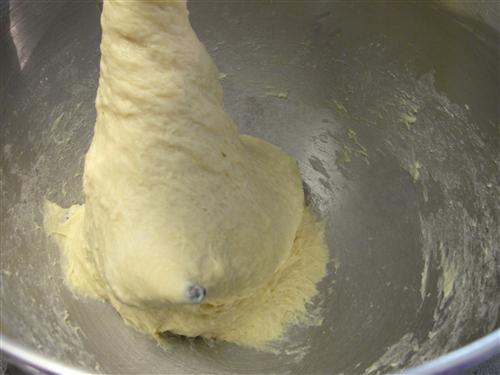
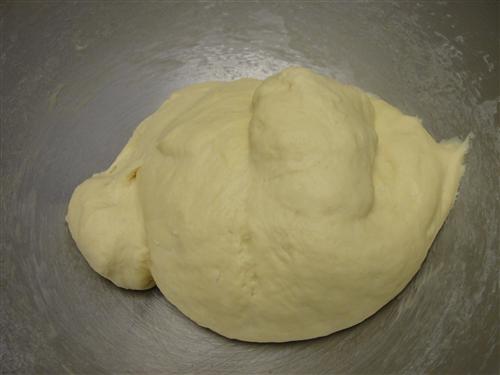
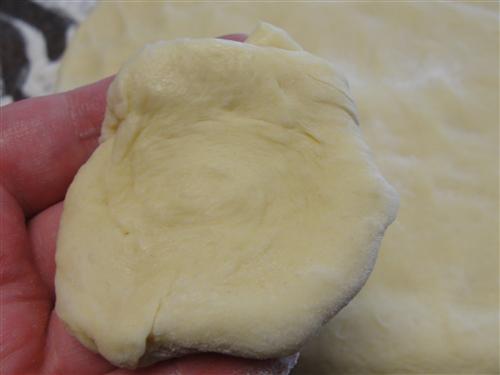
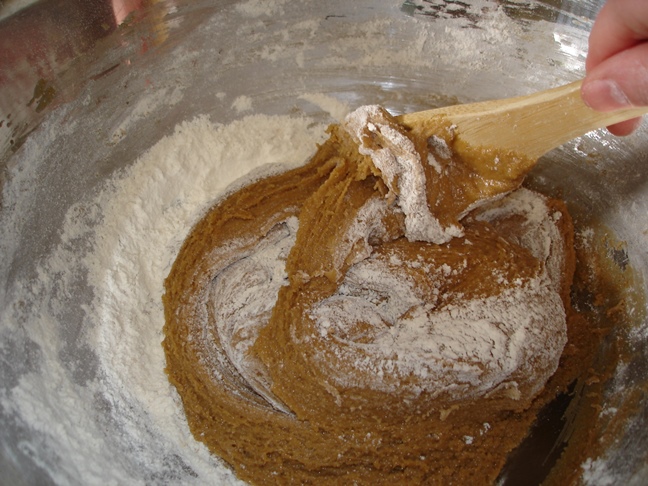
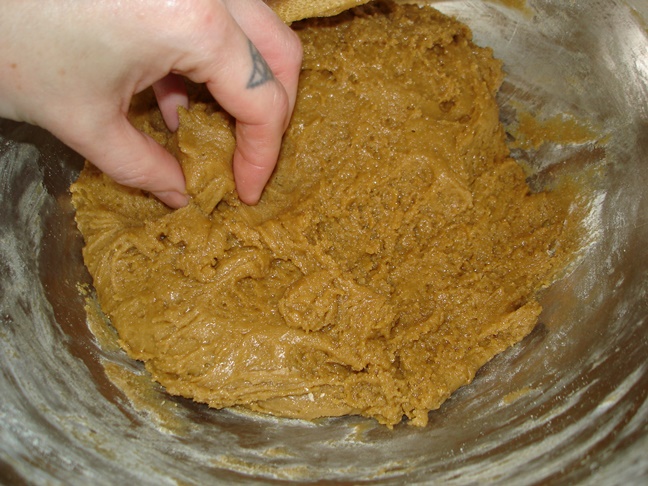
Same thing with the flour. Measure into a giant cup, stir in the baking soda, and pour bits at a time into the bowl until you have a sticky ball of dough that pulls away from the sides of the bowl, but that relaxes and puddles a bit when it’s left alone.
In a small bowl, mix about
- ¼ c dark brown sugar
- 2 tbsp plain old boring regular sugar
- 1/8 tsp sea salt, if you’re into that kind of thing
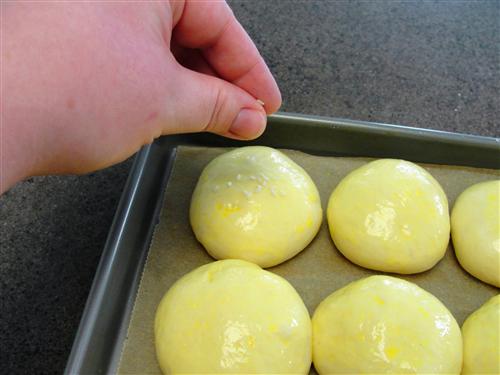
Recipe Guy’s sister is all over the salted-caramel trend, but I find most people over do it on the salting part so I generally stay away from it. If you’re not sure you want to go all in, try sprinkling a few grains of salt on top of each cookie after you’ve dipped them. If those work for you, add the salt next time.
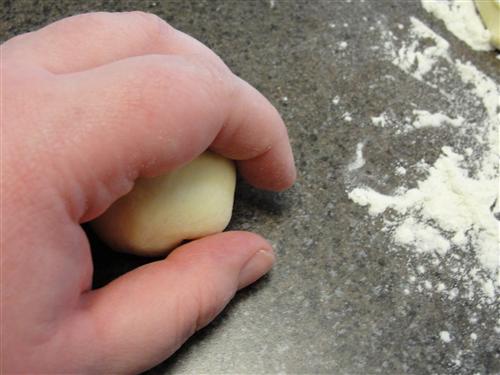
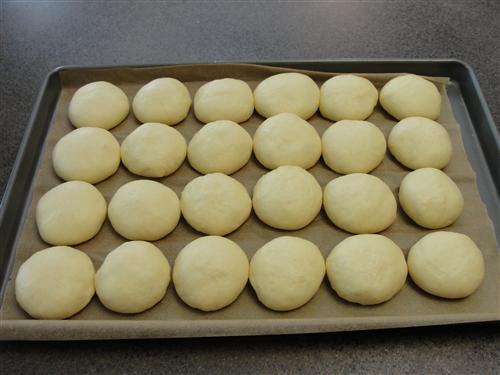
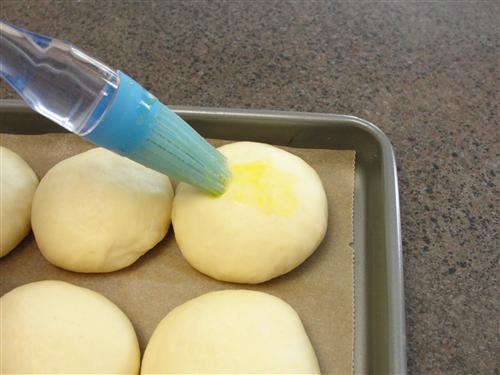
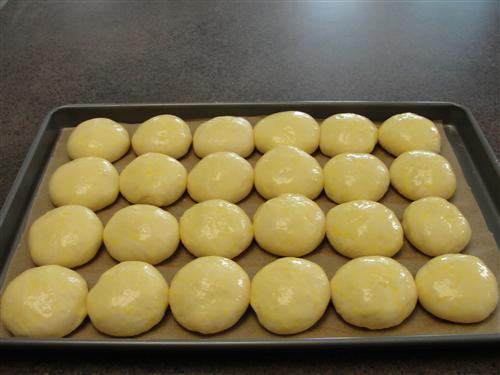
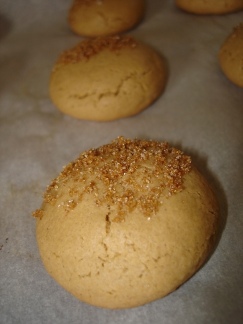
Roll tablespoon or so sized balls of dough and dip the top into the sugar-sugar(-salt) mixture.

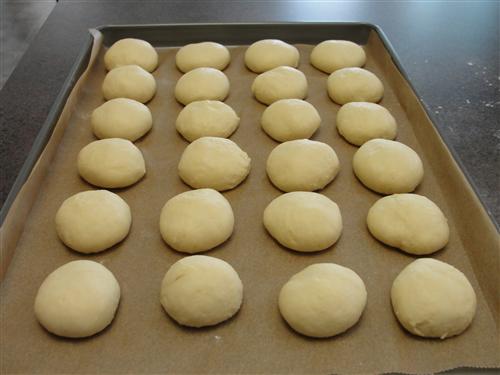
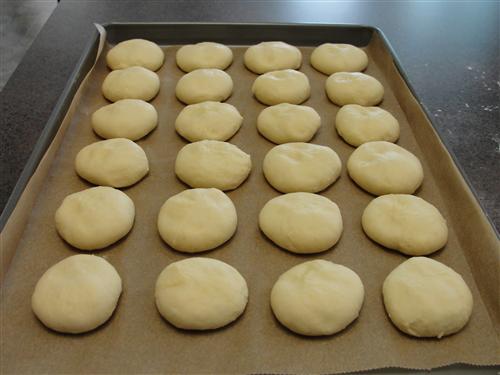
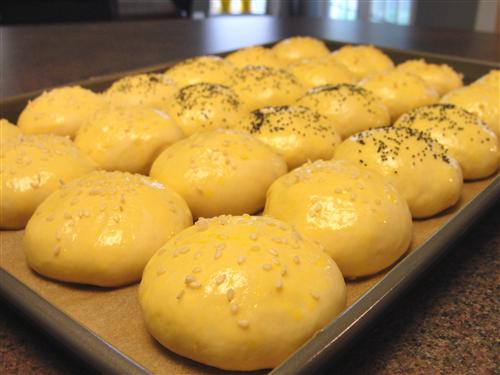
Bake them at 350 for 11 minutes for cookies that are not browned on the bottom, and have chewy middles. If you want them slightly crisp all the way through, let them go for 13 minutes, but be careful not to let the bottoms get too dark.

The butterscotch flavour is subtle in these; it kind of creeps up on you. It’s a lot more noticeable next to a sip of coffee though. Wow, is it ever! Definitely a breakfast cookie.

What do you think of the salted sweets thing?