Does Oatmeal Make It Healthy?
 Taneasha
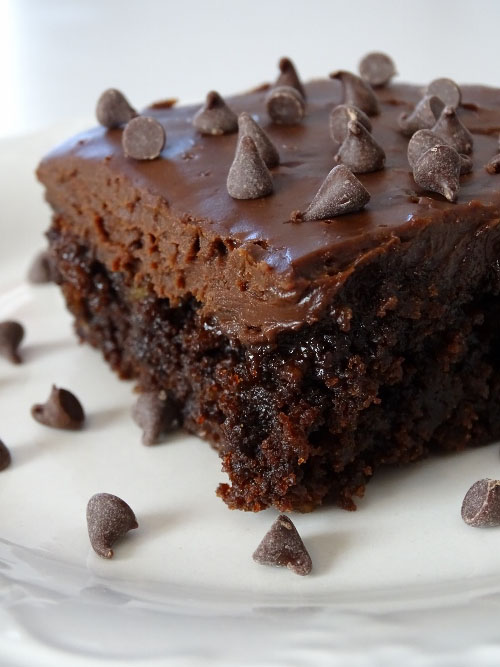
Is there anything better than a chocolate cake? I’m not talking about that grocery store stuff that hardly tastes like chocolate and is smeared with a layer of artificially colored, sweetened shortening. I’m talking about deep, dark, rich, chocolately goodness covered with fudgy deliciousness. That's exactly what this oatmeal chocolate cake is. I know I always go on about how important high quality ingredients are, but with chocolate, it’s more important than ever. If you make a cake with hersheys chocolate and generic cocoa, that’s exactly what it will taste like. I’m not saying you have to put yourself in the poorhouse, but buy something decent. When using chocolate chips from the store, opt for the Ghirardelli or Guittard rather than the store brand or Nestle ones. As for cocoa, I suggest a high quality, dutch process variety. I get mine from Penzeys.
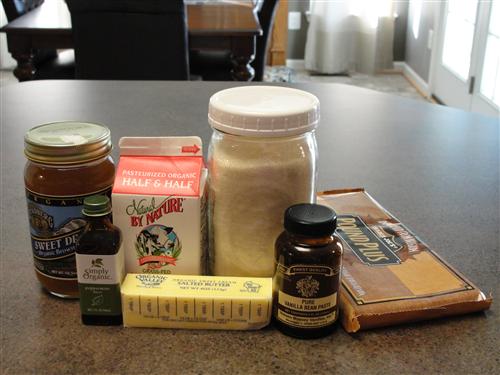
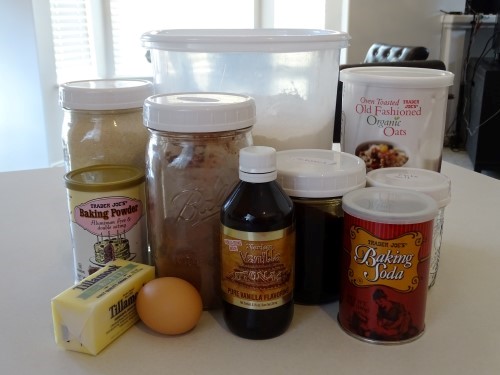
Here’s what you’ll need:
- 1 cup sugar
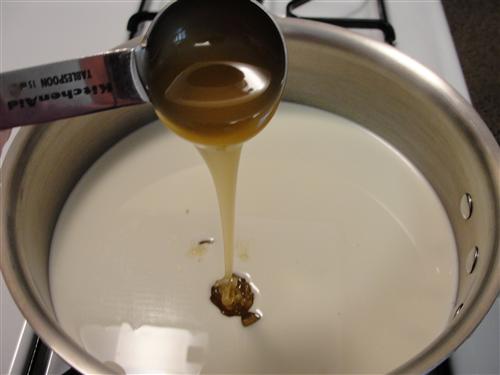
- 1 teaspoon molasses
- 6 Tablespoons butter
- 1 egg
- 1 teaspoon vanilla
- ¾ cup flour
- ½ teaspoon baking soda
- ½ teaspoon baking powder
- ¼ teaspoon salt
- ¼ cocoa
- ½ cup old fashioned oats
- ¾ cup boiling water
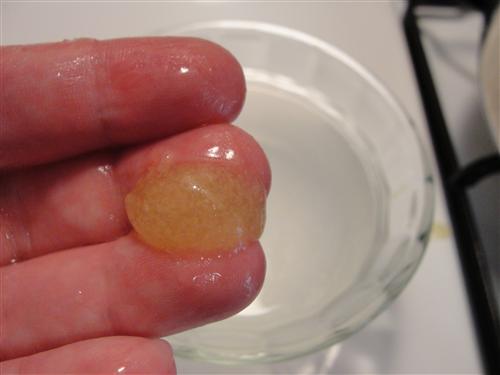
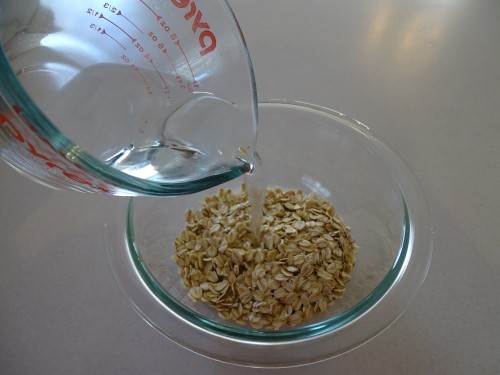
The first thing you need to do is pour the boiling water over your oats and set them aside.
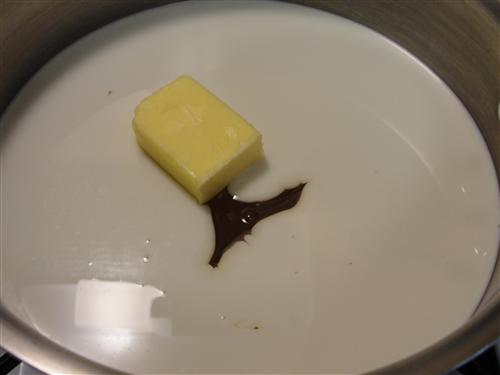
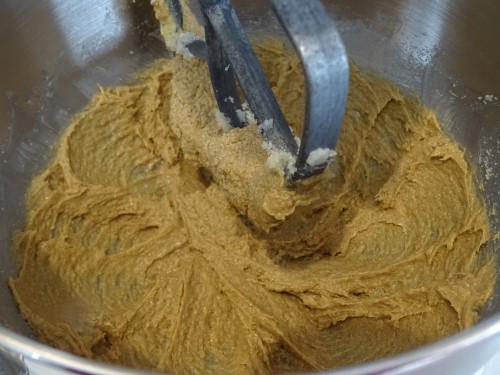
Now is probably a good time to preheat your oven to 350°, as well. Then, in a mixing bowl, combine your softened butter, sugar, and molasses. Mix it for a minute or two, scraping everything down once in the middle. It won’t really get fluffy, per se, because it’s a bit heavy on the sugar side, but it should be light in color and soft.

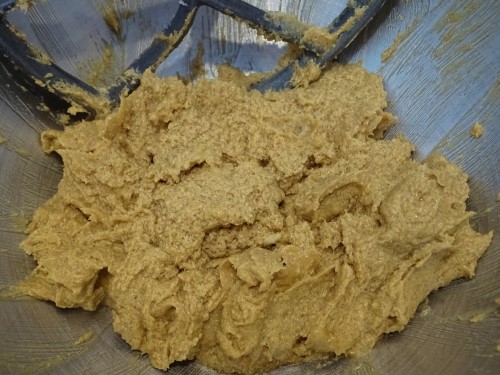
Add the egg and vanilla.
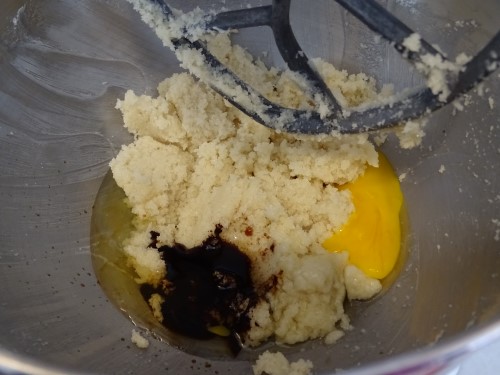
Stir until they’re incorporated.
Then scrape everything down again, and mix it for another minute. I’ll be honest, it’s not terribly pretty at this point, but don’t panic, it’ll get better.
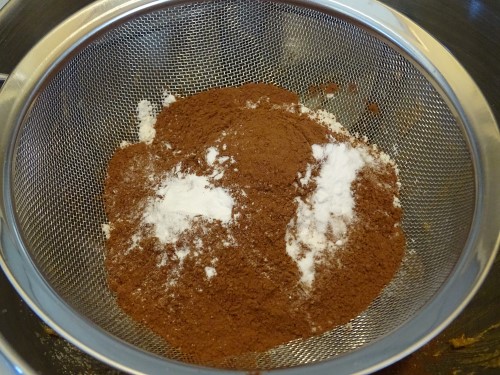
Sift in the dry ingredients and mix until they’re incorporated.
Now come the oats, along with any water they didn’t absorb.
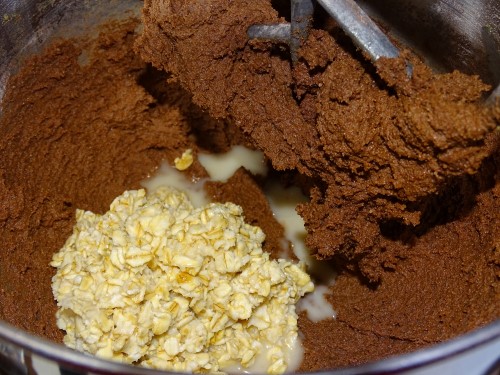
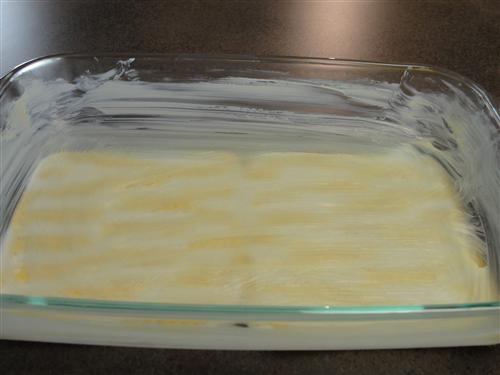
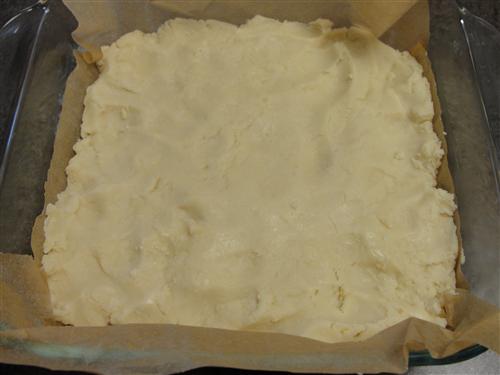
Stir them in and then scoop the batter into a buttered 8 x 8 pan. As you can see, the batter is quite stiff, but that’s just as it should be.
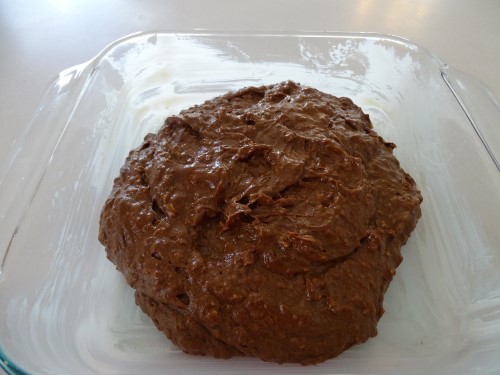
Spread it to the edges, doing your best to even it out across the top, then into the 350° oven for 35 minutes.

Now, the frosting for this cake gets poured on while the cake is still hot, so I like to start on it when the cake has been in the oven for about 10 minutes. I didn’t take an ingredients picture for the frosting,
But here’s what you’ll need:
- ½ cup sugar
- ¼ cup cocoa
- ¼ teaspoon salt
- ½ cup milk
- 2 Tablespoons butter
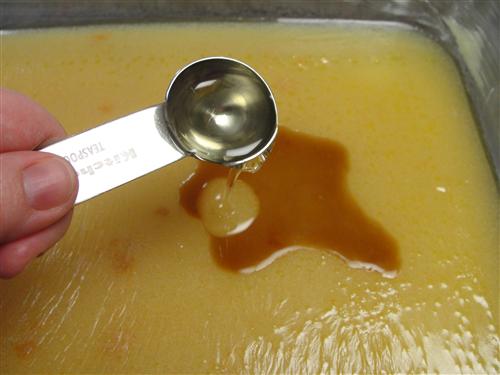
- 1 teaspoon vanilla
- ½ cup chocolate chips
- 1 ½ cups powdered sugar
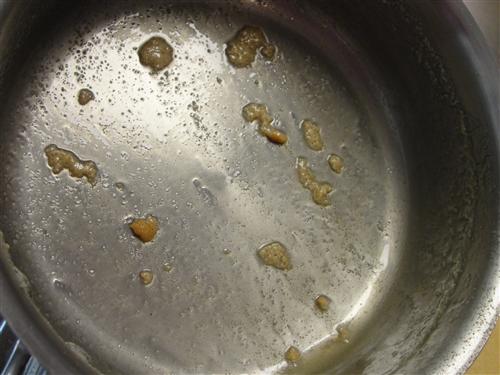
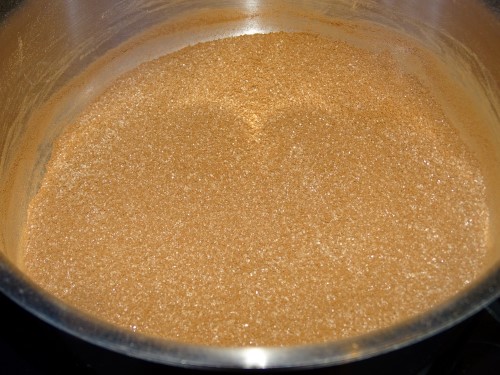
Combine the sugar, salt, and sifted cocoa in a sauce pan.

Stir them until they’re evenly distributed.
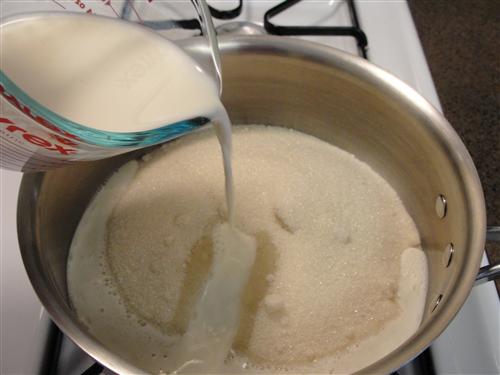
Pour in the milk,
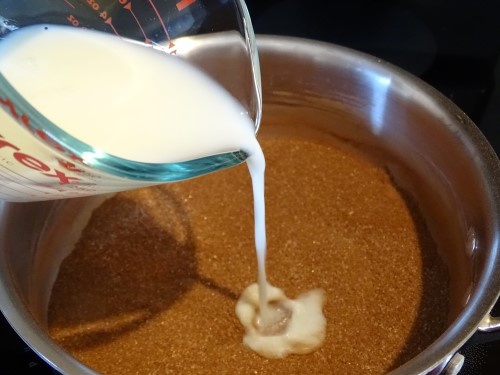
And add the butter.
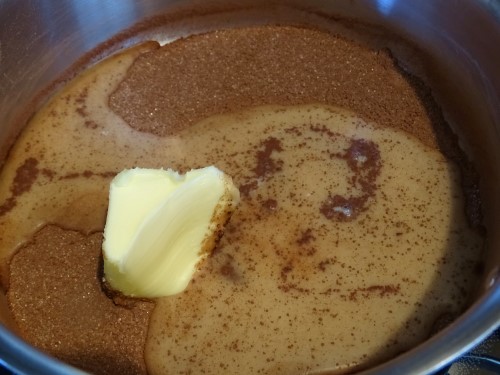
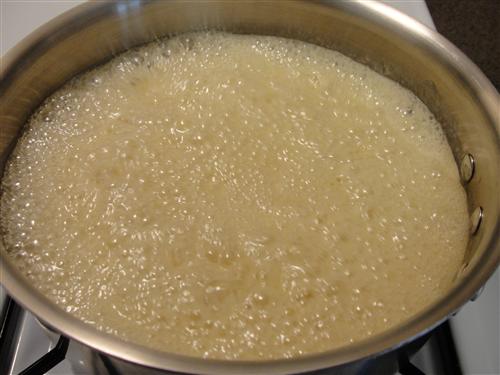
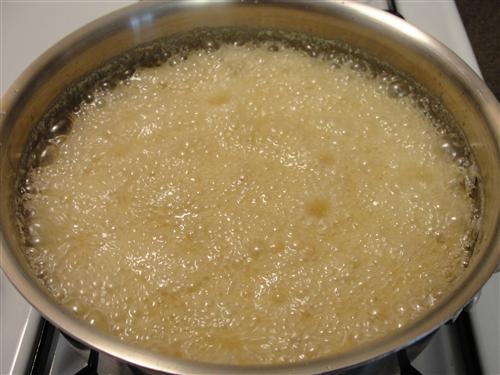
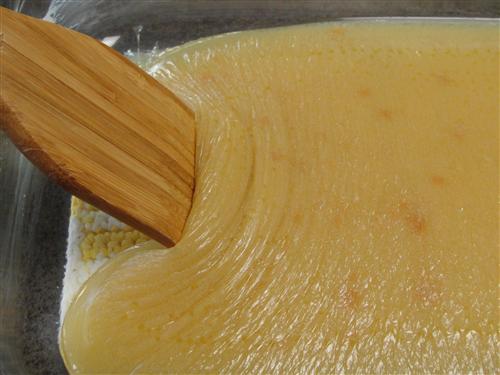
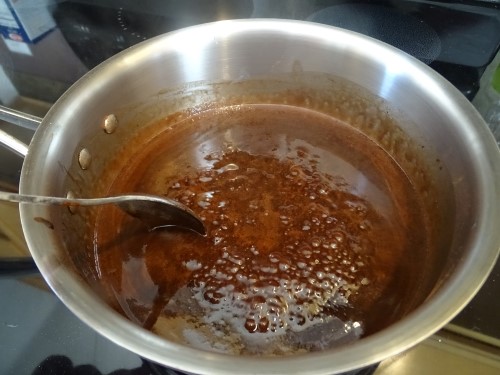
Stir constantly over medium heat until the sugar is dissolved and the mixture just reaches a boil.
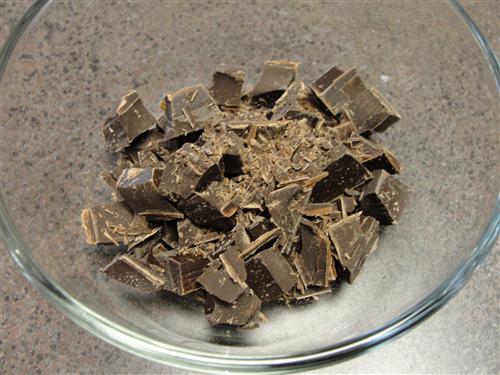
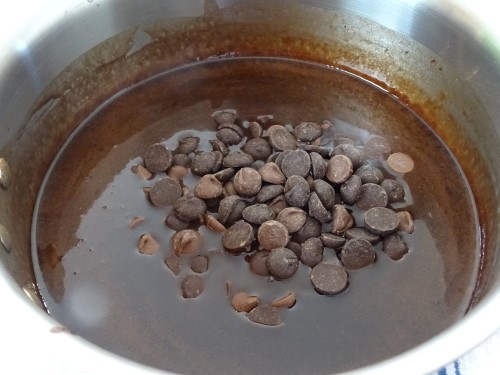
Then remove it from the heat and add the vanilla and chocolate chips. I used a combination of dark chocolate and semi-sweet, but you can use whichever suits your fancy that day.
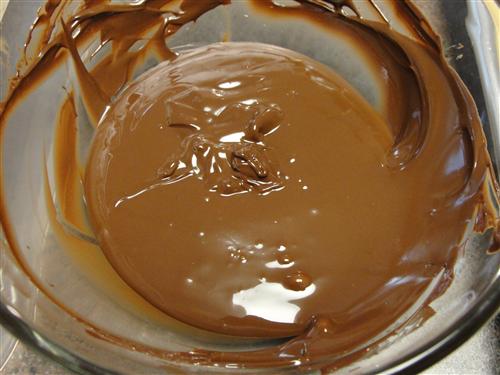
Stir until the chocolate is completely melted and you have this gorgeous concoction.

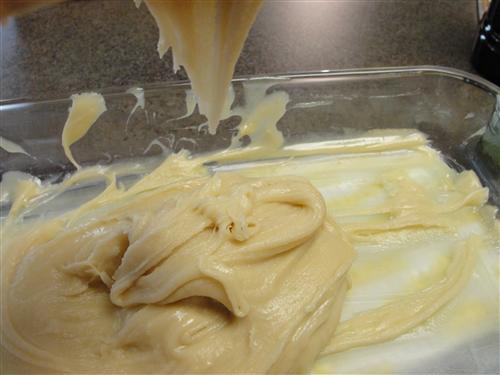
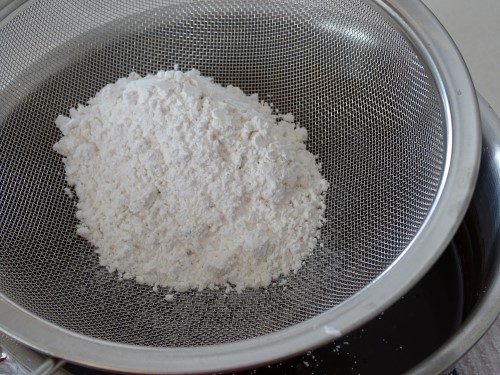
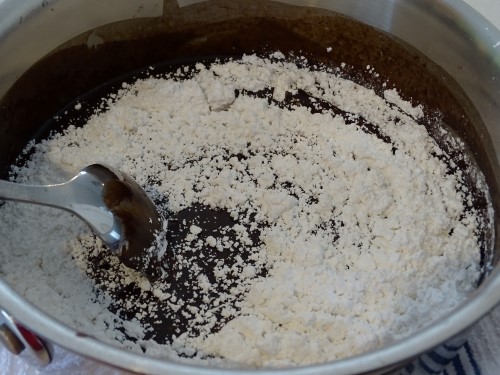
Now, sift in half of the powdered sugar.
Make sure it’s completely incorporated before adding the second half.
Then stir that in and your frosting is ready for the cake. And speaking of cake, it should be just about done. When it’s ready, a toothpick inserted in the center should come out pretty much clean. A few crumbs are ok, just not wet batter.

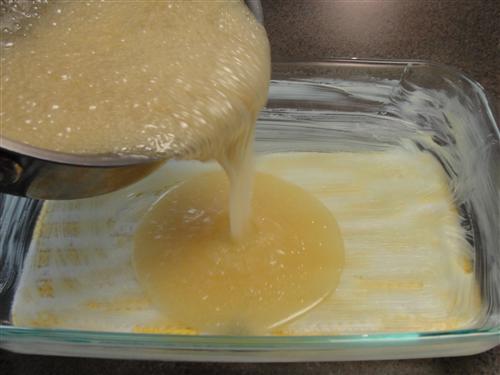
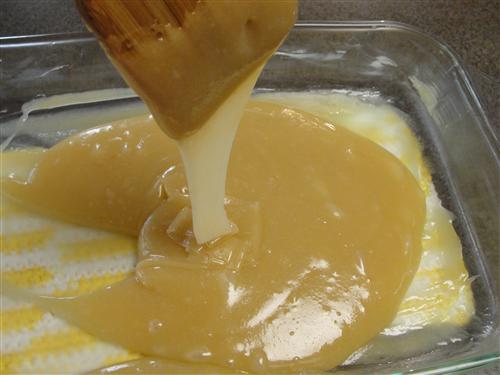
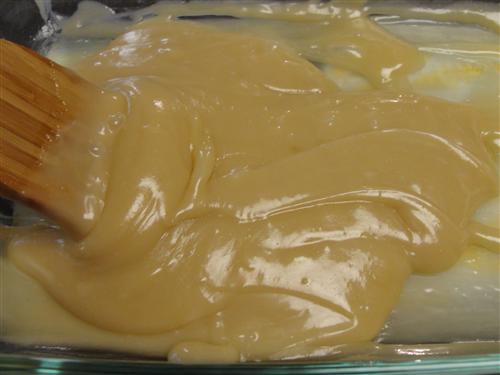
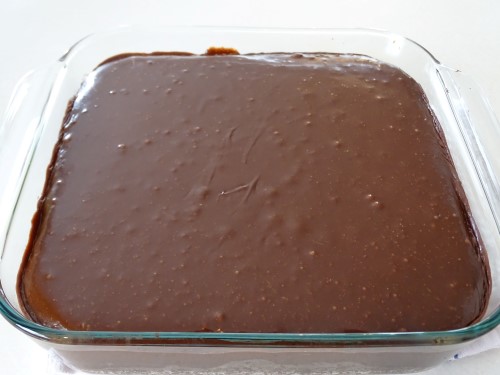
Pour the fudge frosting over the hot cake.

Stop drooling, because now comes the hard part. Allow the cake to cool completely before cutting into it. It’ll probably take 2 – 3 hours, minimum, for it to cool and the frosting to set.
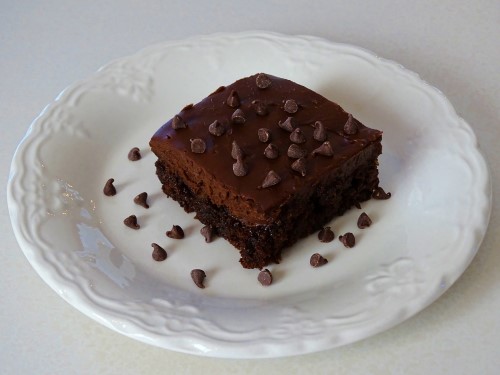
I just sprinkled my piece with mini chocolate chips to make it more aesthetically pleasing, it really isn’t necessary. In full disclosure, I actually took them off before eating it. This cake is absolutely fabulous just the way it is. It’s not like, wow, there’s oatmeal in my cake. If you didn’t make the cake, you’d probably never guess there was oatmeal in it, you’d just think, ‘I love the fantastic texture of this cake!’ and the fudge frosting is pure bliss.
What’s your favorite chocolate treat?