Search
Categories
Have a request?
This form does not yet contain any fields.


    Monday
    Apr012013

    It's almost cookie time

    Engineers are lazy.

    I'm not sure if you've seen the wiener dog and the tennis ball launcher, but that's the best example I've seen on the internet lately. People see it as so innovative and creative... dude invented a machine so he wouldn't have to throw a ball for the dog. Lazy as fuck.

    Lemme tell you, if someone hadn't already invented a dishwasher, I'd have a prototype hooked up to my sink right now.

    And when a prof gives tells me I have to do a 5 minute free form presentation on anything I want (as long as I can somehow tie it to the class material), I spend hours trying to figure out how I can do this without actually doing any work.

    Totally figured out how to have cookies be my schoolwork.

    Which covers off this week's blog post.

    Double lazy.

    Ginger-Orange Brown Sugar Cookies

    totally lazed out on the name too.
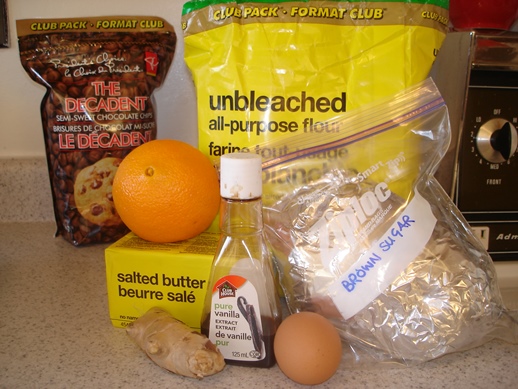
    • 1/2 c butter
    • 1 c brown sugar
    • 1 tsp fresh grated ginger
    • zest of one orange
    • 1 egg
    • 1/2 tsp vanilla
    • 1 tsp orange juice
    • 1 1/2 c flour
    • 1/4 tsp baking powder

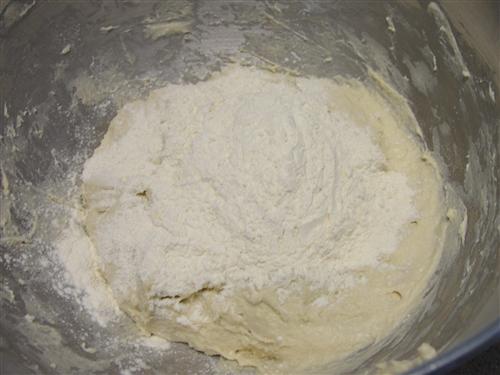
    This is a bit of a variation on a typical sugar cookie. The brown sugar makes it a lot more caramelly, but also means you really have to watch them in the oven. Which you should preheat to 325. Lower temp for the brown sugar too.

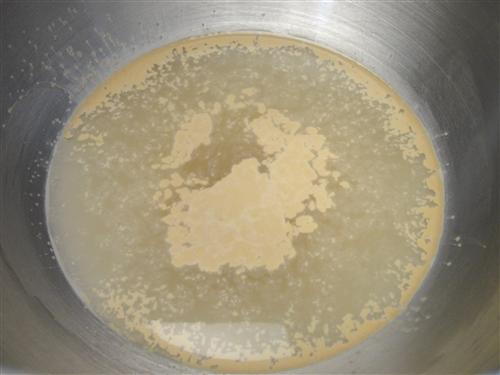
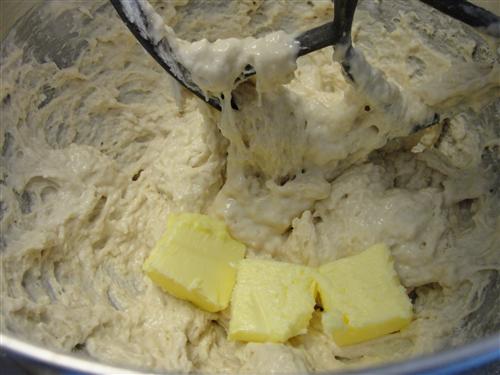
    Cream the butter and sugar with the ginger and the orange zest.

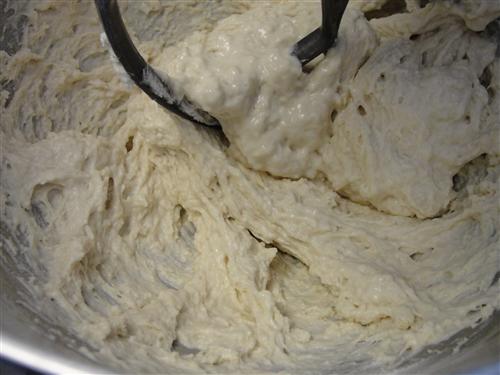
    Beat in the egg and vanilla until it's light and fluffy and looks like it would make an awesome icing for a cake.

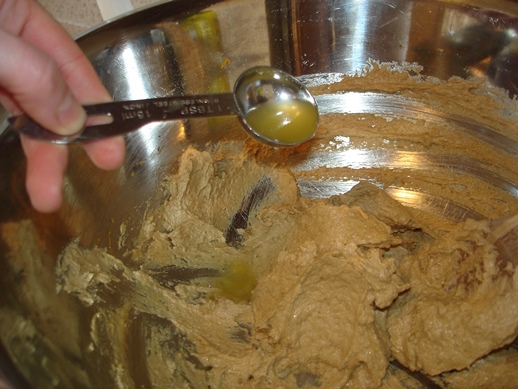
    Don't forget the oj.

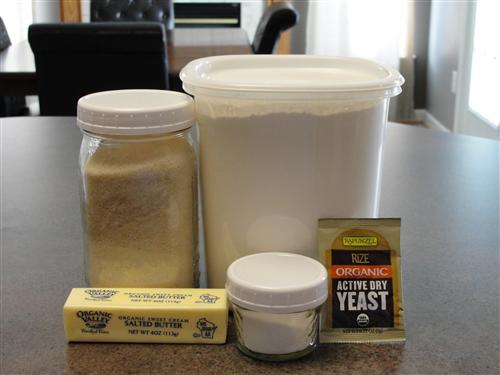
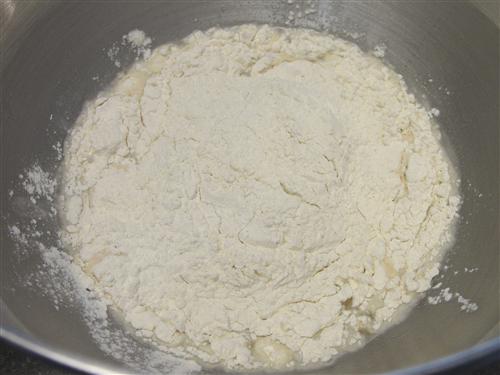
    There was no baking powder in the picture. Dammit.

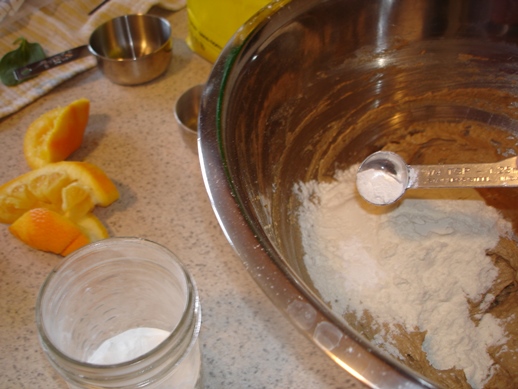
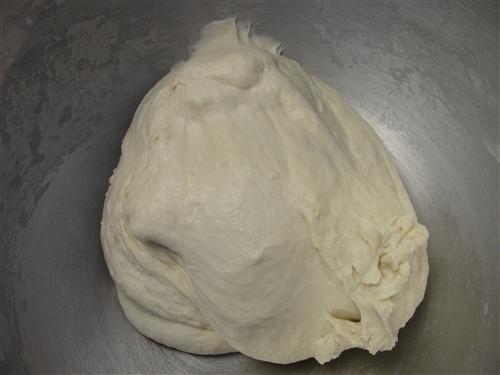
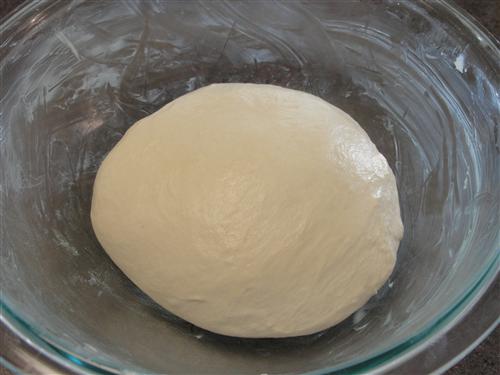
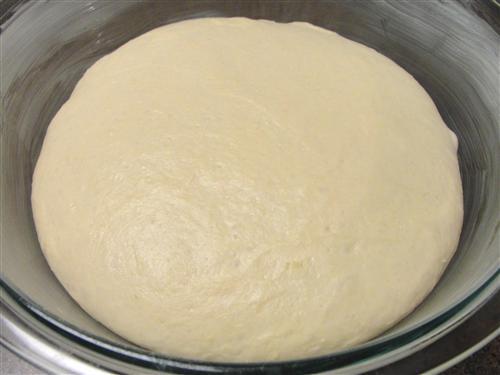
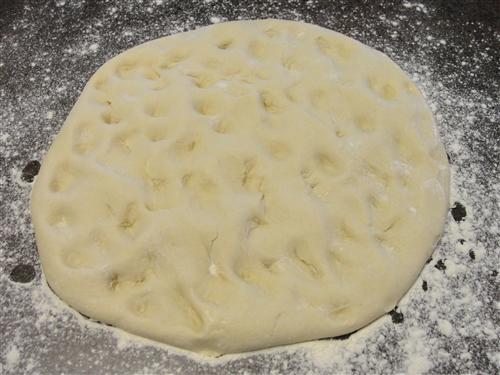
    The dry ingredients will turn this into a very soft dough. Very soft. Might be worth letting it chill in the fidge for an hour or so, but I was impatient so I started rolling it.

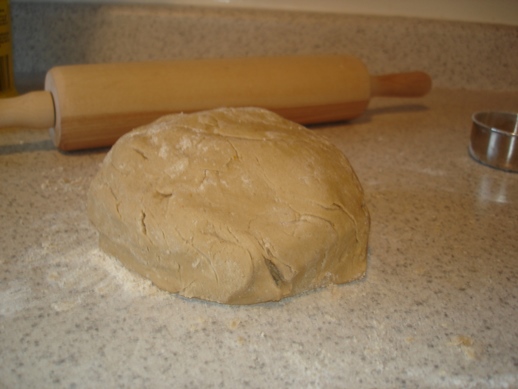
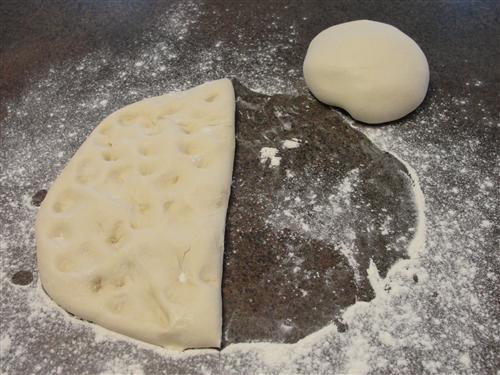
    If I was going to cut this into anything other than rectangles, I would have chilled it.

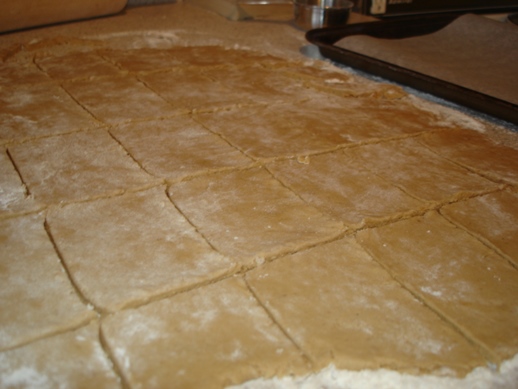
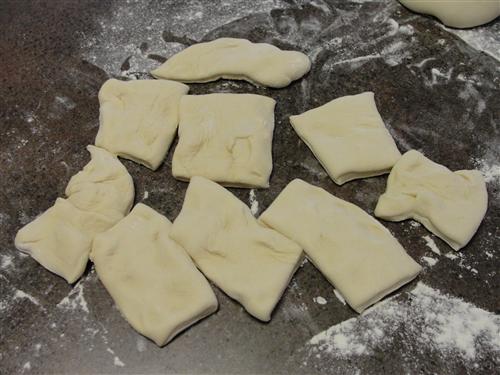
    But, rectangles. Easiest thing you can cut a cookie into. Lasy person's cookie shape. Only drop cookies are lazier, but I had a goal here so I had to cut them.

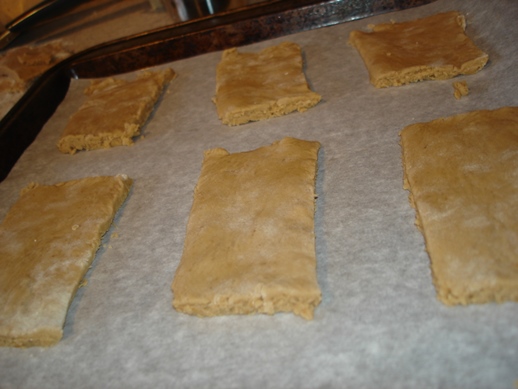
    And bake them. For barely 10 minutes.

    I really need an oven thermometer. I looked for one today, but all I could find were fridge thermometers. Fridge? Really? Have to admit, I've never worried about that temperature. Brown sugar cookies in a nearly antique oven with serious calibration issues, I worry about.

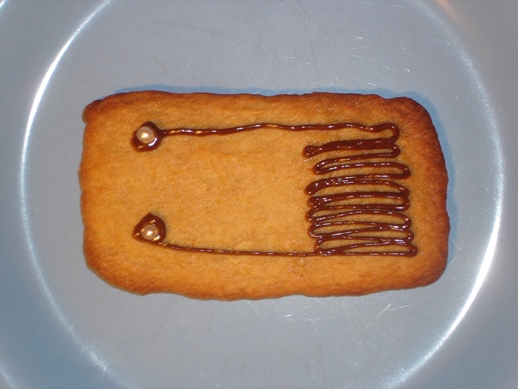
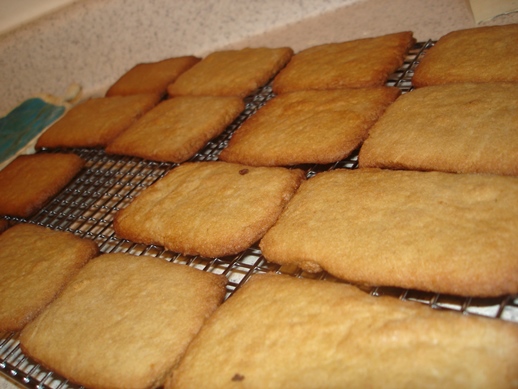
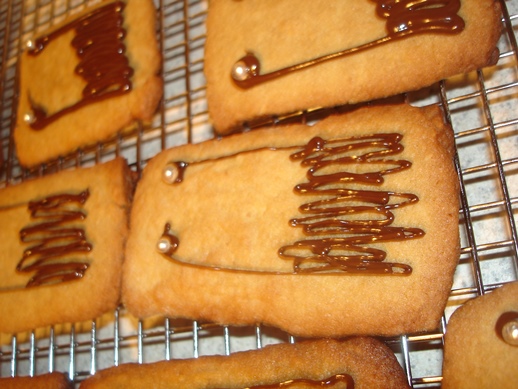
    Once they were cooled, I had to turn them into strain gauges.

    Yes, strain gauges.


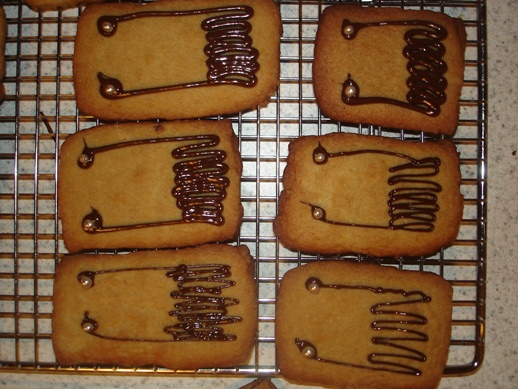
    Yes, strain gauges. This is a school project remember.

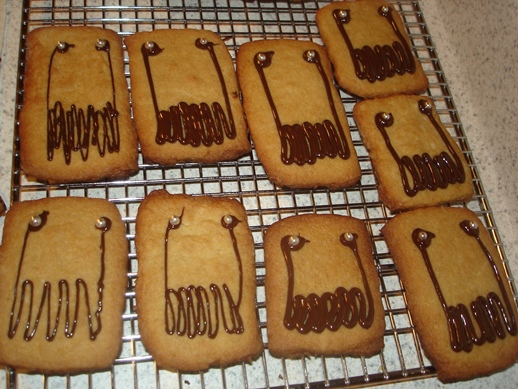
    But from this angle, they look like scary monsters.

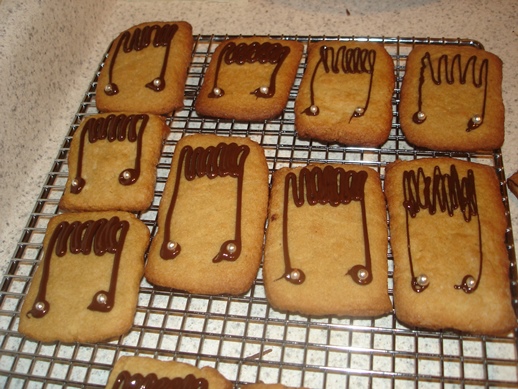
    The other way, and we have happy little music notes...

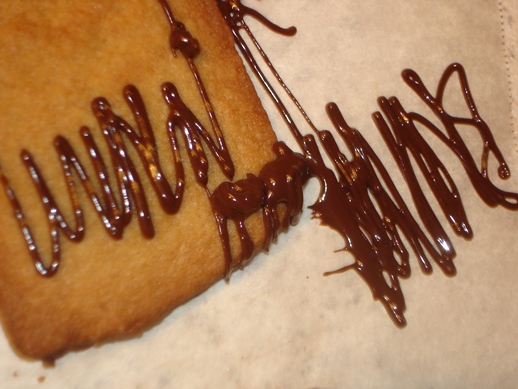
    A bit of melted chocolate in a small sammich bag goes a long way. But be careful about explosions.

    For another purpose, I'd say make these circles and put the chocolate around the edges. The bittersweet chocolate works really well with the zesty orange, and the fresh ginger (yeah, you could use dried, but seriously, try the fresh) gives the familiar warmth but with a sharpness that seems to lighten the usually warm and heavy spice.


    I'm going to have to make these again once I'm done school. Perfect for sharing at work.

    What's your favourite lazy way out of work?


    Friday
    Mar292013

    Dinner Rolls

    Dinner rolls.  They couldn’t really have a more mundane name, but in reality, they are anything but.  There aren’t many things in life better than a fresh, hot, roll.  You can spread butter on them, or eat them with soup, or pile on some of your fresh baked Easter ham to make fabulous little sammiches.  I grew up eating my mom’s homemade rolls.  They were always the best, and we all loved them.  She usually makes potato rolls, though, which call for things like mashed potato and scalded milk.  Well, I’m way too lazy for that, so here is my simplified version. 

    Here’s what you’ll need:

    • 1 ½ cup warm water
    • 1 Tablespoon sugar
    • 1 pkg yeast
    • 3 ½ cups flour
    • ½ teaspoon salt
    • 3 Tablespoons butter

    Place the sugar in your mixing bowl and pour over the water.  The temperature of the water should be about like a nice warm bath would be. 

    Swirl that around to dissolve the sugar, and then sprinkle on the yeast. 

    Walk away for 5 – 10 minutes, or until you start to see active signs of life.

    Add 2 cups of flour to the water. 

    Mix that until it just comes together.

    Add the butter, and mix for about a minute or so. 

    Add the remaining flour, as well as the salt, and switch to the dough hook. (if you’re using a stand mixer) If you’re not using a stand mixer, work the flour in as best you can with a wooden spoon, and then switch to kneading by hand.  If you are using a mixer, allow it to knead the dough on medium low speed for 5 minutes or so. 

    While that’s doing its thing, go ahead and butter a large bowl. 

    If you happen to have a butter wrapper on hand, it is the easiest way to do that.  My friend Elise just passed on a little tip.  She says you can stack them in the freezer, and then just pull them out when you need them.  That’s a great tip, but with my brain, I’m likely to remember it just after I’ve dropped the butter wrapper in the trash. 

    At this point your dough should be nice and smooth, but still a bit sticky. 

    Flour your hands, and then move it to the bowl, flipping it over so that both sides have butter on them. 

    Cover that with a damp kitchen towel and leave it to rise. 

    Depending on the temperature of your house, it will probably need somewhere between 45 and 90 minutes.  Most likely, it’ll take about an hour.  You want it to basically double in size. 

    Dump the dough out onto a floured surface and poke it with your knuckles to get rid of the largest bubbles. 

    Divide the dough in half and set one piece aside. 

    Cut the half you’re working with into 9 equal-ish pieces. 

    Flatten each piece into a disc shape. 

    Then fold all the edges into the center to form something resembling a ball. 

    Put it down on the work surface, place your hand loosely over the top like a cage, and move it in small circles.  This will pull everything tight and make a nice ball. 

    Place the ball into the prepared pan and repeat with the rest of the dough pieces. 

    If you need more than 9 rolls now, go ahead and do the same with the other half.  Personally, I’d prefer to save them for another night to save me some time.  In that case, roll them into balls the same as you did the others, but place them with a bit of space between them on a floured, parchment lined, sheet pan, then pop that into the freezer for a few hours.  When they’re frozen solid, go ahead and drop them into a freezer bag.  Then when you’re ready, go ahead and continue from this point.  Just remember it will take a bit longer because they have to thaw before they’ll rise. 

    Allow the rolls to rise until they’re nice and puffy.  Probably another hour or so.  When they’re getting close to that size, go ahead and preheat the oven to 350°.  

    When they’re ready, bake them for about 25 minutes.  They should be nice and golden on top and if you tap on them, they’ll sound hollow. 

    Remove them from the pan immediately.  If you want them to be pretty, brush them with a little butter, and they’ll be shiny and gorgeous.

    They really do need a better name.  Look at that beauty! 

    What’s your favorite thing to do with a roll?