because we always do what we're told
 Seeley deBorn
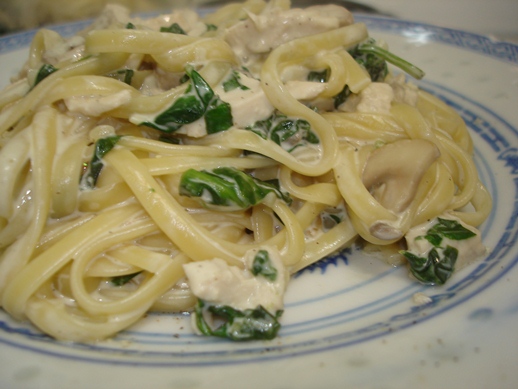
So our lovely winner, Angel, suggested that we make either a turkey pot pie or some kind of spaghetti with chicken. Well, we go all out around here when people give us suggestions. I mean, really, I once made cookies with garam masala in them because one of the guys at work challenged me to do it. Chicken Spaghetti? No problem.
I did have to pause when I was told that most people mean some kind of ... *cringe* casserole (gag) when they say "chicken spaghetti."
I have an undying holy hate for anything called casserole. While this kind of thing serves as comfort food for many people, memories of my mother's pasta-and-cans-of-mystery-soup dinners are things of nightmares.
I do not, and will not ever, make casseroles.
And because of this, I turned to my old standby. One cutting board, one pan, and dinner in as little time as possible.
Chicken Spaghetti
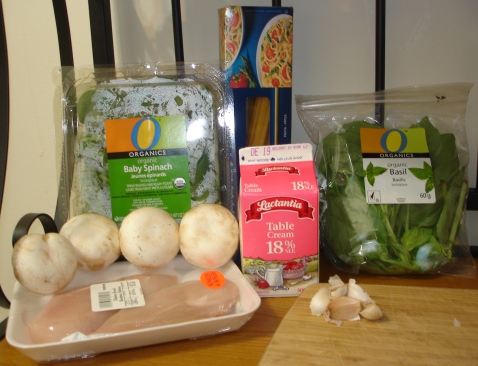
What you need:
- 2 chicken breasts
- 5 cloves of garlic
- 4 giant mushrooms
- 1 small box of spinach
- 1/3 c basil leaves
- 1-1/2 c table cream
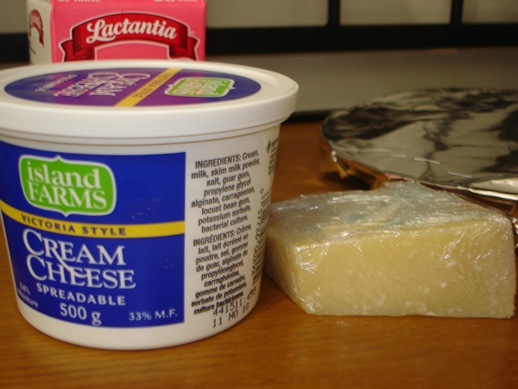
- 1/4 c cream cheese
- 1/4 c parmesan
- 1/2 box linguine
What you gotta do:
Get a nice big pot of water on to boil. (this is the pasta equivalent of remembering to preheat the oven)
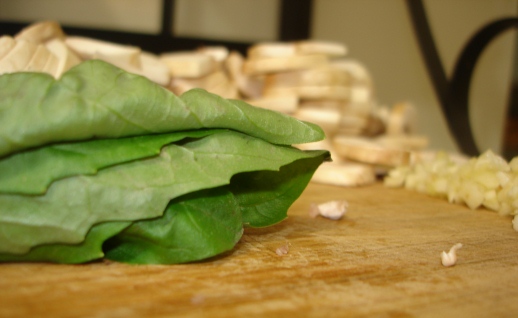
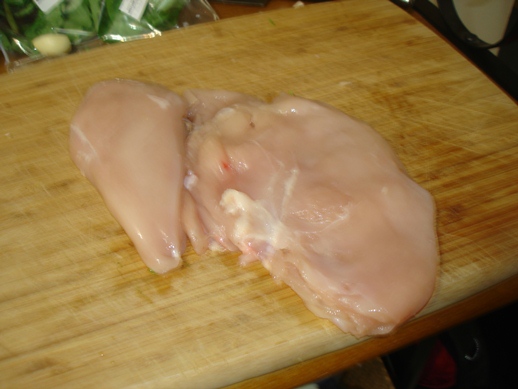
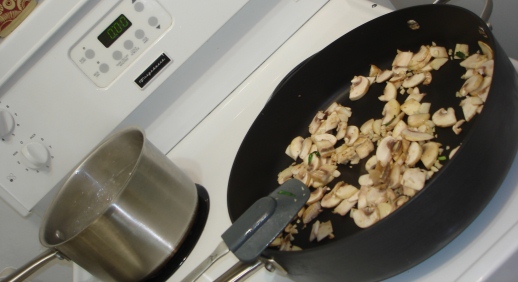
So, because I'm damn lazy, hate washing dishes and have limited cutting boards, I always chop the veggies first. Mince the garlic, slice the mushrooms, and chiffonade the basil.
Then, once those are taken care of, I use the same board for raw meat. Chicken breast cooks faster when it's thinner, and it's quite satisfying to make big loud banging noises as you shake everything on the counter with every swing. I remember my mom having a "meat mallet" and it seemed like a common tool at one time, but most utensil sets nowadays don't seem to include them.

It is a bit of a specialized item and I'm quite fond of multi-purpose items, so I use the bottom of a Pyrex measuring cup. Works just fine.
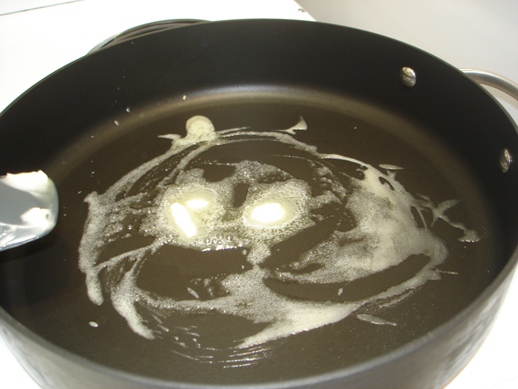
Bring a bit of butter to bubbly in a large pan.
Add the chicken breats and cook until it's just starting to brown. (um, that's pepper. I like pepper. Which reminds me: salt and pepper.)
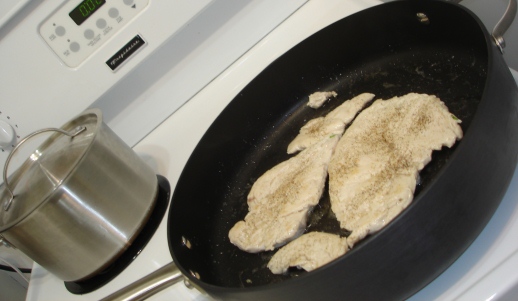
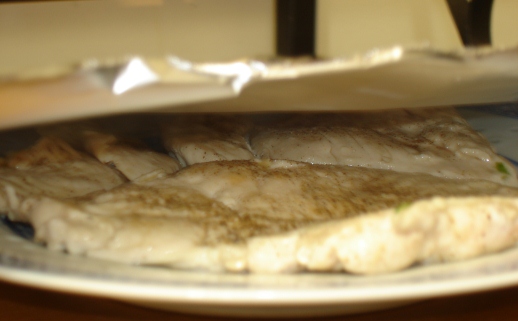
Flip them over and give them just a couple minutes then take them out of the pan and cover them with foil. Don't worry if it's not entirely cooked all the way through. It's going to rest on a plate for a while and then go back into the pan. It'll have lots of time to finish cooking.
Dump the mushrooms and garlic into the pan. If you'd like you can add a bit more butter with them.
If your spinach is small-leafed enough, you can just toss it in as is. If the leaves are a little on the big side, you can tear or chop it before adding it. Me, I just tore it up a bit since I'd already dirtied the only cutting board I wanted to wash.
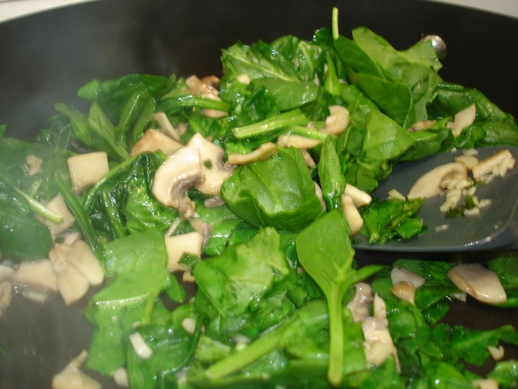
Once the spinach has wilted a bit (that takes like 2 minutes, and likely you'll be busy adding linguine to water while it happens) add the cream,
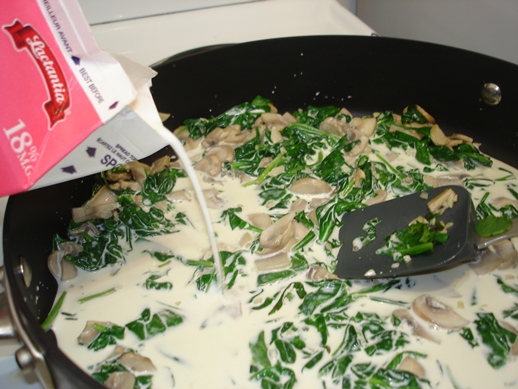
and the cream cheese.
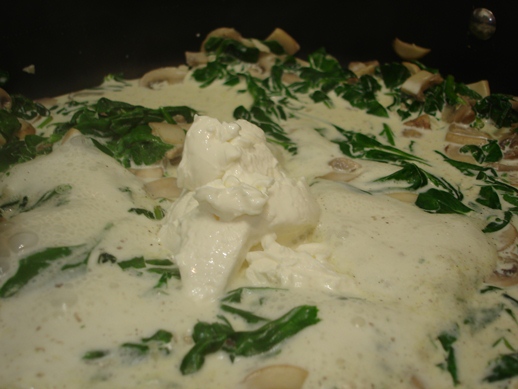
Let this simmer for about 5 minutes over reasonably high heat. I used cream with 18% milk fat, which is less than whipping cream, but more than what typically goes into coffee. If you've got whipping cream, cut it with a bit of milk or chicken broth. The cream cheese isn't totally necessary in this, but it adds a nice bit of cheesey flavour.
When your pasta is almost done, slice your chicken breasts. Add it and the basil and grated parmesan to the pan.

Drain the pasta, leaving just a little bit of water in the bottom of the pot, then dump it all into the sauce pan.

Give this a good mix, and keep it bubbling over medium high until the sauce is the consistency you want.

I kept mine bubbling for about 3 or 4 minutes before I loaded it onto a plate and into a couple of containers for lunch tomorrow and dinner in a couple days.
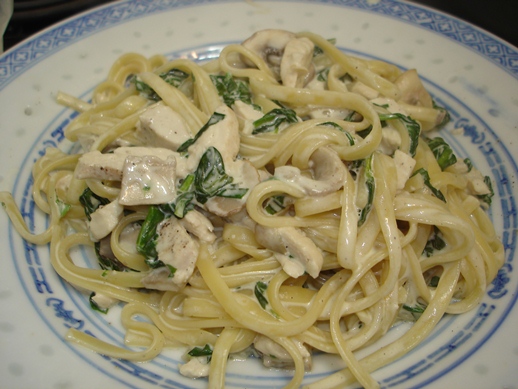
So, there we go. A deconstructed Chicken Spaghetti casserole (gag) made with fresh ingredients, in about 30 minutes with as few dishes as humanly possible.
Next challenge??


