The holidays are rolling around, so I thought this year I'd post a few cookie recipes. Although, if I’m honest, this idea has been rattling around in my brain for awhile now, and I just needed an excuse to make them. Back at Halloween, we got ‘booed’. If you’re not familiar with this, basically, an anonymous neighbor gives you a bag of treats, and then you pay it forward to two other people in the neighborhood who haven’t yet received one. Well, I decided to get my two people a loaf of Pumpkin bread from a local bakery. I placed the order for the two loaves at the drive thru, and the girl asked, “Would you like to try our new snickerdoodle bars?” Um, yes please. Well, when I got home, I discovered she had actually said snickerdoodle bread, and unfortunately, it wasn’t nearly as good as that sounds. It got me thinking, though. How could I do a new spin on snickerdoodles? Cinnamon Roll Cookies, of course!
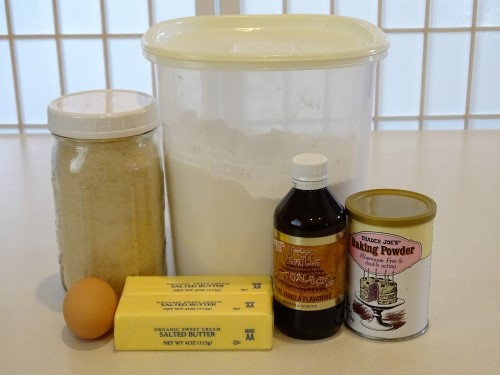
Here’s what you’ll need for the dough:
- 1 cup butter (2 sticks)
- 1 cup sugar
- 1 Tablespoon vanilla
- 1 egg
- 2 teaspoons baking powder
- 5 ½ cups flour
For the filling:
- 2 Tablespoons melted butter
- ½ cup sugar
- 2 teaspoons cinnamon
- Pinch of salt
For the icing:
- 1 cup powdered sugar
- 2 ½ - 3 teaspoons water
I have to give credit for this cookie dough recipe to the lovely ladies over at Two Sisters Crafting. After searching for a cookie that had all the characteristics I wanted, easy to roll out, not a lot of spreading, soft texture, etc., theirs seemed to fit the bill. I halved the recipe and followed it almost to the letter. The only change I made was to cut back the amount of flour a little, and you’ll see why.
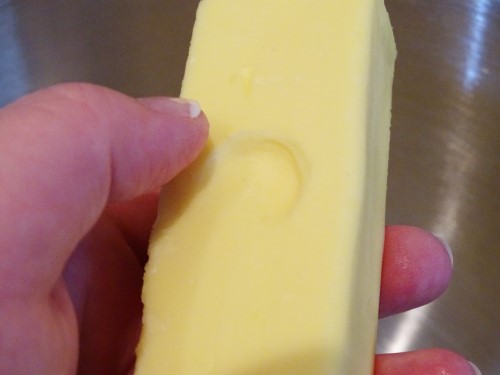
For your ingredients, you want the egg to be room temperature, but the butter should be a little on the cool side. Depending on the temperature in your house, give it maybe an hour or two out of the fridge. You should be able to press a dent in it with your thumb fairly easily, but the rest of the stick should hold its shape.
Drop two of those into the bowl of your mixer.
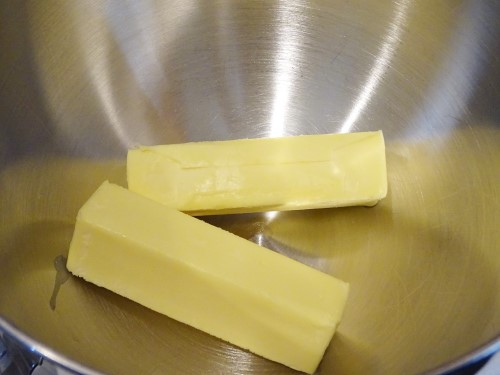
When the butter is still a bit on the firm side, I like to give it a little smash, just to help the mixer out. (What? I know it’s a heavy duty Kitchen Aid mixer, and can surely handle a little butter without my help, but I tend to baby my equipment slightly. That thing has put in a lot of work over the past fifteen years, so it's the least I can do.)
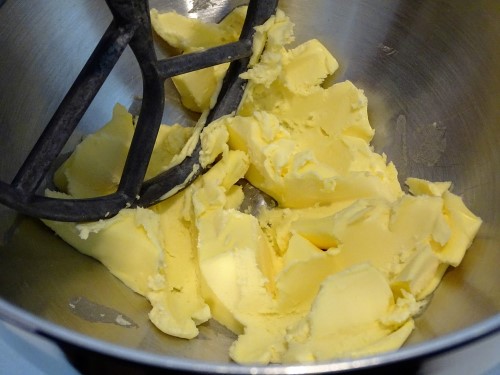
Until the butter softens up a little bit more, it will tend to stick to the paddle. Just stop frequently and scrape it out with a silicone spatula.

Once it’s not quite so clingy, go ahead and add the sugar.
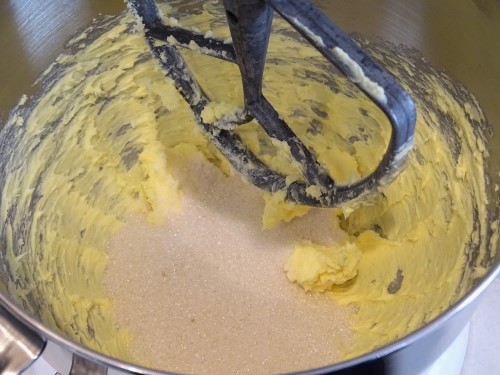
Mix just until they’re combined. I know, usually cookie recipes call for creaming the butter and sugar for at least a minute or two, but the Two Sisters said otherwise, so I did as I was told… skeptically… but I still did it.
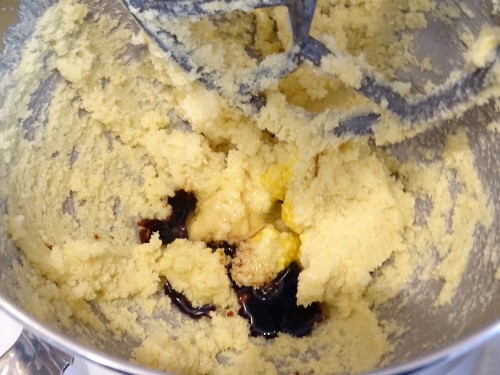
Next, add the vanilla and egg.
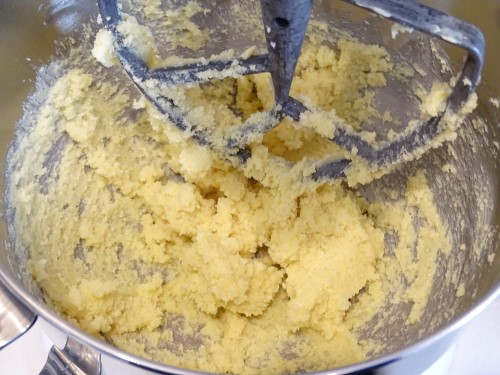
Mix just until they’re incorporated. Add the flour and baking powder.
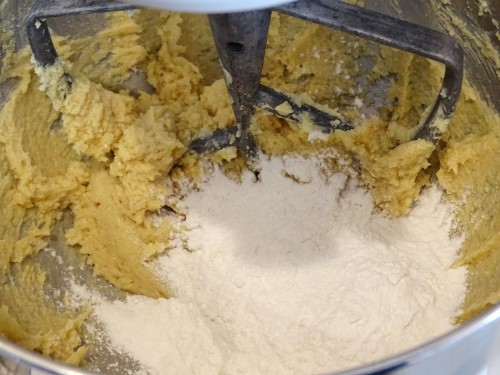
Once again, mix just until everything is combined. At this point, I realized this dough was going to be a little bit dry for my purposes. Not only do you need a dough that you can roll out, but then it needs to also be rolled up, and this dough was going to crack.
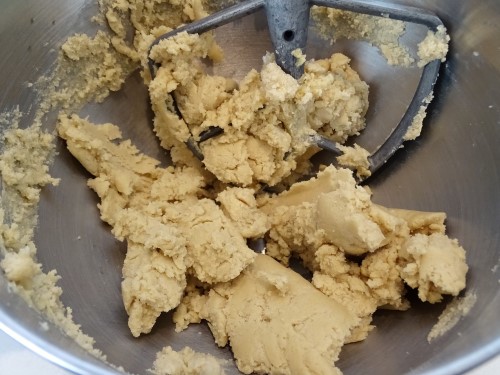
Using the 5 ½ cups I’ve called for, you probably won’t run into this problem, but if you do, this is where the sisters and I part company. They recommend adding more vanilla or a little milk to the mixture. The problem is, even a little bit of milk can change the texture and make the cookies a little more cakey. For regular sugar cookies, that’s not a big deal, but for this particular application, I opted to use 2 Tablespoons of half melted butter instead.
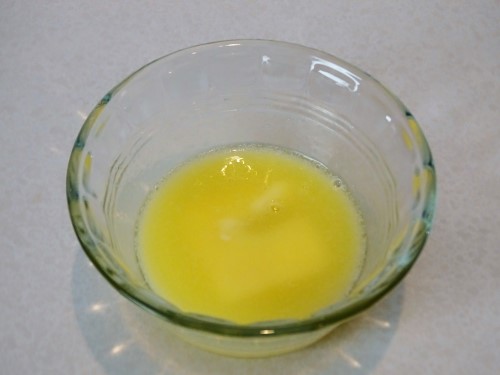
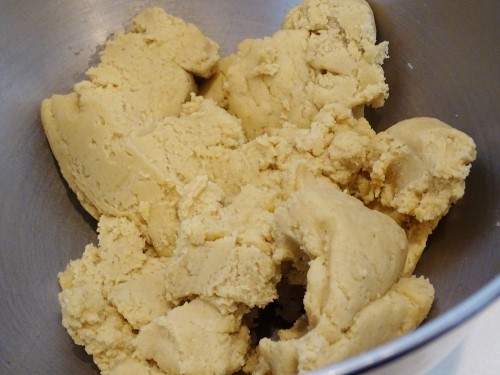
Once that was incorporated the dough was perfect.
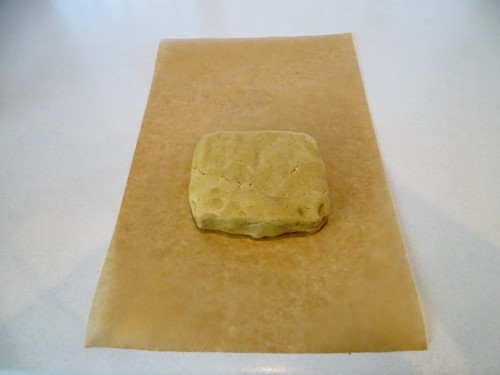
Because the dough can’t really afford to add more flour, we’re going to roll it on parchment. Always start with a shape resembling what you want to end up with in the end. In this case, you want something square/rectangular.
Unfortunately, the parchment will slide around while you’re rolling and I don’t really have any cool tricks for preventing that. Please let me know if you do. The secret to keeping a square shape, however, is to always roll towards the corners. As long as you do that, it will stay rectangular. See?
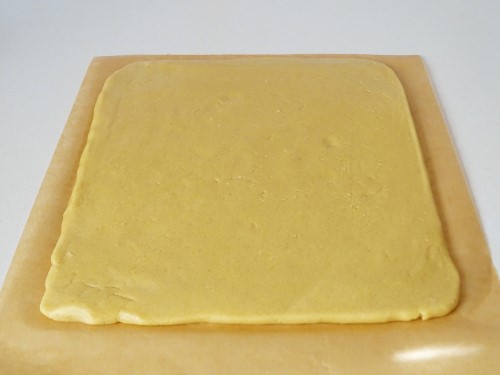
You want it to be about ¼ inch thick.
In a small container with a lid, combine ½ cup sugar, 2 teaspoons cinnamon, and a pinch of salt.
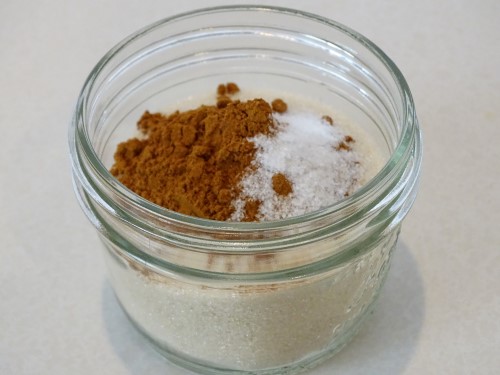
Put the lid on and shake until everything is combined.

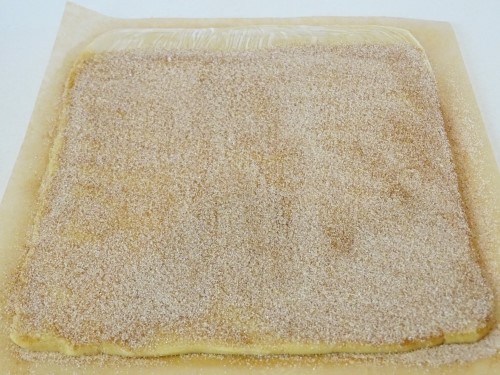
Brush the dough with two tablespoons of melted butter.
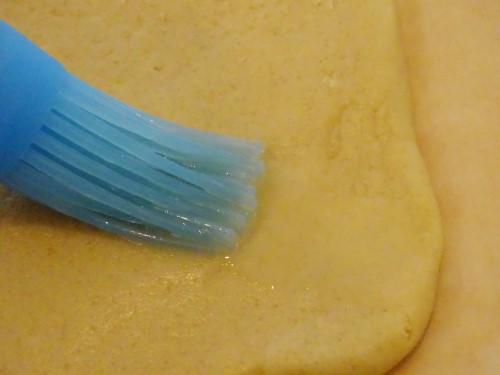
Unlike bread cinnamon rolls, you want to cover the entire surface. Butter acts like glue for cookies, while it does the opposite for bread.

Sprinkle the cinnamon mixture over the top, leaving about an inch bare along the far edge. I only used like ⅔ of mine.
Now comes the trickiest part. Carefully fold the edge nearest you over the dough. It will crack a bit, but just fix it with your fingers.
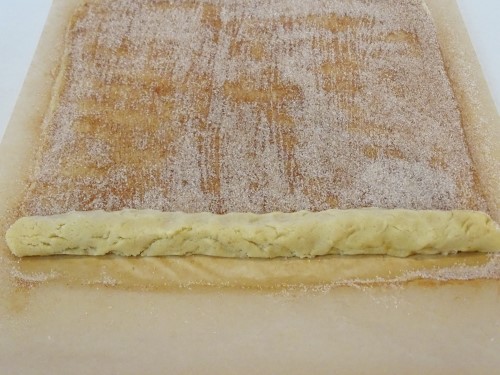
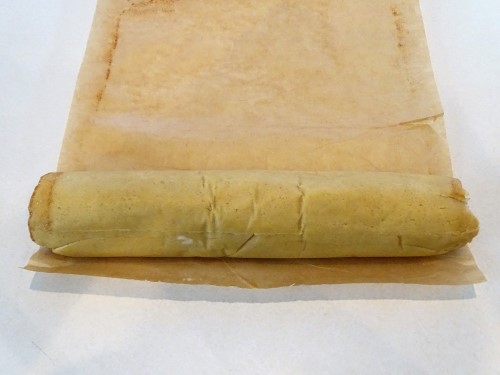
Then, using the parchment, slowly roll the dough. I’ll admit, this is easier said than done, but just be patient.

When you get to this point, fold the last few inches over the top.
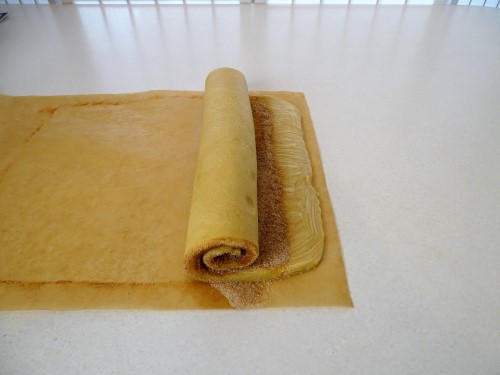
Then gently press the seam together with your fingers.

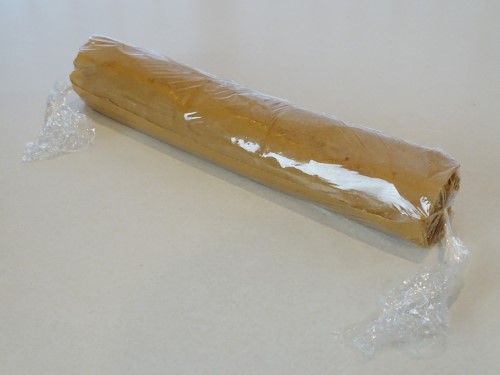
Roll the whole thing up in the parchment.
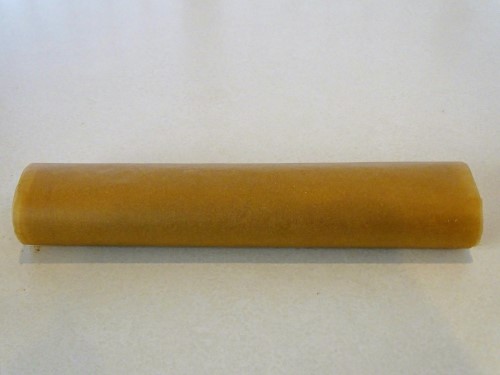
Then wrap it in plastic and refrigerate for at least an hour, anything longer than that is fine, as well.
When you’re ready, preheat your oven to 350°. Remove the cookie roll from the fridge and unwrap it.
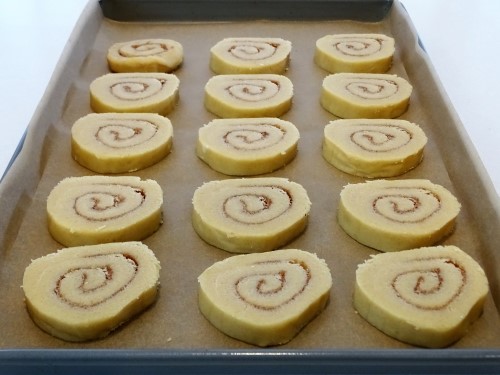
Slice the log into ½ slices and lay them on a parchment lined cookie sheet. Leave at least an inch between them. This picture is not actually of the pan I was cooking, but of the pan I was going to freeze, so I didn’t leave much room. That being said, if you don’t want to bake them all now, like most other cookies, you can place the ready to bake dough on a parchment lined pan and freeze them. When they’re frozen, just place them in a freezer bag and bake as many or as few as you want. Just add 2 minutes to the baking time.
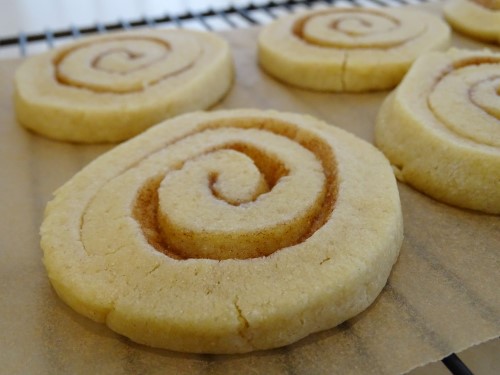
Now, place the ones you are baking now into the 350° oven for 8 – 10 minutes. When they’re ready, they won’t be browned, but they’ll be slightly puffy, they’ll look dry on top, and they might have a few little cracks around the edges.
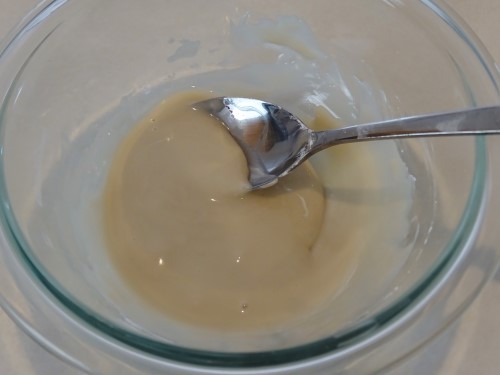
Allow them to cool on the pan for 5 minutes before moving them, parchment and all, to a cooling rack. When they’ve cooled completely, it’s time to make the icing. Sift 1 cup of powdered sugar into a bowl. Add 2 ½ teaspoons of water and stir until it’s incorporated. It will be fairly thick, but if it’s hard to stir, go ahead and add another ½ teaspoon of water.
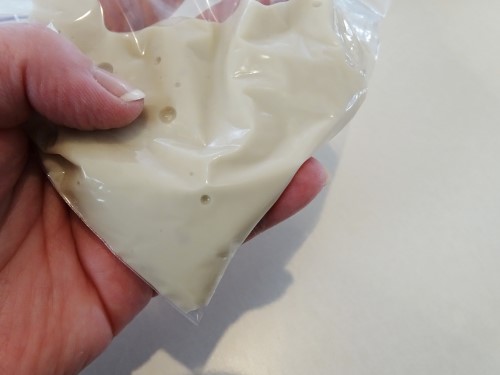
Pour/scrape the icing into a plastic bag (zip top, sandwich, piping, any of them will work)
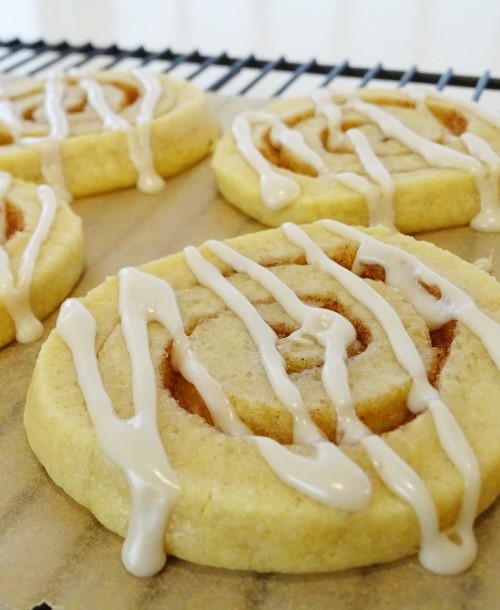
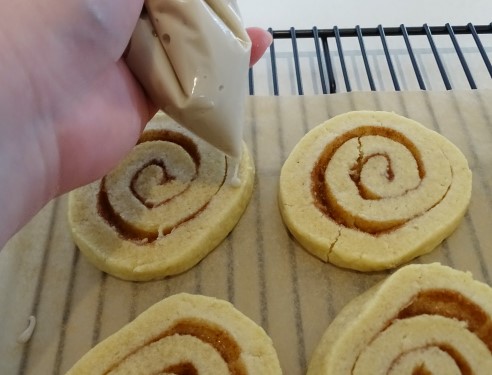
Cut off the very tip and squeeze the icing over the cookies in a zigzag, drizzle like pattern.
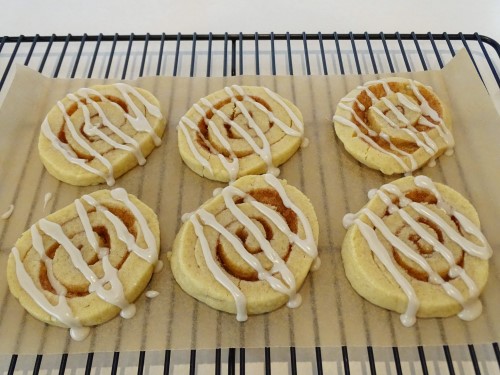
And there you have it. Cinnamon Roll Cookies. Aren’t they just the cutest things? These cookies are actually even better the next day, so once the icing is set, and you’ve had a chance to enjoy one, move the rest to an airtight container.
So it turns out the sisters were right. The texture of these cookies was exactly what I was hoping for. So thank you, Two Sisters Crafting!

What is your favorite holiday cookie?